
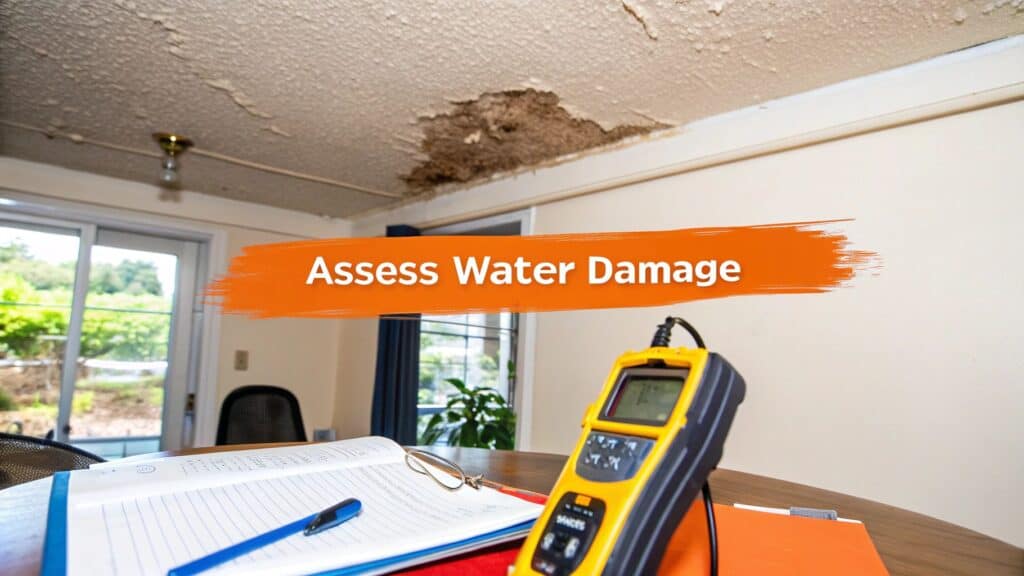
When you first discover a water-related issue in your home, your immediate response must prioritize safety. That means shutting off the electricity and the main water supply before you do anything else. A quick visual inspection right after will help you grasp the scope and source of the problem, allowing you to accurately assess water damage and determine your next steps.
These initial actions can mean the difference between a minor cleanup and a full-blown catastrophe. They set the stage for a proper, thorough evaluation and protect your property from further harm.
Your First Moves After Finding Water Damage
Walking into a room and discovering a leak or flood in your Orange County home is a stomach-dropping moment. But before you even think about mopping up, you must secure the area to prevent any more harm—to your property, and more importantly, to yourself.
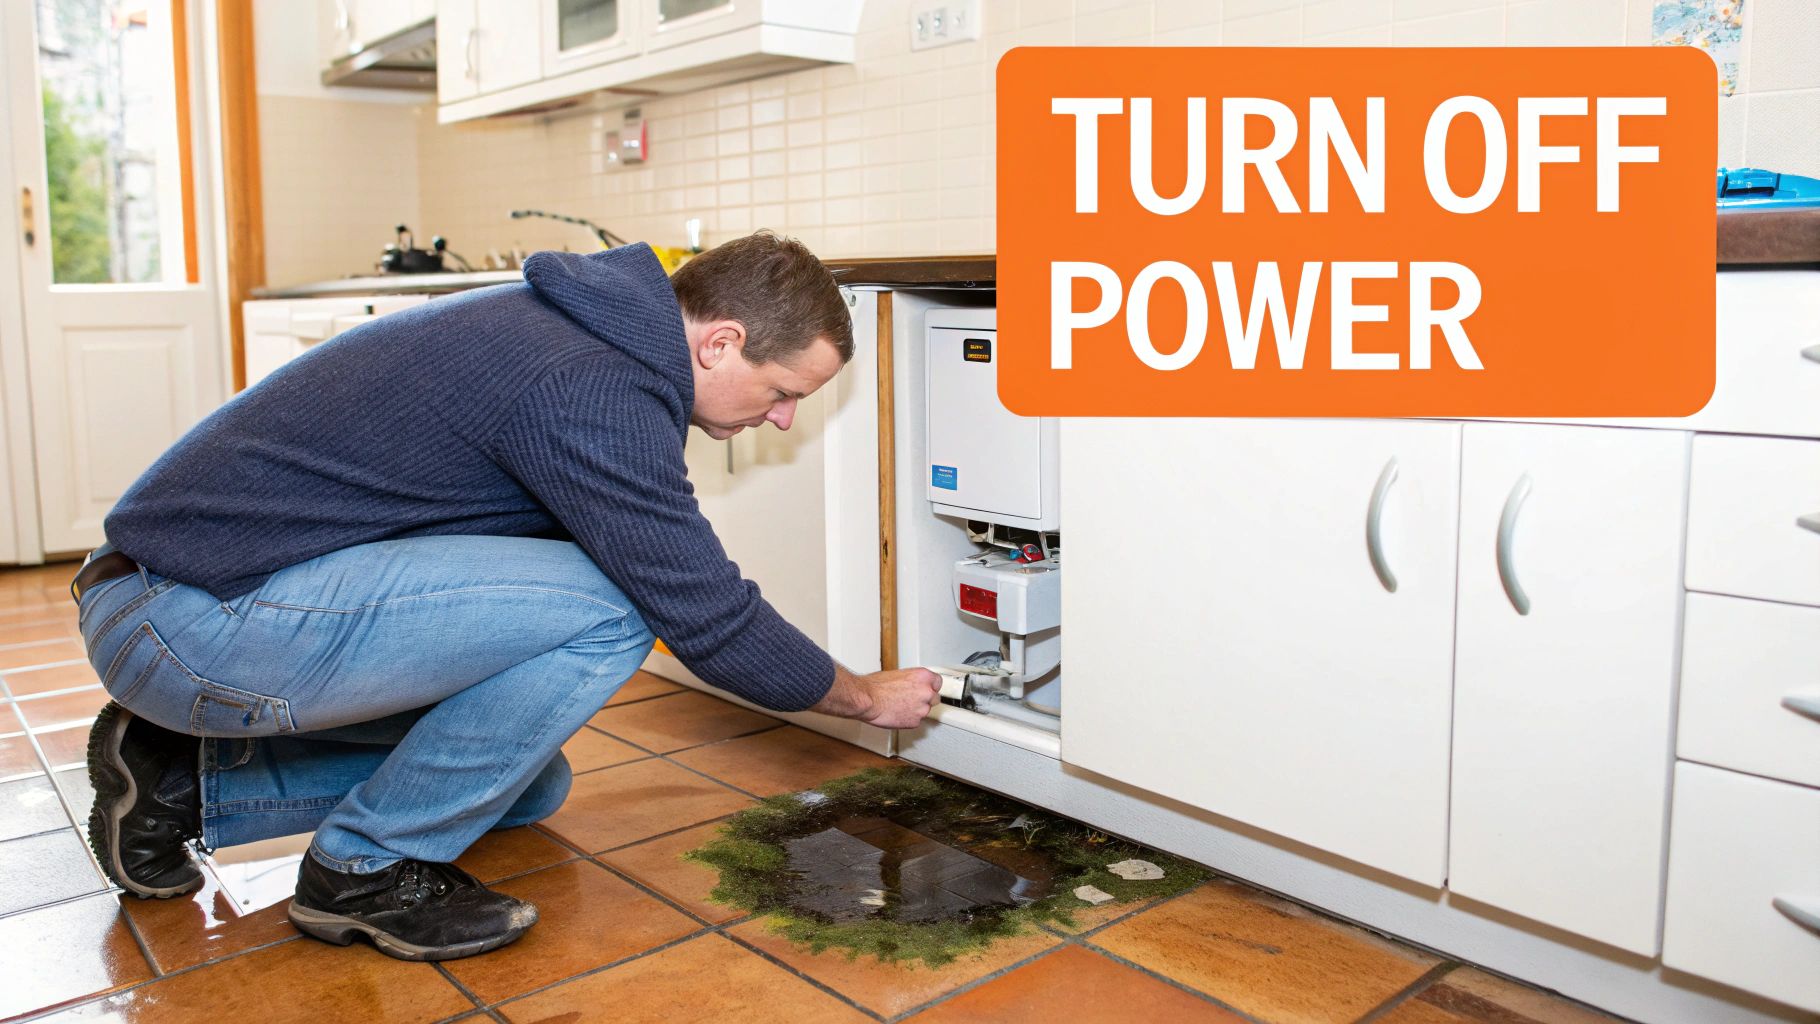
The number one priority is eliminating any electrical hazards. If you see standing water or even just dampness near outlets, appliances, or extension cords, go straight to your breaker box. Shut off power to all affected areas immediately. Water and electricity are a lethal combination, so never step into standing water if the power is still on.
Once you’ve handled the electrical risk, it’s time to stop the water at its source. If you can clearly see where it’s coming from—like a burst pipe under the sink or a leaky appliance hose—and can safely reach it, turn off its dedicated water valve. If the source is hidden or you can't get to it, don't waste time. Find your home’s main water shut-off valve and turn it off right away.
Securing the Scene and Taking Initial Action
With the immediate threats of electricity and more water out of the way, you can start a quick, initial assessment. This isn't about a deep-dive analysis just yet; it's about getting a quick overview to guide your next actions.
- Remove Standing Water: Use mops, old towels, or a wet-dry vacuum to remove as much standing water from hard surfaces as possible. This is your first line of defense against saturation.
- Protect Your Belongings: Move furniture, area rugs, electronics, and anything else of value out of the wet zone. If you can't move something heavy, try to lift it onto blocks or pieces of wood to get it out of the water.
- Encourage Air Circulation: If the weather outside is dry, open windows and doors to get some air circulating. This is the first step in the drying process and helps reduce indoor humidity.
When it comes to soft surfaces like carpet, time is of the essence. Getting them dry is critical to preventing mold from taking hold. Learning how to dry wet carpet fast and prevent mould can give you some valuable tips to use before the professionals arrive.
As an IICRC Master Certified firm and a BBB Torch Award Winner for Ethics, we know that the first hour is the most important. Swift, correct action minimizes damage and reduces the complexity of the restoration process, saving you stress and money in the long run.
These preliminary steps are all about damage control. Being prepared can make a world of difference, which is why we always suggest homeowners put together a small kit for these situations. You can find some great ideas in our guide to creating a water emergency first aid kit.
By taking these calm, decisive actions, you turn a chaotic emergency into a manageable situation, paving the way for a methodical and professional assessment.
A Room-by-Room Damage Inspection Checklist
Once you've dealt with any immediate safety issues, it’s time to roll up your sleeves and figure out exactly what you're dealing with. To properly assess water damage, you must look beyond obvious puddles; it's a bit of detective work. You’re looking for the subtle, hidden signs that tell you where water has infiltrated your property.
The best way to do this is with a methodical, room-by-room approach. You want to be thorough so you don’t miss little details that can balloon into major problems down the line.
Start your inspection at the source of the water and work your way outward, treating each room like its own investigation. For instance, in an Irvine luxury condo, a slow leak from an upstairs bathroom might only show up as a faint, yellowish stain on the living room ceiling below. It’s easy to miss, but it's a crystal-clear sign of trouble.
Inspecting Ceilings and Walls
Think of your walls and ceilings as giant sponges—they’re often the first places to show evidence of water intrusion. Make sure you look higher than you think you need to. Water has a way of traveling through wall framing and insulation before it ever makes an appearance.
Keep an eye out for these tell-tale signs:
- Discoloration: Look for faint, brownish, or yellowish stains. On a clean white wall, these can be tricky to spot and might just look like a shadow at first glance.
- Texture Changes: Scan the surface for paint that’s bubbling, peeling, or cracking. If you gently press on the drywall, it might feel soft or even a bit spongy.
- Visible Sagging: This is a big one. A bowing or sagging ceiling is a major red flag. It means a significant amount of water is trapped, creating a potential collapse hazard. Whatever you do, do not stand directly under it.
Examining Floors and Baseboards
Gravity is not your friend here. It pulls water straight down, making your floors and the areas around them ground zero for damage. How the flooring in your Newport Beach home will react depends entirely on the material.
- Carpet: The only way to know for sure is to peel back a corner in the affected spot. Is the padding underneath wet? Check the carpet backing for any discoloration. A musty smell is almost always a dead giveaway.
- Hardwood: Look for planks that are starting to cup (where the edges are higher than the center) or crown (the center is higher than the edges). You might also see boards warping or separating from each other.
- Tile/Laminate: Water is sneaky and can seep through grout lines or get under the planks, quietly damaging the subfloor. Watch for loose tiles, grout that looks darker than usual, or a squishy feeling underfoot.
And don't forget the baseboards. They often get a double-whammy, absorbing moisture from both the floor and the wall. This causes them to swell, warp, or pull away from the drywall.
A crucial takeaway for homeowners is that water often travels far from its source. A leak that starts in a kitchen can easily migrate under the flooring and affect an adjacent dining room or hallway without showing any surface signs in the initial room.
Checking Cabinets and Hidden Areas
Finally, it’s time to check all those out-of-sight, out-of-mind spots. Open every single cabinet, vanity, and closet in and around the water-damaged area.
Peer inside your kitchen and bathroom cabinets. Are the back panels damp? Is the wood warped or is the veneer peeling away? These dark, enclosed spaces are perfect breeding grounds for mold.
By being this diligent, you’ll get a complete picture of the damage. This is absolutely vital for planning the restoration and, just as importantly, for your insurance claim. For more tips on preventing this from happening again, learning how to ensure your home is leak-proof can provide some great long-term strategies.
Understanding Different Types of Water Damage
When you discover water in your home, it’s easy to think, "water is water." But in the world of professional restoration, nothing could be further from the truth. The source of that water is everything—it determines the contamination level, the health risks involved, and exactly how we need to tackle the cleanup.
Professionals in the field, guided by IICRC (Institute of Inspection, Cleaning and Restoration Certification) standards, don't just see a puddle. They see specific categories and classes that require a scientific, methodical response. This isn't just industry jargon; it's a framework that protects your property and the people in it.
The Three Categories of Water Contamination
The IICRC classifies water intrusion into three categories based on its source. Figuring out which one you're facing is probably the most important first step you can take.
-
Category 1: Clean Water
This is the best-case scenario for a leak. It comes from a sanitary source, like a burst water supply line under the sink or an overflowing bathtub. While it's not immediately dangerous, time is not on your side. If it sits for more than 48 hours or mixes with other contaminants (like soaking into a dirty carpet), it can quickly become Category 2. -
Category 2: Grey Water
Now we're dealing with significant contamination. Grey water can cause illness if you or your pets ingest it. Think of water from a washing machine overflow, a dishwasher discharge, or a failed sump pump. It’s dirty water, plain and simple, carrying biological or chemical contaminants that require careful handling. -
Category 3: Black Water
This is the most serious and hazardous category. Black water is grossly contaminated and can be packed with pathogens, toxins, and other dangerous materials. The sources are what you'd expect: sewage backflows, rising floodwaters from rivers, or seawater. Black water is a non-negotiable "call a pro now" situation.
Knowing where the water came from is fundamental to assessing the risk. You can learn more about the common safety issues from plumbing leaks and water damage that often get flagged during professional home inspections.
The Four Classes of Water Intrusion
Beyond what kind of water it is, professionals also classify how much of it there is and where it went. This "class" tells restoration experts what kind of equipment and how much time will be needed to get everything dry again.
- Class 1: The most minor type of intrusion. Only a small part of a room is affected, and the water hasn't soaked deep into porous materials. Think a small spill on a concrete floor.
- Class 2: A step up in severity. Water has wicked up the walls, but less than 24 inches. It has soaked into materials like drywall, particleboard, or structural wood.
- Class 3: This is where things get serious, with the fastest rate of evaporation needed. Water has typically come from overhead—imagine a pipe bursting in the ceiling—and has completely saturated the insulation, drywall, and flooring below.
- Class 4: The most challenging class. Water has deeply saturated dense materials like hardwood floors, plaster, brick, or concrete. These situations require specialized drying techniques and a whole lot more time.
This systematic approach of inspecting walls, floors, and even the air is how experts make sure no hidden moisture gets left behind to cause problems later.
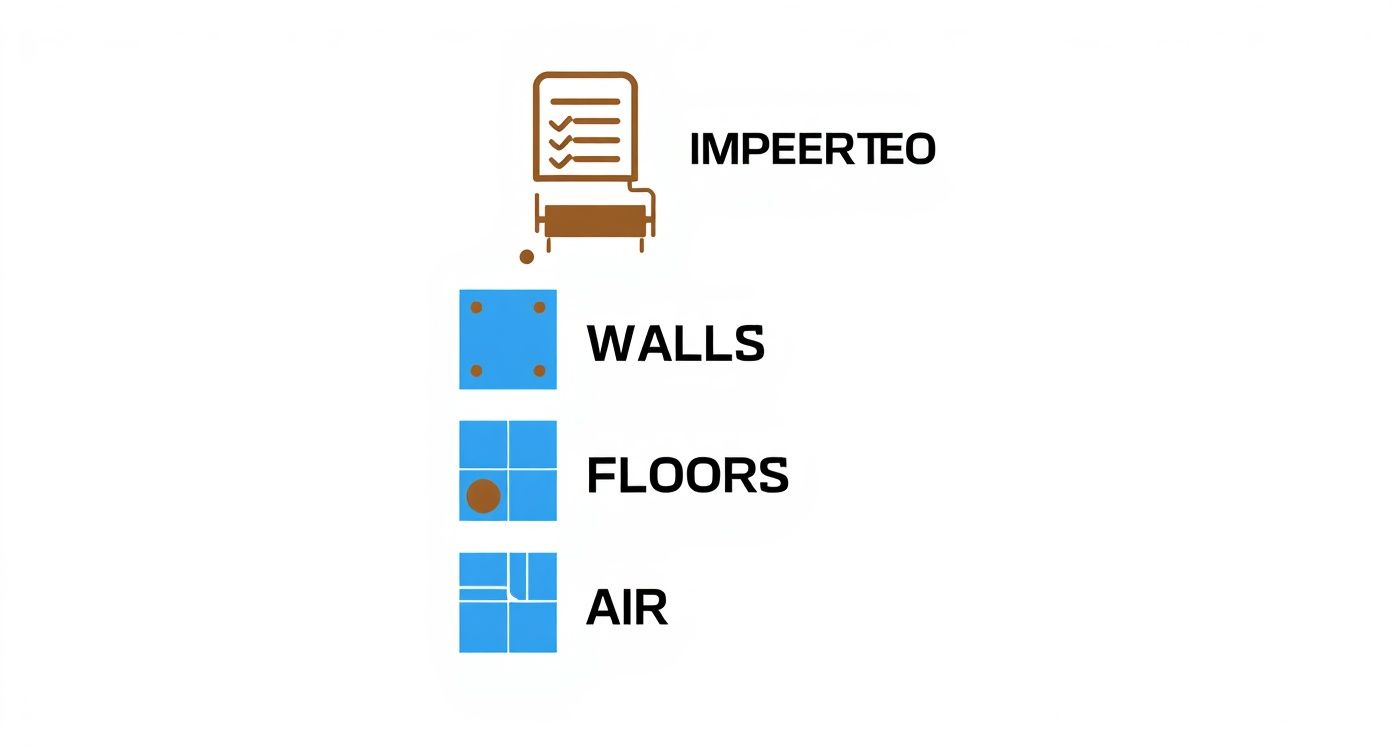
This process is absolutely critical for preventing long-term structural rot and mold infestations that can turn a simple water issue into a nightmare.
For a quick reference, here's a simplified breakdown of these IICRC standards to help you get a handle on what you might be facing.
Water Damage Categories and Classes at a Glance
| Classification | Description | Common Source Examples | Potential Risk Level |
|---|---|---|---|
| Category 1 | "Clean Water" from a sanitary source. | Burst supply lines, overflowing sinks, appliance malfunctions. | Low (but degrades over time) |
| Category 2 | "Grey Water" with significant contamination. | Washing machine overflows, sump pump failures, toilet overflows (urine only). | Medium (can cause illness) |
| Category 3 | "Black Water" which is grossly contaminated. | Sewage backflows, rising floodwaters, seawater. | High (serious health risk) |
| Class 1 | Minimal absorption into low-porosity materials. | Small leak on a concrete floor. | Low |
| Class 2 | Significant moisture affecting carpet, cushion, and walls (<24"). | Leaking appliance that has spread across a room. | Medium |
| Class 3 | Saturation of porous materials from an overhead source. | Burst pipe in a ceiling, fire sprinkler discharge. | High |
| Class 4 | Deep saturation of low-porosity materials. | Water soaked into hardwood, plaster, or stone. | Very High (specialty drying needed) |
Having this basic vocabulary helps you communicate more effectively with your insurance company and restoration professionals, ensuring everyone is on the same page about the scope of the work.
For an even deeper dive into these concepts, check out our guide where water damage is explained in Part 1.
How to Document Damage for Your Insurance Claim
When you're dealing with water damage, the last thing you're probably thinking about is paperwork. But we can't stress this enough: getting your insurance claim paid fairly and quickly hinges almost entirely on the quality of your documentation. The proof you gather in these first few hours is your single most powerful tool.
Think of it as building an airtight case for your adjuster. You want to leave absolutely no room for questions or doubt.
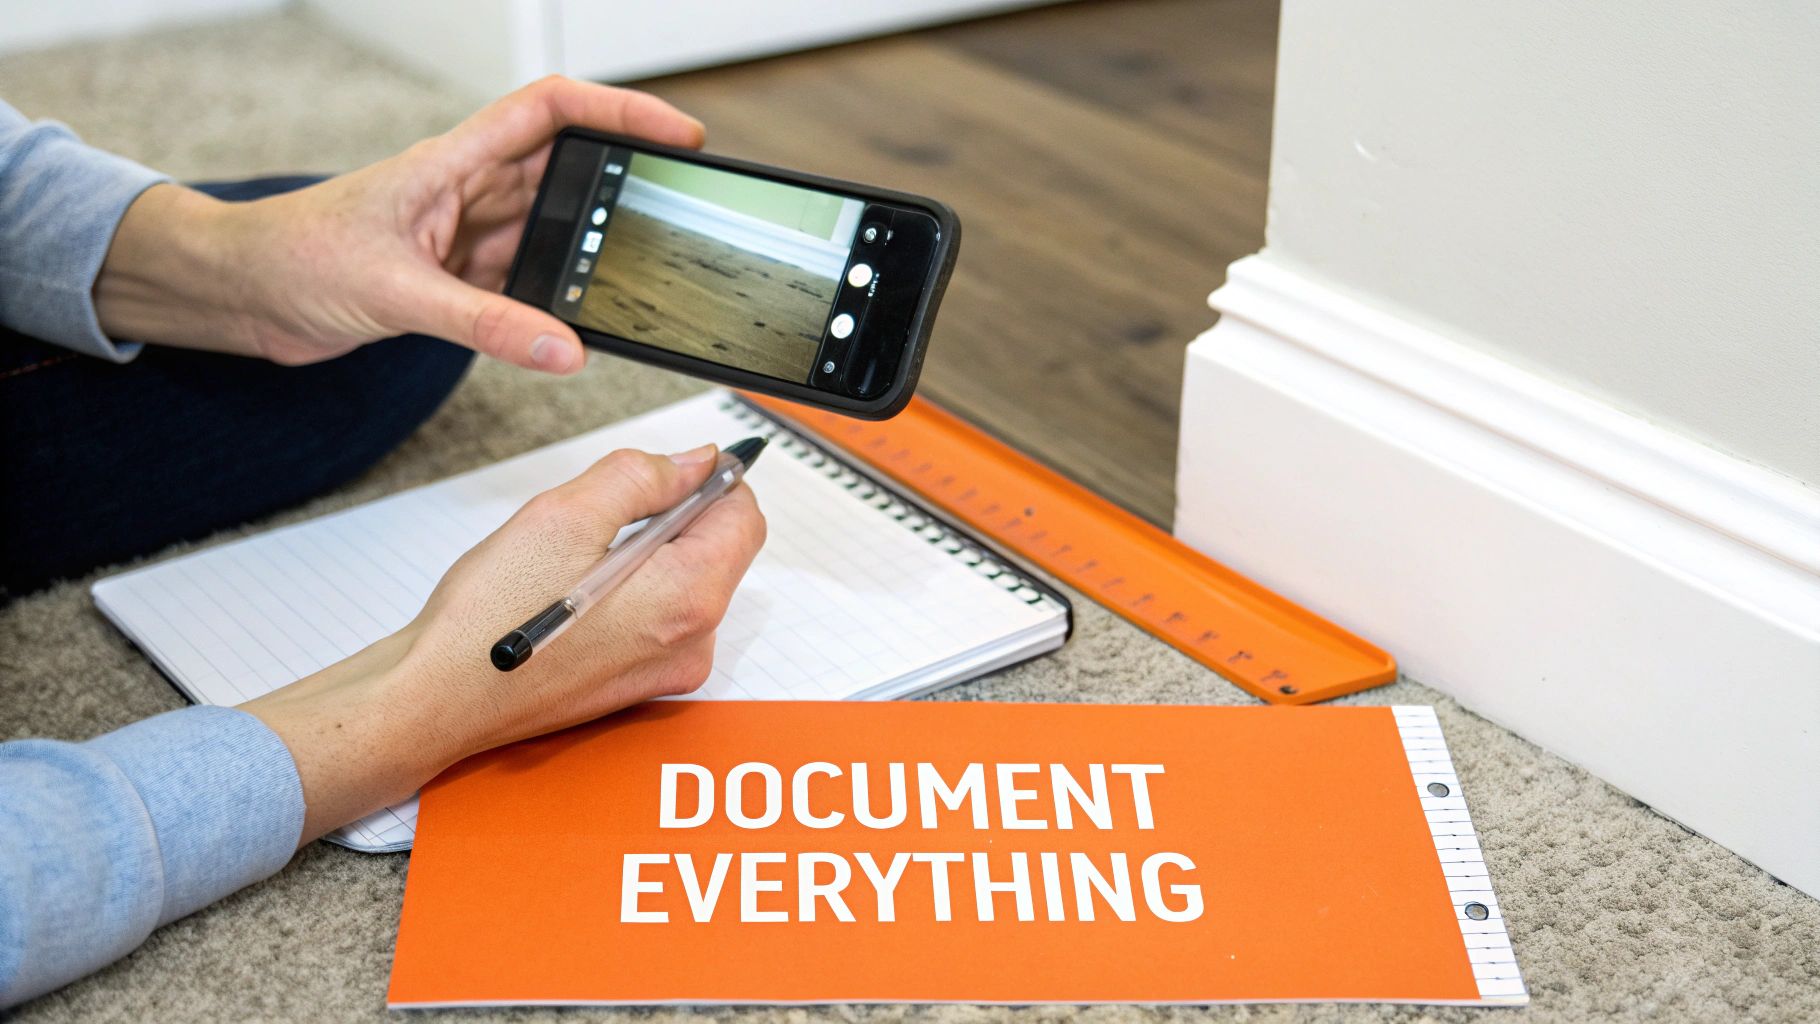
Pull out your smartphone and start recording. Your goal is to tell the complete story of what happened. A video walkthrough is fantastic for this. Walk through the affected areas and narrate what you're seeing. Capture the sound of that dripping pipe or the hum of a waterlogged appliance. This creates a much more powerful record than silent photos alone ever could.
Don't just take a few quick snaps. Take dozens.
Building Your Evidence Portfolio
Your initial documentation needs to be exhaustive, almost obsessively so. Start with wide shots of each room to show the overall scope of the problem. Then, get in close. You need detailed shots of every single thing that got wet.
Here are a few pro tips we always share with our clients:
- Show Scale and Severity: This is a big one. Grab a ruler or a tape measure and place it next to the water lines on the walls. Put it next to soaked baseboards or carpets. This gives the adjuster an objective, undeniable measurement of how high the water rose.
- Capture Everything: Go item by item. Photograph the warped hardwood floors, the stained spot spreading across the ceiling, the ruined sofa, and every personal item that was damaged. If you know where the water came from—a burst pipe, a faulty dishwasher hose—get clear pictures of that, too.
- Document Model Numbers: For any appliances that were damaged (water heaters, refrigerators, washing machines), get a clear, readable photo of the manufacturer's sticker with the serial and model numbers. This is crucial for determining their replacement value.
Your documentation isn’t just for the insurance company. It’s for you. In the chaos and stress of a water loss, it is incredibly easy to forget smaller items. Your photos and videos will be the one perfect memory you can rely on.
Keeping Meticulous Records
Your photos and videos are only half the battle. Your written records are just as vital. Start a dedicated notebook or a digital file—whatever works for you—and create a "damage log."
Here’s what needs to go in it:
- A Detailed Inventory: Make a list of every single item that was damaged or completely destroyed. For each one, write down a description, where you bought it, roughly how old it is, and what you think it would cost to replace.
- A Communication Log: This is non-negotiable. Every time you talk to someone from your insurance company, log it. Note the date, the time, the name of the person you spoke with, and a quick summary of the conversation.
- Receipts and Expenses: Save every single receipt for any out-of-pocket costs. This includes the plumber you called for an emergency repair, the shop vac you bought, or even hotel and food bills if the damage forces you out of your home.
Taking the time to be this thorough makes the adjuster's job easier, which in turn helps speed up your claim. Dealing with an insurance claim is never fun, but being organized makes a world of difference. For a deeper dive into the entire process, our homeowner's guide to property insurance claims breaks it all down for you.
Knowing When to Call a Restoration Professional
Doing a proactive, DIY assessment is a fantastic first step for any Orange County property owner. Your initial inspection is really about gauging the immediate scope of the problem. However, it doesn't replace the need for professional expertise, especially when hidden dangers are lurking just out of sight.
Knowing when to put down the mop and pick up the phone is absolutely crucial for protecting your home’s value and your family’s health.
Certain situations are simply non-negotiable and demand an immediate call to a professional. These red flags mean the problem has moved way beyond a simple cleanup and requires specialized knowledge and equipment to handle safely and correctly.

Clear Signals to Call for Expert Help
If your assessment turns up any of the following, it’s time to get a certified professional on the line. Delaying can lead to much more extensive secondary damage, like structural rot and widespread mold, which are far more complex and costly to fix.
- Contaminated Water Source: If you even suspect the water is Category 2 (grey water) or Category 3 (black water), the area must be treated as a biohazard. This includes overflows from washing machines, any kind of sewage backup, or ground-level flooding.
- Prolonged Exposure: Has the water been sitting for more than 24-48 hours? After this window, the risk of dangerous mold growth skyrockets, and even "clean" water can degrade into a contaminated category.
- Widespread Damage: If the water has spread to multiple rooms, seeped into lower floors, or saturated large sections of drywall, the problem is too big for DIY drying methods to handle effectively.
- Hidden Moisture Suspected: You can see signs of damage—like cupping hardwood floors or bubbling paint—but can't find the source. This is a classic sign you need advanced detection tools to find where the water is hiding.
Unfortunately, with the rise of extreme weather events, scenarios like flooding are becoming more common. Global annual losses are projected to hit a staggering USD 388 billion by 2025. In fact, since 2000, the number of flood-related disasters has jumped by 134%, which really underscores the severe financial hit these events can have on property owners. You can read more about the increasing frequency of these events in the UN report on disaster risk.
The Professional Advantage: Credentials and Technology
So, what does a professional bring to the table that you can't replicate? It really boils down to two things: advanced technology and verified expertise. Restoration experts don’t just look for visible water; we hunt for hidden moisture.
We use specialized tools like:
- Thermal Imaging Cameras: These devices are incredible. They detect tiny temperature differences behind walls and under floors, revealing hidden pockets of moisture that the naked eye would completely miss.
- Moisture Meters: We use both penetrating and non-penetrating meters to get precise readings of moisture content in materials like drywall, wood studs, and subflooring.
This is where credentials become so important. Entrusting your property to an IICRC Master Certified firm and Licensed General Contractor like Sparkle Restoration Services ensures the assessment is accurate and the restoration plan is sound. We have the training to not only find the water but also to safely dry and restore the structure, as you can see in our recent water damage mitigation project in Irvine, CA.
Choosing a qualified expert is your best defense against long-term issues that can haunt your property for years. It’s the difference between a temporary fix and a permanent solution that truly restores your peace of mind.
Water Damage Assessment: Your Questions Answered
When you're staring at a water-related disaster, it’s natural for a million questions to start racing through your mind. The confusion can feel almost as overwhelming as the water itself. To cut through the noise, here are some straightforward answers to the questions we hear most often from homeowners and property managers here in Orange County.
How Fast Does Mold Really Start to Grow After a Leak?
This is almost always the first question people ask, and it's a smart one. Under the right conditions—think moisture, a little warmth, and something organic to feed on like drywall or wood—mold can start to take hold in as little as 24 to 48 hours.
That incredibly short window is exactly why professional assessment and immediate, thorough drying are so critical. Procrastinating even for a day can take a simple water cleanup and turn it into a much bigger, more expensive mold remediation project.
Can’t I Just Use My Own Fans to Dry Things Out?
For a small spill on a tile floor, sure, a regular fan can help. But when you're talking about water that has soaked into the structure of your home, household fans are completely out of their league. The puddle you can see isn't the real enemy; it's the hidden moisture that has worked its way deep into porous materials.
Here's what we do instead: We use a scientific approach to drying called psychrometry. This involves strategic placement of specialized gear like high-velocity air movers and massive commercial dehumidifiers to create a powerful drying vortex. This is the only way to effectively pull trapped moisture out of subfloors, wall cavities, and framing. Trying to do this with the wrong tools can actually make things worse by kicking contaminants up into the air.
Is All Water Damage Covered by My Homeowners Insurance?
This is a huge point of confusion, and the answer can make or break your claim. It all comes down to the source of the water.
Most standard homeowner's policies are built to cover sudden and accidental events, like a pipe that bursts or a water heater that lets go. However, they almost always exclude damage that comes from:
- Slow, long-term leaks (insurers see this as a maintenance issue you should have caught)
- Sewer backups (this usually requires a special add-on, or "rider," to your policy)
- Natural floods from rising groundwater or overflowing rivers (this requires a completely separate policy, usually from the National Flood Insurance Program)
A professional assessment is so important here because it provides the official documentation of where the water came from—the single most important piece of evidence your insurance adjuster will need to approve your claim.
When you're trying to assess water damage, you don't have time for guesswork. You need real answers and a clear plan. For an expert evaluation that gets it right the first time, Orange County property owners trust the IICRC Master Certified team at Sparkle Restoration Services. We promise to turn chaos into calm—fast.
Schedule your free, no-obligation consultation today at https://www.sparklerestoration.com.
Ready to create a space that’s as beautiful as it is functional? Schedule your complimentary design consultation today by visiting Ready to Work with Sparkle?