
Installing quartz countertops is far more than just placing a new surface on your cabinets. It’s a high-stakes process involving meticulous templates, specialized wet saws for cutting heavy slabs, and industrial-grade adhesives to ensure a flawless, lasting finish.
Frankly, it’s a job where a small mistake can become a very expensive problem. That’s why this is a project best left to IICRC Master Certified professionals. At Sparkle Restoration Services, our licensed general contractors bring decades of experience to Orange County homeowners, ensuring your investment is protected and the result is perfect.
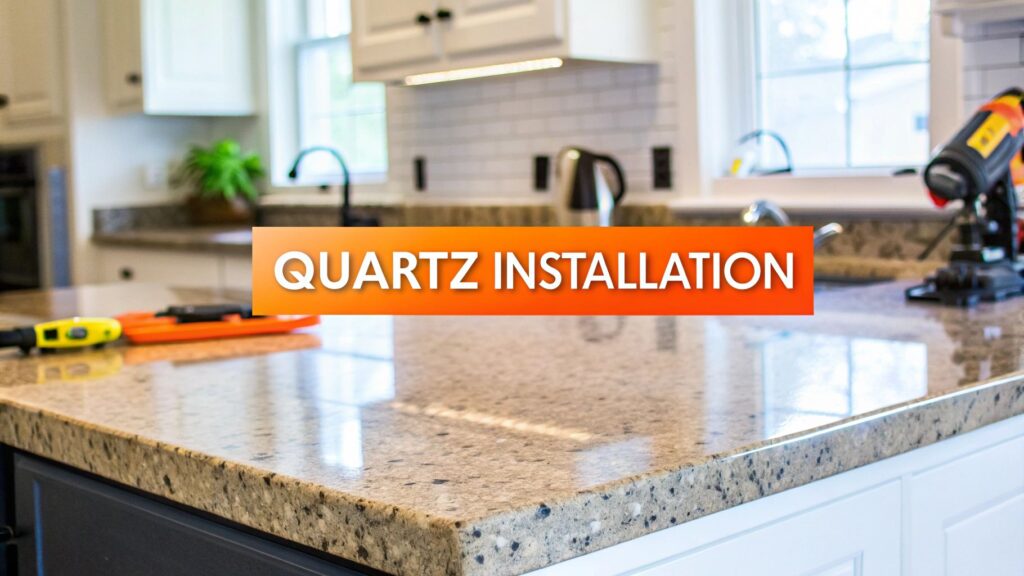
Your Guide to a Flawless Quartz Installation
Considering quartz countertops for your Southern California home? Excellent choice. But even if you’re hiring a professional—which we strongly recommend—understanding the installation process is crucial. It empowers you to ask the right questions and ensures you receive the flawless, high-end finish your home deserves.
Engineered quartz has become the surface of choice for luxury kitchens and bathrooms, and for good reason. It’s exceptionally durable and completely non-porous, making it a fantastic long-term investment for the busiest rooms in your house. The market reflects this trend; the global quartz countertop market was valued at roughly USD 6.83 billion in 2024, showcasing a clear preference for premium, low-maintenance surfaces.
Before we dive into the details, let’s compare the two main approaches to installation.
Quartz Installation At a Glance: Professional vs. DIY
Deciding whether to hire a professional or attempt the installation yourself is a critical choice. Here’s a quick comparison to help you weigh the factors.
| Consideration | Professional Installation (Recommended) | DIY Installation (Advanced) |
|---|---|---|
| Skill & Experience | IICRC Master Certified experts with years of hands-on experience ensure precision. | Requires advanced carpentry, fabrication, and heavy lifting skills. High risk of costly error. |
| Tools & Equipment | Professionals use specialized wet saws, seam setters, and transport equipment. | Requires renting or buying expensive, specialized tools. |
| Cost & Value | Higher upfront cost, but includes a warranty and guarantees a perfect result. | Lower initial cost, but one mistake can mean buying a new slab, doubling your expense. |
| Time Commitment | Typically completed in one day, minimizing kitchen downtime and disruption. | A multi-day project, including tool rental, transport, and the installation itself. |
| Risk & Liability | The contractor is insured against damage to the slab or your property. | You are 100% responsible for any damage, injuries, or costly mistakes. |
| Finished Quality | Guarantees tight, nearly invisible seams and a perfectly level, professional surface. | Achieving a professional-level finish, especially at the seams, is extremely difficult. |
As you can see, while the DIY route might seem tempting for cost savings, the potential for expensive errors and the sheer difficulty of the job make professional installation the smarter, safer investment for most homeowners in Orange County.
Key Phases of a Quartz Project
A successful quartz installation is a sequence of critical steps, each one building on the last. Perfection at every stage is non-negotiable.
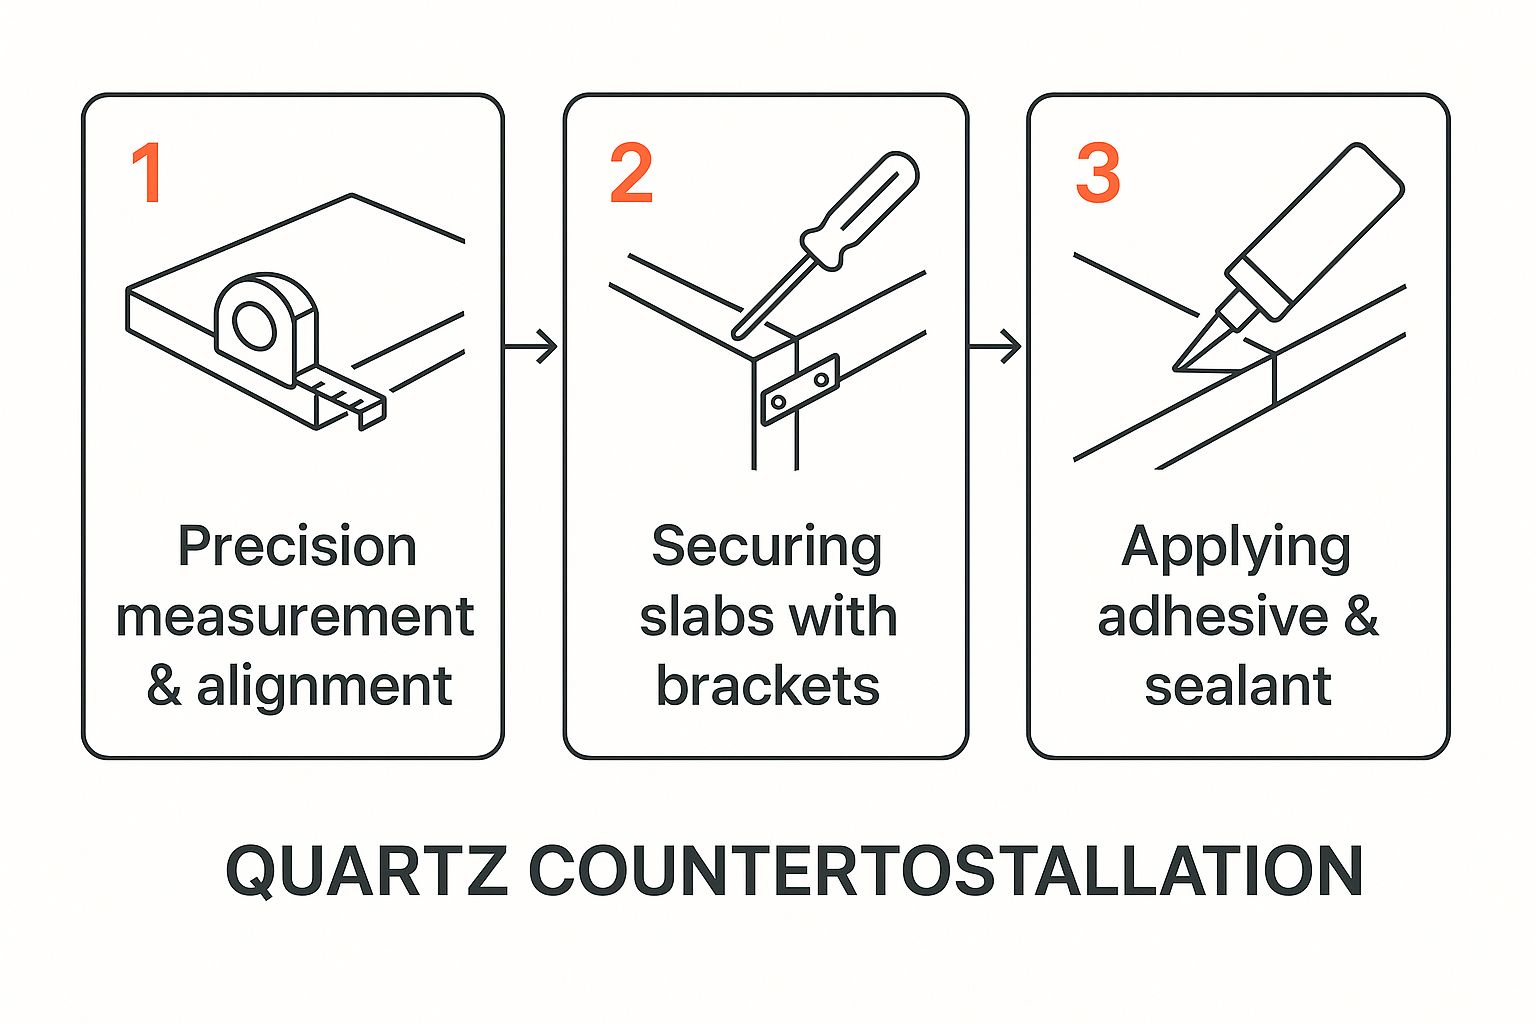
- Meticulous Planning and Templating: This is the foundation. It involves creating a flawless template of your cabinet layout. Every detail matters—sink cutouts, faucet holes, overhangs, and ensuring everything is perfectly level. An error here means the final product will not fit.
- Precise Cutting and Fabrication: The template is then used to guide the cutting of the massive quartz slab. Using specialized equipment, the fabricator makes exact cuts. This stage is where expertise truly prevents costly mistakes.
- Setting and Seaming: The final, and arguably most delicate, stage. The cut slabs are carefully moved into place, secured with powerful adhesive, and joined with seams so tight they’re nearly invisible. This creates the seamless, monolithic look quartz is famous for.
At Sparkle Restoration Services, our licensed general contractors and design-build team handle these complex steps daily, delivering the flawless results that align with our award-winning standards.
For those who want to dig even deeper into the technical side of the process, you can read a complete guide on installing quartz countertops.
Gathering Your Tools and Materials for Success
If there’s one area where cutting corners is not an option, it’s preparation. A successful quartz countertop installation hinges on having the right professional-grade tools on hand before a single slab is moved. Attempting this with a standard homeowner’s toolkit is a surefire way to end up with a cracked slab and a finish that looks anything but luxurious.
This isn’t a typical weekend DIY project. Quartz is a heavy, engineered material that demands respect and the right equipment. At 20 to 25 pounds per square foot, it requires heavy-duty gear just to handle it safely, let alone cut and finish it with the necessary precision.
Essential Cutting and Fabrication Tools
The star of the show is a high-quality wet saw fitted with a diamond blade. A regular circular saw is out of the question; the heat it generates can cause thermal shock, cracking your expensive slab in an instant. The water from a wet saw is non-negotiable—it keeps the blade and the quartz cool to prevent fractures and, crucially, suppresses the dangerous silica dust created during cutting.
Here’s the gear required for this stage:
- Wet Saw with Diamond Blade: This is your most critical tool. For a DIYer, this will likely be your biggest rental expense, but it’s essential for clean, chip-free cuts.
- Straight Edge or Track Saw Guide: Guarantees perfectly straight cuts, especially on long countertop runs.
- Angle Grinder with Diamond Pads: Perfect for handling sink cutouts and polishing edges to a smooth, factory-like sheen.
- Hole Saw with Diamond Grit: Specifically designed for drilling faucet holes without chipping the surface.
A Note on Safety: Cutting engineered quartz releases respirable crystalline silica dust, a serious health hazard. Professional-grade personal protective equipment (PPE), including a high-quality respirator (N95 or better), safety glasses, and gloves, is mandatory. Your health and safety must come first.
Adhesives and Setting Materials
Once your slabs are cut to size, the next step is securing them and creating those nearly invisible seams that define a professional installation.
For any serious project, having a well-organized workspace makes a world of difference. It might be worth looking into choosing the best work storage bench to keep your tools and materials in order.
- 100% Silicone Adhesive: This is used to bond the quartz to the cabinet tops. It creates a powerful bond while remaining flexible enough to accommodate the subtle movements of a house settling.
- Two-Part Epoxy Resin: Specially formulated for stone, this is the magic ingredient for joining seams. It must be color-matched to your specific quartz slab to make the seam disappear.
- Denatured Alcohol: A small but critical item. It’s used to meticulously clean the slab edges before applying epoxy, ensuring the strongest possible bond.
Having all these items ready beforehand is key. It prevents frantic mid-project trips to the hardware store and ensures every step is executed with the precision a material like quartz demands.
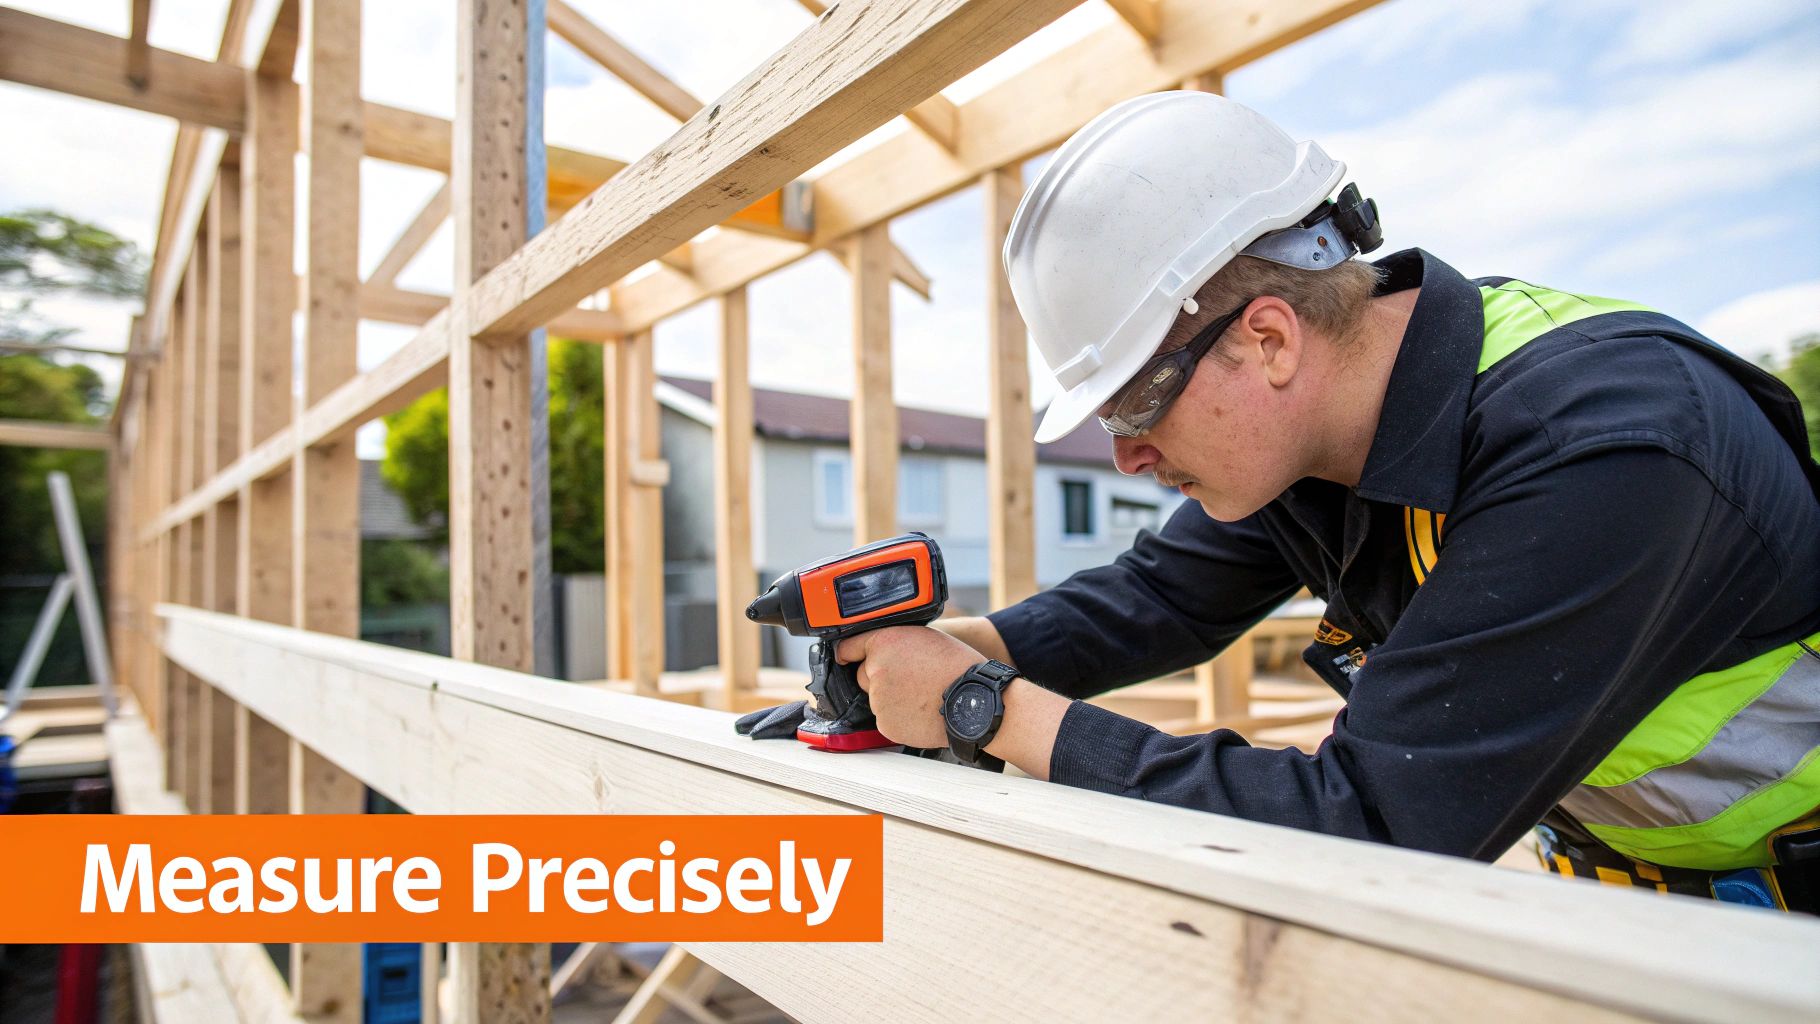
Perfect Measurements and Templating for a Custom Fit
There’s an old saying in our industry: “measure twice, cut once.” When you’re dealing with quartz, that advice has never been more critical. Unlike wood that can be shaved or patched, quartz is completely unforgiving. A single mistake here doesn’t just require a small adjustment—it means scrapping an entire slab of expensive material.
This is why we create a physical template, an exact pattern of your cabinetry that guides every cut. Most professionals, including our team at Sparkle, build this pattern from thin luan plywood strips, hot-glued together directly on top of your cabinets. This template becomes the master blueprint, and its accuracy will make or break the final fit.
Accounting for Overhangs and Cutouts
A significant part of templating is planning for the details that make a countertop functional and beautiful. The stone should not end flush with your cabinets; it needs to extend slightly to look right and protect the cabinetry below.
- Standard Overhang: We typically design an overhang between 1 and 1.5 inches. This gives the counter a substantial, finished appearance and creates a protective lip.
- Sink and Appliance Cutouts: The template must have perfect outlines for your sink, cooktop, or any other fixtures. It’s absolutely essential to have the actual sink (or its manufacturer template) on-site to trace it perfectly.
- Faucet Placement: We also mark the exact center for the faucet and any soap dispensers. We always double-check for enough clearance to ensure the handles can rotate fully without hitting the backsplash.
Getting these details right ensures every piece drops into place without a hitch. It’s the kind of meticulous work that defines a professional job, like the ones you can see in our kitchen remodel in Huntington Beach, CA portfolio.
Mastering Imperfections with Scribing
Here’s a trade secret, especially when working in older Orange County homes: walls are almost never perfectly straight. If you push a dead-straight quartz countertop against a wavy wall, you’ll end up with ugly, inconsistent gaps that scream “amateur job.”
This is where the technique of scribing comes in.
Scribing is the art of transferring the exact contour of an uneven wall onto your template. We use a special compass to run along the wall, tracing its unique shape onto the template. This creates a custom cut line that allows the countertop to hug every curve and dip in the wall for a truly built-in, seamless appearance.
This detail separates a decent installation from a high-end, flawless one. It eliminates annoying gaps and makes the countertop look like it was custom-made for the space. Skipping this step is one of the most common mistakes DIYers make, guaranteeing a result that just isn’t quite right.
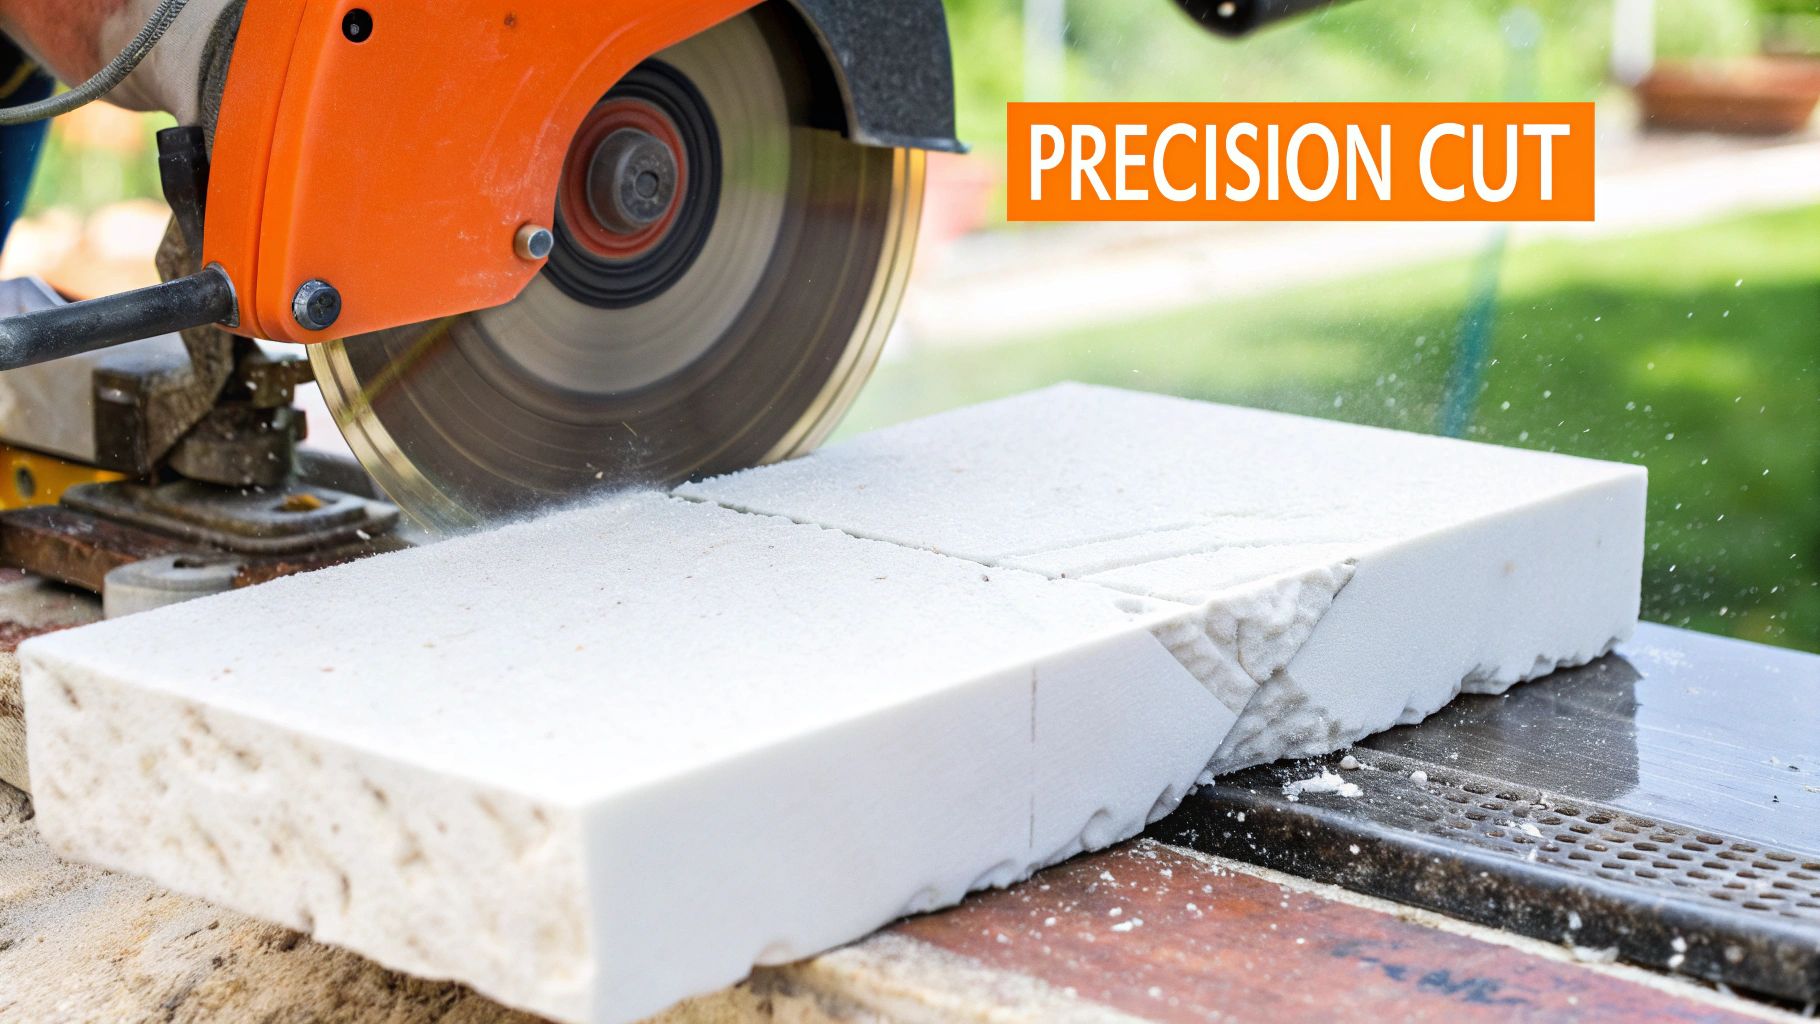
The Critical Process of Cutting and Dry-Fitting Slabs
With your template perfected, it’s time for the most critical phase—and the one with the biggest risk. This is the moment your raw quartz slab begins to resemble a countertop. Precision is paramount, and safety is not optional. Every mark transferred from the template to the stone must be perfect.
When making cuts, there is no substitute for a wet saw fitted with a diamond blade. This is non-negotiable. The constant flow of water serves two critical functions: it prevents the blade from overheating (which can crack the slab) and, just as importantly, it suppresses hazardous silica dust, keeping it out of the air.
Cutting the sink cutout is always the trickiest part. It’s a delicate process, usually requiring a wet saw for the long, straight runs and an angle grinder with a diamond wheel to carefully handle the curves and corners. Every cut must be slow, deliberate, and perfectly on the line.
The Art of the Dry-Fit
Once all pieces are cut, you’ve reached arguably the single most important checkpoint for a flawless installation: the dry-fit. Before any adhesive is mixed, you must carefully place every single piece onto the cabinets to see how it all comes together.
This is your one and only dress rehearsal. It’s your chance to spot any tiny issue that could become a major headache later.
- Check the Alignment: Are all pieces sitting perfectly flush against each other and against the walls? Are there any unexpected gaps?
- Is It Level? Place a level across every section and seam. You’re looking for a perfectly flat surface from end to end.
- Inspect the Seams: Do the joints line up so well they almost disappear? You want zero gaps and no uneven edges.
- Verify the Cutouts: Does the sink cutout line up exactly where it should? What about the cooktop?
The dry-fit is your last chance to get things perfect before they are literally set in stone. Almost every DIY countertop disaster we’ve seen comes from someone rushing this step. It’s far easier to shave off a fraction of an inch now than to live with a crooked seam forever.
This is the phase where you confirm every measurement and cut before committing to the final installation.
As you can see, securing the slabs is the final move. That’s why getting the prep work—the cutting and fitting—absolutely right is the foundation of the entire job.
Making Final Adjustments
Don’t be surprised if you find small issues during the dry-fit; it happens all the time. A wall might have a slight bow, or a seam could be off by a hair. This is where tiny adjustments can be made, often with a grinder and polishing pads, to gently shave an edge for that perfect, tight fit.
Patience is your best friend here. Work in small increments and test the fit repeatedly. Witnessing this meticulous process, as seen in projects like this restoration and kitchen remodel in Irvine, CA, demonstrates the level of detail required for a high-end finish. Taking the time to nail the dry-fit is what separates a decent job from the seamless, professional quality we guarantee at Sparkle Restoration Services.
Securing Your Countertop for a Lasting Finish
After meticulous cutting and dry-fitting, you’ve reached the most satisfying part of the job. This is where those heavy, perfectly shaped slabs are permanently locked into place, finally becoming the single, seamless countertop you envisioned. The secret to a surface that lasts a lifetime lies in the adhesive and the skill used to join the seams.
We begin by applying a solid, quarter-inch bead of 100% silicone adhesive along the top edges of the base cabinets. This creates an incredibly strong bond that remains flexible enough to handle the subtle shifts and settling that naturally occur in any Orange County home, preventing stress on the stone itself.
Creating Invisible Seams
The true sign of a professional quartz installation is in the seams—or more accurately, the fact that you can hardly see them. Achieving nearly invisible joints is an art form that demands a steady hand, the right products, and specialized tools.
The magic lies in a color-matched, two-part epoxy formulated specifically for engineered stone. First, we meticulously clean the slab edges with denatured alcohol to remove any dust or oils. Then, after applying the epoxy, we use mechanical seam-setters. These tools pull the slabs together with immense, even pressure, forming a rock-solid bond and leveling the two surfaces for a transition so smooth you can’t feel it.
Expert Insight: The quality of your seam work is what separates a DIY-looking job from a high-end, professional installation. Rushing this step or using the wrong epoxy can result in a visible, weak joint that collects grime and may eventually fail.
Installing Fixtures and Finishing Touches
With the main countertop sections in place and the seams curing, it’s time to install the sink and faucets. For an undermount sink, we apply a liberal amount of silicone adhesive around the sink’s flange before hoisting it into position and clamping it down tightly from underneath. A watertight seal here is non-negotiable.
Next, we drill the faucet holes using a diamond-grit hole saw and a slow, steady approach to avoid chipping the beautiful surface. This is a moment where absolute precision is key.
Finally, any edges cut on-site must be finished. We use an angle grinder with a series of progressively finer-grit diamond polishing pads to bring the edge to a mirror-like sheen that matches the factory finish. This final polish gives the countertop a uniform, luxurious appearance from every angle.
Maintaining this beautiful finish is straightforward. However, for deeper maintenance questions, our guide on professional tile and stone cleaning and sealing offers valuable tips applicable to all hard surfaces in your home.
Your Quartz Installation Questions Answered
Even with a detailed guide, a project like installing new quartz countertops is a major undertaking, and it’s natural to have questions. As Orange County’s trusted restoration and remodeling experts, we’ve heard them all. Our goal is to provide clear, direct answers to help you feel confident and avoid common pitfalls.
Here are the most frequent questions we receive from homeowners just like you.
Can I Install Quartz Countertops Directly Over Old Laminate Counters?
We strongly advise against this. In fact, do not install quartz directly over old laminate. Quartz is incredibly heavy—we’re talking 20 to 25 pounds per square foot—and requires a perfectly flat, structurally sound base. Without it, the stone can crack under its own weight over time.
Old laminate countertops can hide underlying issues like sagging cabinets or water damage. Placing a heavy stone slab on a compromised foundation is a recipe for disaster. For a result that lasts and protects your investment, the old counters must be removed. This allows us to inspect, reinforce, and level the cabinets properly before the new quartz is installed.
What Is the Biggest Mistake in a DIY Quartz Installation?
By far, the most common and expensive mistake we see is inaccurate templating and measurement. Wood can be sanded and patched, but quartz is completely unforgiving. Being off by even a quarter-inch can ruin an entire slab, forcing you to buy a new one. That single mistake can double your material costs instantly.
Right behind that are two other critical errors we often see:
- Improper Handling: These slabs are heavy and more brittle than you might think. Trying to lift or move them without the right equipment or technique is a fast way to chip a corner or, worse, crack the entire piece before it even reaches the kitchen.
- Poor Seam Work: Nothing signals an amateur job like a bad seam. Achieving tight, level, and nearly invisible seams takes skill and specialized tools. A poor seam can spoil the entire look of your beautiful new countertops.
How Long Should I Wait Before Using My New Quartz Countertops?
A little patience after installation goes a long way in ensuring everything bonds properly for the long haul. Once our team has set the last piece and cleaned up, we recommend waiting a full 24 hours before placing anything light on the surface.
For heavier appliances—like microwaves, stand mixers, or your coffee machine—give it at least 48 to 72 hours. This allows the silicone adhesive and the two-part epoxy at the seams to cure completely. Rushing this step can seriously compromise the installation’s structural integrity.
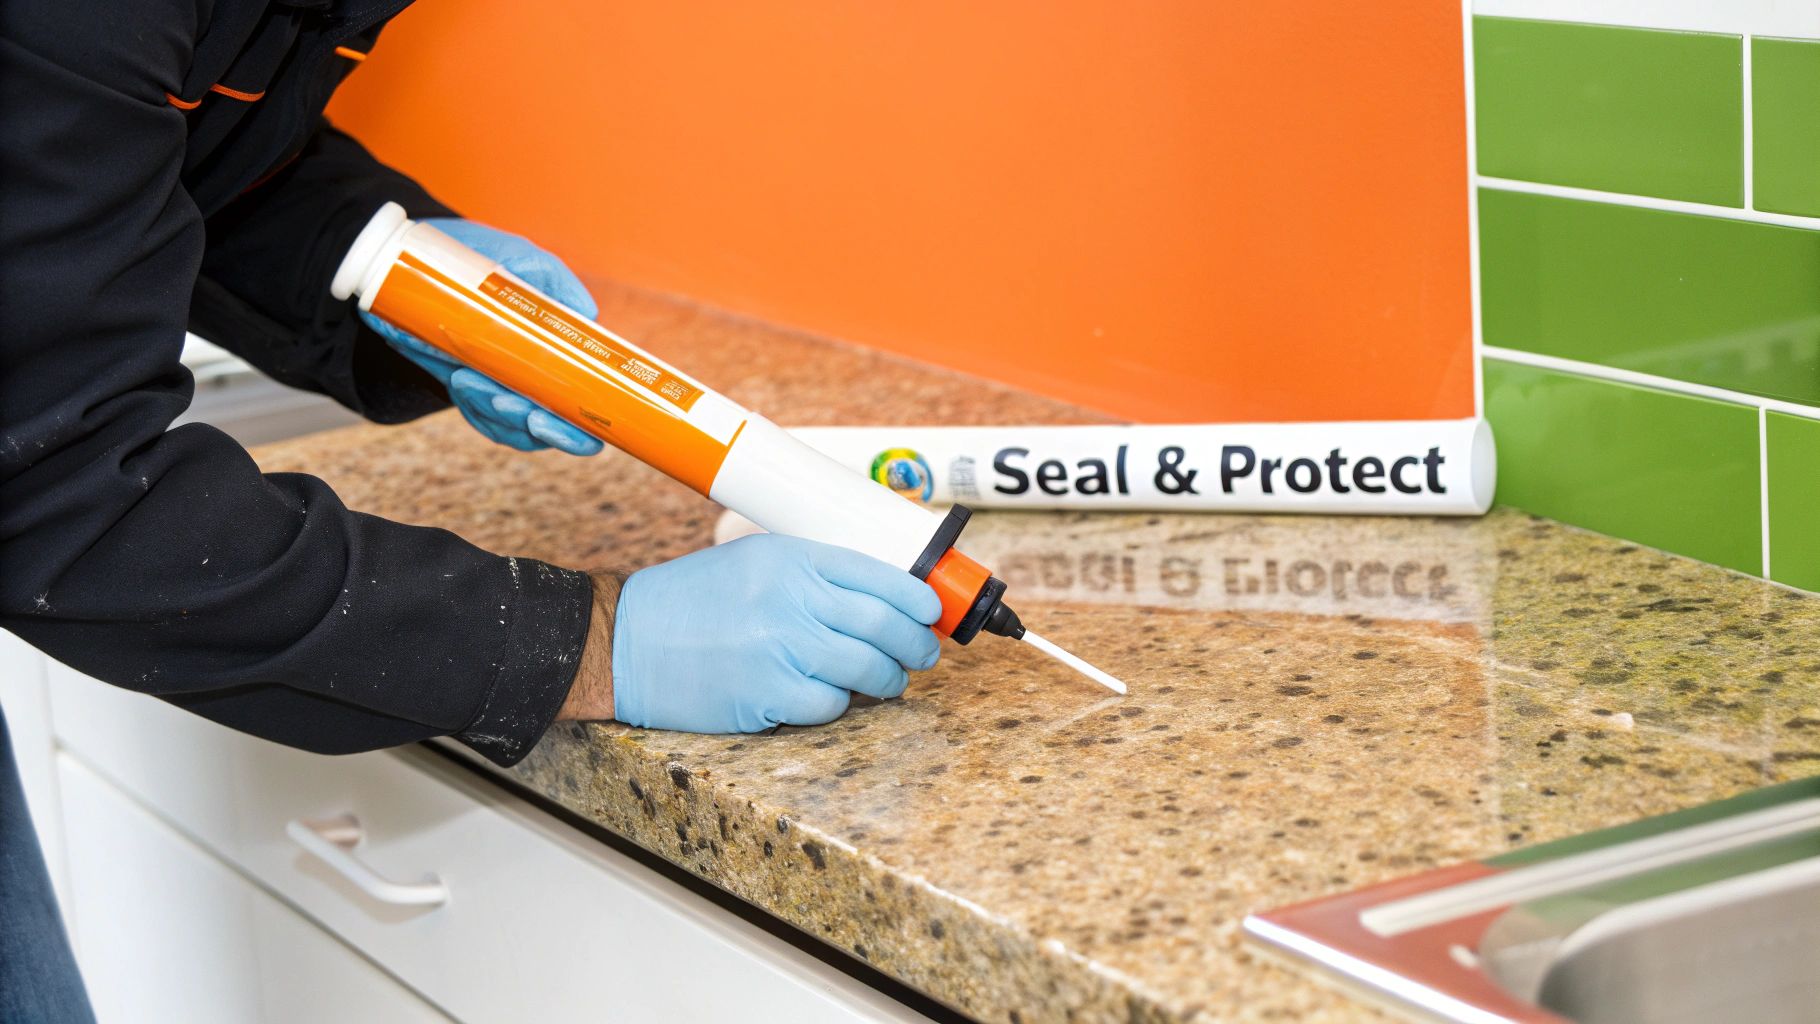
Do Quartz Countertops Need to Be Sealed After Installation?
No, and that’s one of the greatest benefits of choosing engineered quartz. The manufacturing process—combining about 90-95% crushed natural quartz with polymer resins—creates a completely non-porous surface.
Unlike natural stones like granite or marble that require regular sealing, quartz is a set-it-and-forget-it material. It does not require sealing after installation or at any point down the road. Its non-porous nature makes it naturally resistant to stains, moisture, and bacteria—a huge advantage for any busy kitchen.
This low-maintenance feature is a primary reason why so many homeowners in Southern California choose quartz for their high-end remodels. If you have more questions about remodeling, feel free to check out our frequently asked questions page.
Navigating a quartz installation demands a precise hand, professional tools, and real-world experience. If you’re considering an upgrade and want to guarantee a flawless, professional finish, place your trust in certified experts. As a BBB Torch Award Winner for Ethics, Sparkle Restoration Services has delivered award-winning craftsmanship to Orange County since 2002. Schedule your free consultation today, and let’s bring your vision to life.
Ready to create a space that’s as beautiful as it is functional? Schedule your complimentary design consultation today by visiting Ready to Work with Sparkle?