
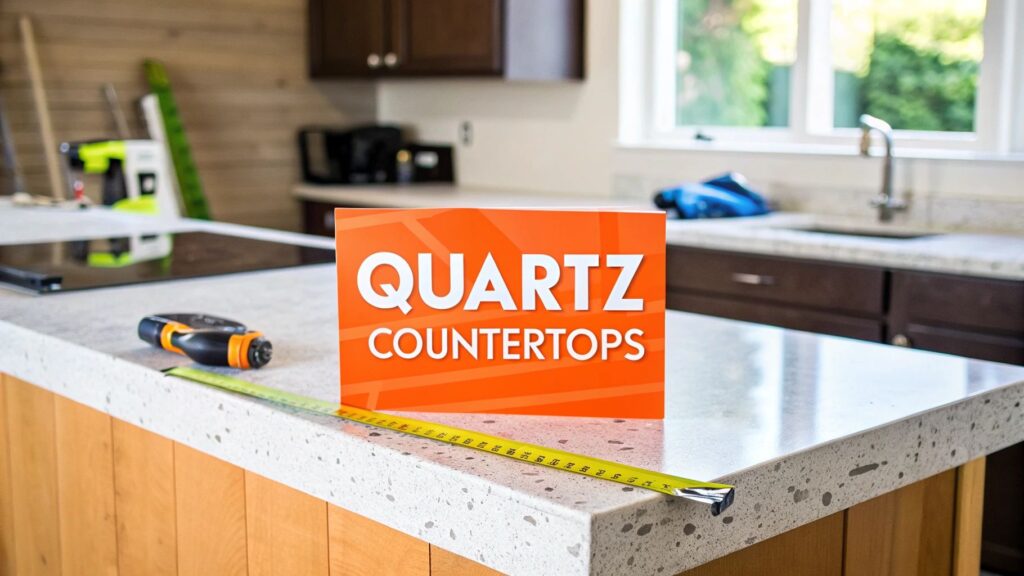
Upgrading your Orange County home with quartz countertops is a premier investment in both luxury and value. Achieving a flawless, high-end finish, however, depends entirely on the quality of the installation. This guide, from the experts at Sparkle Restoration Services, will walk you through how to install quartz countertops correctly—a process that demands precise templates, specialized tools, and the master craftsmanship needed to make seams disappear.
As a licensed general contractor and IICRC Master Certified firm, we’ve seen firsthand that this project hinges on exact measurements, the right equipment for handling heavy slabs, and an expert touch honed over years of experience.
The Professional Approach to Quartz Installation
A luxury kitchen remodel is a significant investment in your property’s value and your daily enjoyment. While the allure of a DIY project can be strong, installing quartz countertops is one task where professional expertise is non-negotiable. Quartz is exceptionally heavy—often 20-25 pounds per square foot—and can be surprisingly brittle during transport and placement. A single misstep, like an uneven cut or a cracked corner, can nullify any perceived cost savings and jeopardize your entire project.
As a BBB Torch Award Winner for Ethics, Sparkle Restoration Services believes in providing homeowners with transparent, authoritative guidance. A professional installation ensures every detail is handled with precision, from ensuring your cabinets are perfectly level to creating the nearly invisible seams that define a luxury finish. Our comprehensive design-build services integrate countertop installation into a seamless, stress-free remodeling experience, expertly turning chaos into calm.
Timelines and Costs
Understanding the full scope of a quartz installation is crucial for planning. From initial templating to final placement, a typical professional installation takes 3 to 5 days. This timeline accounts for custom template creation, off-site slab fabrication, and the meticulous on-site installation.
Cost is another key factor. Homeowners can expect the market average for installation to range from $50 to $150 per square foot. In most high-end projects, skilled labor and precision fabrication account for approximately 60% of the total investment, underscoring the value of proven expertise.
For those interested in the technical aspects of engineered materials, this manufactured stone installation guide provides additional context. Ultimately, investing in a certified, licensed professional ensures your stunning new countertops are masterfully integrated into your home.
Here’s a quick look at how a typical project breaks down:
Quartz Installation Project at a Glance
A successful quartz countertop installation is a multi-phase process that requires careful planning and execution. This table provides a high-level overview of what to expect, from the initial planning stages to the final finishing touches.
| Phase | Typical Timeline | Key Considerations |
|---|---|---|
| 1. Planning & Templating | 1-2 Days | Ensure cabinets are level. Finalize sink, faucet, and cooktop selections before the template is made. |
| 2. Slab Fabrication | 1-2 Days | Precision cutting and edge profiling happens off-site. Seam placement is planned for minimal visibility. |
| 3. On-Site Installation | 1 Day | Slabs are heavy; clear pathways are crucial. Professional installers handle adhesives, seam joining, and cutouts. |
| 4. Finishing & Curing | 24-48 Hours | Seam adhesive needs time to cure fully. Final cleanup and sealing (if needed for the specific brand) occurs. |
Understanding these phases helps set realistic expectations for the timeline and highlights why professional handling is so critical at each step.
Prepping Cabinets & Templates for Perfect Quartz Countertops
A flawless quartz countertop installation isn’t just about the beautiful stone itself. The real magic—the part that ensures it lasts a lifetime—happens long before a slab ever enters your home. It all comes down to the foundation: your cabinets. They must be perfectly prepared to support the immense weight of quartz, which can be 20 to 25 pounds per square foot.
Think of it like building a high-performance car; if the chassis isn’t perfectly straight and rigid, the vehicle will never perform as designed. The same principle applies here. An unlevel or unstable cabinet base is the primary cause of stress cracks in quartz over time, turning a stunning investment into a major headache.
Ensuring a Level and Secure Foundation
The first step in any professional installation is a meticulous cabinet inspection. Our team uses a long, high-quality level to check every cabinet run, both front-to-back and side-to-side. A discrepancy as small as 1/8-inch is enough to create a pressure point that could eventually lead to a fracture.
If we identify any low spots, we use durable shims to create a perfectly flat, continuous plane across the entire layout. It’s not just about being level; we also verify that every cabinet is securely fastened to the wall studs and to each other. This transforms individual boxes into a monolithic unit that will not shift or sag under the stone’s weight.
Expert Insight: It’s a common misconception that new cabinets are automatically level. Houses settle, and floors are almost never perfectly flat. That’s why we never, ever skip this step, even on a brand-new kitchen remodel in Orange County.
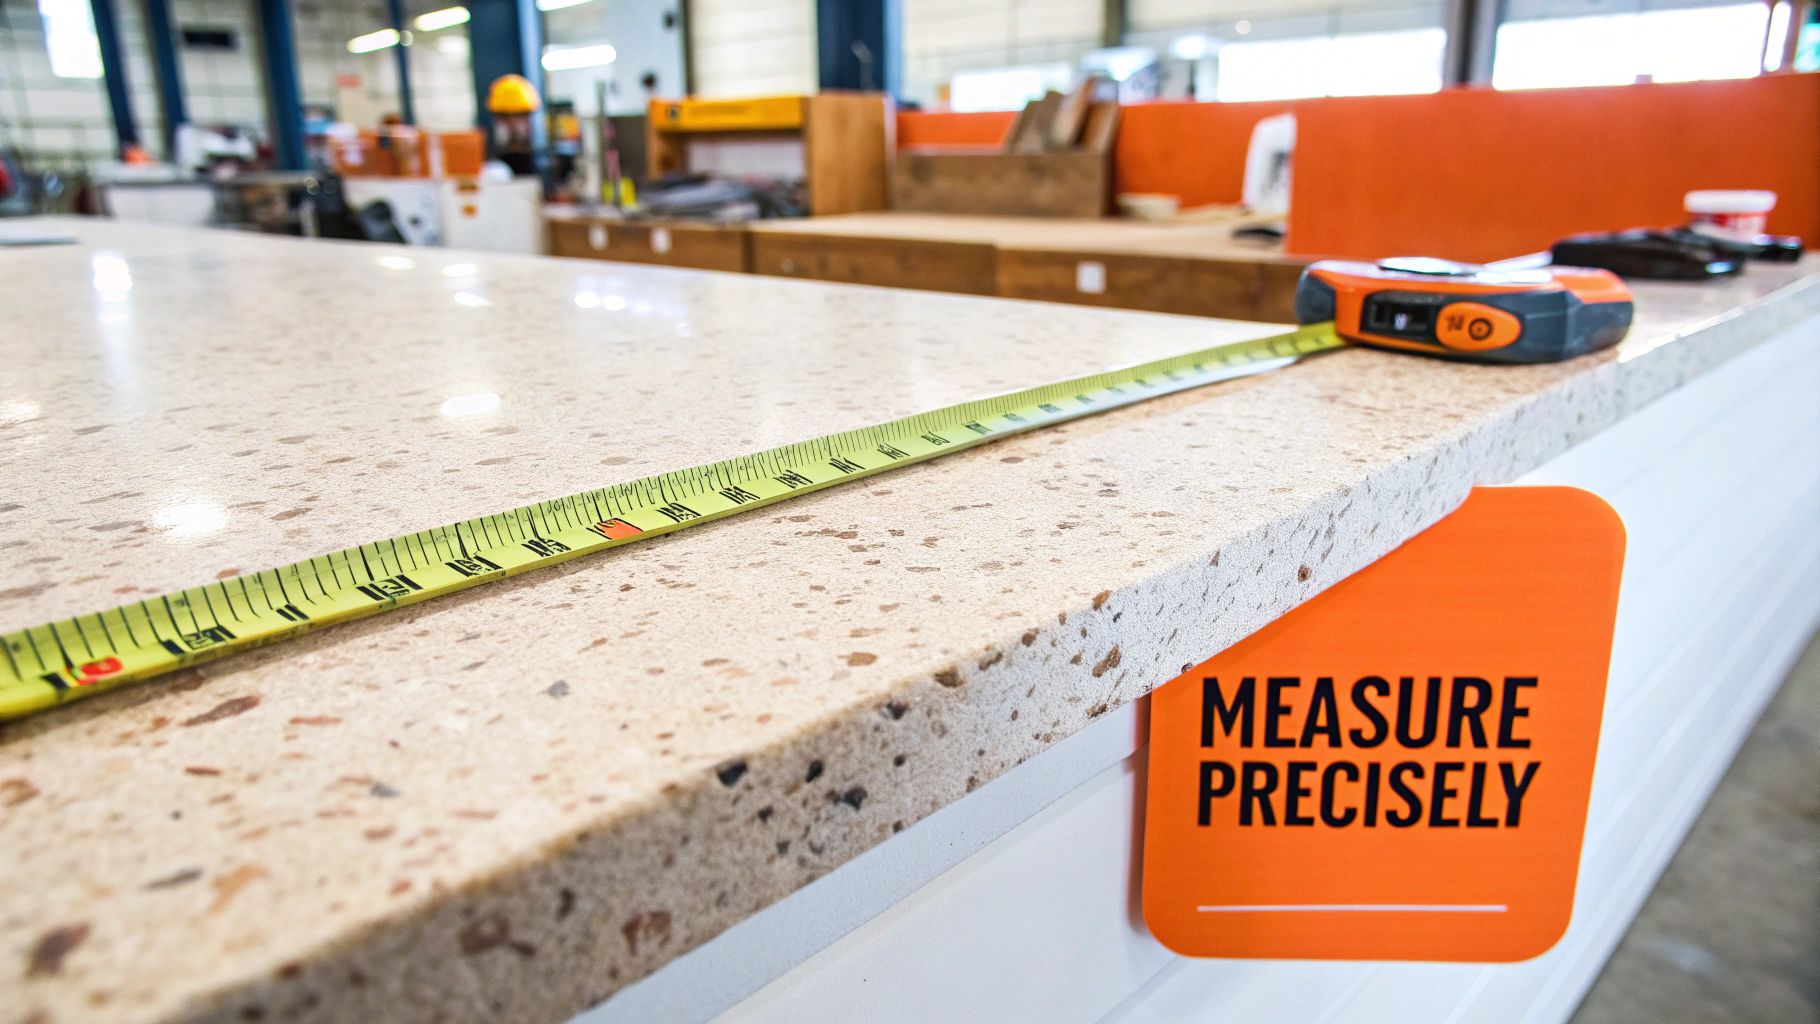
Crafting the Blueprint: A Precise Template
Once the cabinets are rock-solid, we create the template. This isn’t a rough sketch; it’s an exact, full-scale blueprint of your new countertops, built on-site using thin strips of luan plywood or corrugated plastic. These strips are glued together to capture every angle, curve, and dimension of your kitchen with absolute precision.
This detailed templating process is non-negotiable because it allows us to:
- Account for Wall Imperfections: No wall is perfectly straight. Templating captures every subtle bow and dip, ensuring the finished countertop fits snugly against the wall with no unsightly gaps.
- Finalize Cutout Locations: We mark the precise locations for your sink, cooktop, and faucets directly on the template. This guarantees perfect centering and functionality.
- Plan Seam Placement: For larger kitchens, seams are unavoidable. The template allows us to strategically plan their placement in the least conspicuous spots, such as over a cabinet support or in an inside corner.
This preparatory phase is where true craftsmanship comes into play. By perfecting these foundational details, we eliminate guesswork and prevent costly surprises on installation day. It’s the only way to guarantee the final result is as structurally sound as it is beautiful.
Safely Handling and Cutting Quartz Slabs
This is where the real heavy lifting begins, both literally and figuratively. Quartz slabs are incredibly dense, often weighing hundreds of pounds. Because of this weight, they are surprisingly vulnerable to cracking if not handled with specialized equipment and a deep understanding of the material’s structural limits.
A common mistake is assuming that because quartz is durable, it is indestructible during installation. The reality is quite different. Slabs have a flexural strength of around 35-50 MPa, meaning they can and will fracture if transported or positioned incorrectly. This is why our professionals use industrial-grade equipment like slab dollies and heavy-duty suction cup lifters. It is a high-risk process that demands expertise.
This step perfectly illustrates the difference between a professional job and a DIY attempt. Attempting to maneuver a slab without proper technique is a recipe for disaster—for the quartz, your property, and your personal safety. It’s a major reason we caution homeowners about the risks involved, as detailed in our article on the dark side of DIY projects.
The Art and Science of Cutting Quartz
Once the slab is safely situated, the cutting process begins. This is not a job for a standard circular saw. Achieving the clean, chip-free edges that define a high-end countertop installation requires specialized, professional-grade tools.
For long, straight cuts, a powerful wet saw equipped with a diamond-tipped blade is essential. The constant stream of water serves two critical functions:
- It keeps the blade cool, preventing overheating and warping under the extreme friction.
- It suppresses the fine silica dust generated when cutting engineered stone, which is a serious respiratory health hazard.
When the design requires complex shapes, such as an undermount sink cutout or the elegant curves of a kitchen island, we utilize CNC (Computer Numerical Control) technology. The digital template we created earlier guides a high-pressure waterjet or diamond router, carving out flawless shapes with a precision that is impossible to achieve by hand.
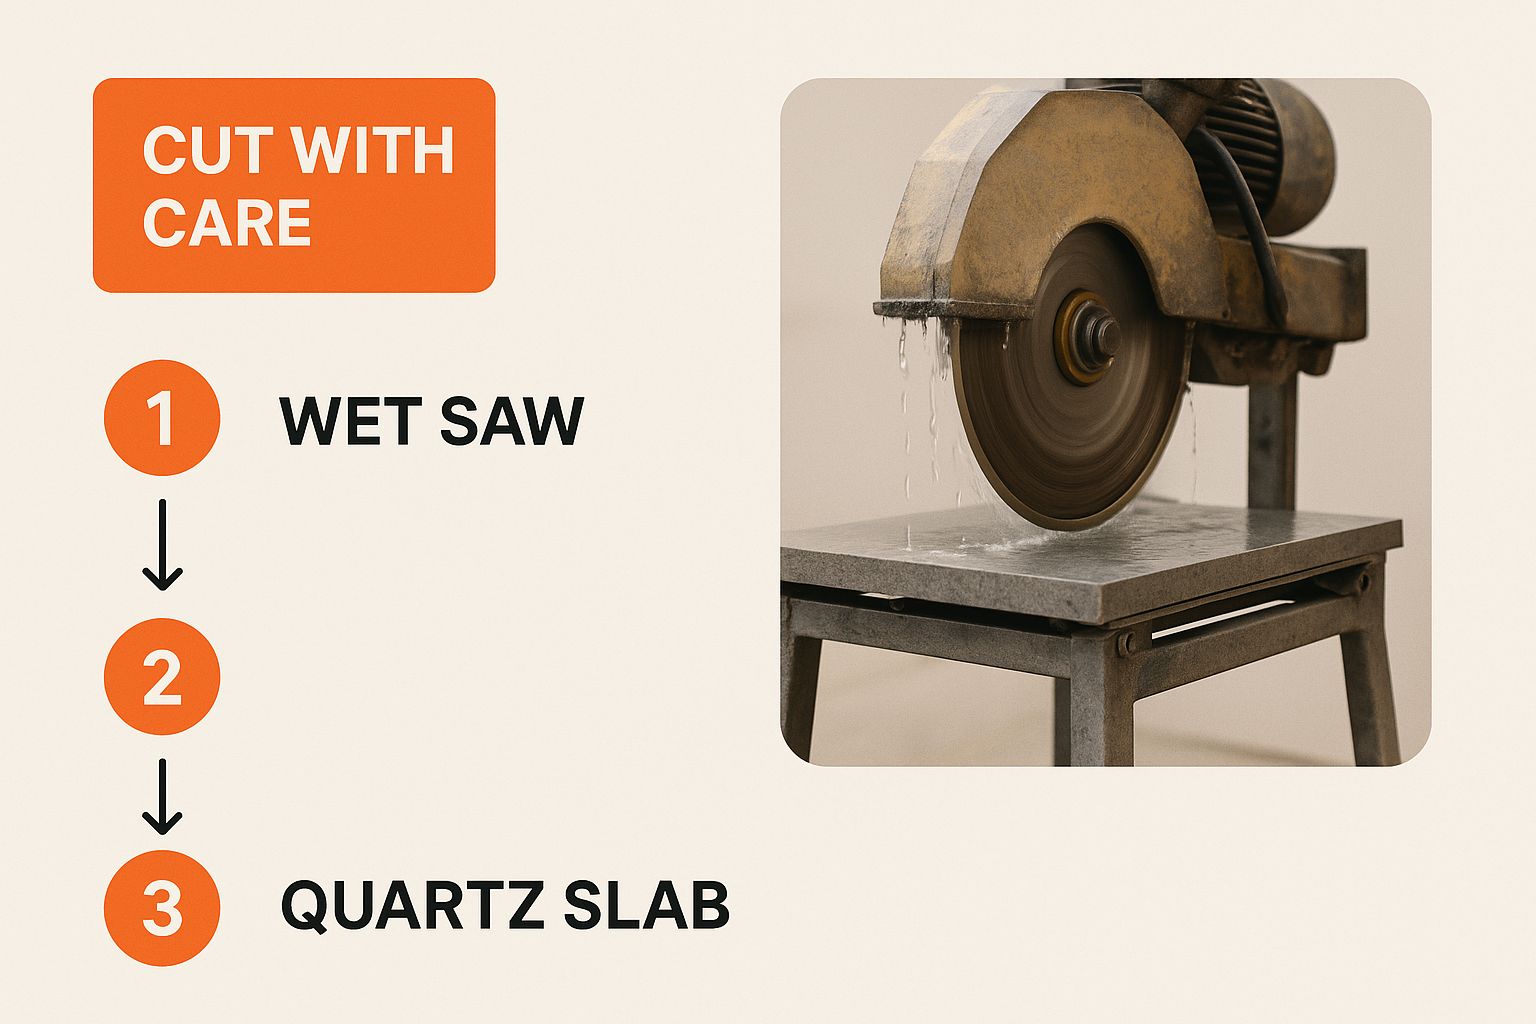
This image highlights the level of care and precision required. Using a wet saw with a diamond blade isn’t just a recommendation—it’s the only way to achieve a professional, chip-free result that will look perfect in your home.
Every cut is planned and executed with meticulous attention to detail to ensure a perfect match with the template. This technical skill guarantees that when the pieces arrive at your Orange County home, they will fit together flawlessly, creating the seamless, custom-built appearance you expect from an expert.
Achieving Seamless Joints for a Flawless Look
The true signature of a high-end quartz installation isn’t just the stone itself—it’s the seams. Or, more accurately, their near-invisibility.
In most kitchens, joining two or more pieces of quartz is a necessity. The true artistry lies in making that joint so clean and tight that it practically disappears, creating the illusion of one continuous, monolithic slab. This painstaking craftsmanship is what separates an average job from an exceptional one.
A poor installation leaves wide, obvious seams that are not only an eyesore but also trap crumbs and grime. Our goal is the opposite: a seam that is virtually undetectable and enhances the kitchen’s overall aesthetic. This delicate process requires patience, precision, and the right professional tools, starting with a crucial step called the dry-fit.
The Crucial Dry-Fitting Process
Before any adhesive is applied, we perform a thorough dry-fit. This involves carefully placing the slabs onto the cabinets to check their alignment and identify any microscopic imperfections. Even with a perfect template, the realities of a settled home and unique cabinet layouts demand this hands-on adjustment phase.
During the dry-fit, we make micro-adjustments with thin, durable shims, focusing on two key factors:
- Levelness: Both slabs must sit on the exact same plane. Even a paper-thin height difference will cast a shadow, making the seam highly visible.
- Tightness: The gap between the two pieces must be incredibly small and consistent, typically no wider than 1/16th of an inch.
This is an iterative process. We place, check, and shim repeatedly until the joint is absolutely perfect. It’s time-consuming, but it is a non-negotiable step that lays the foundation for a truly invisible seam.
Creating an Unbreakable and Inconspicuous Bond
Once the dry-fit is perfect, we create a permanent bond using a specialized two-part epoxy formulated for engineered stone. This adhesive creates a bond so powerful it is often stronger than the quartz itself.
The true magic, however, is in the color matching. We mix custom pigments into the epoxy to create a shade that perfectly matches the base color and subtle veining of your specific quartz slab. This custom tinting is what allows the seam to blend seamlessly, rather than standing out as a dark, distracting line.
A perfectly color-matched epoxy is the difference between a seam that interrupts the flow of your countertop and one that enhances its continuous beauty. It’s a detail that defines a high-end, professional installation.
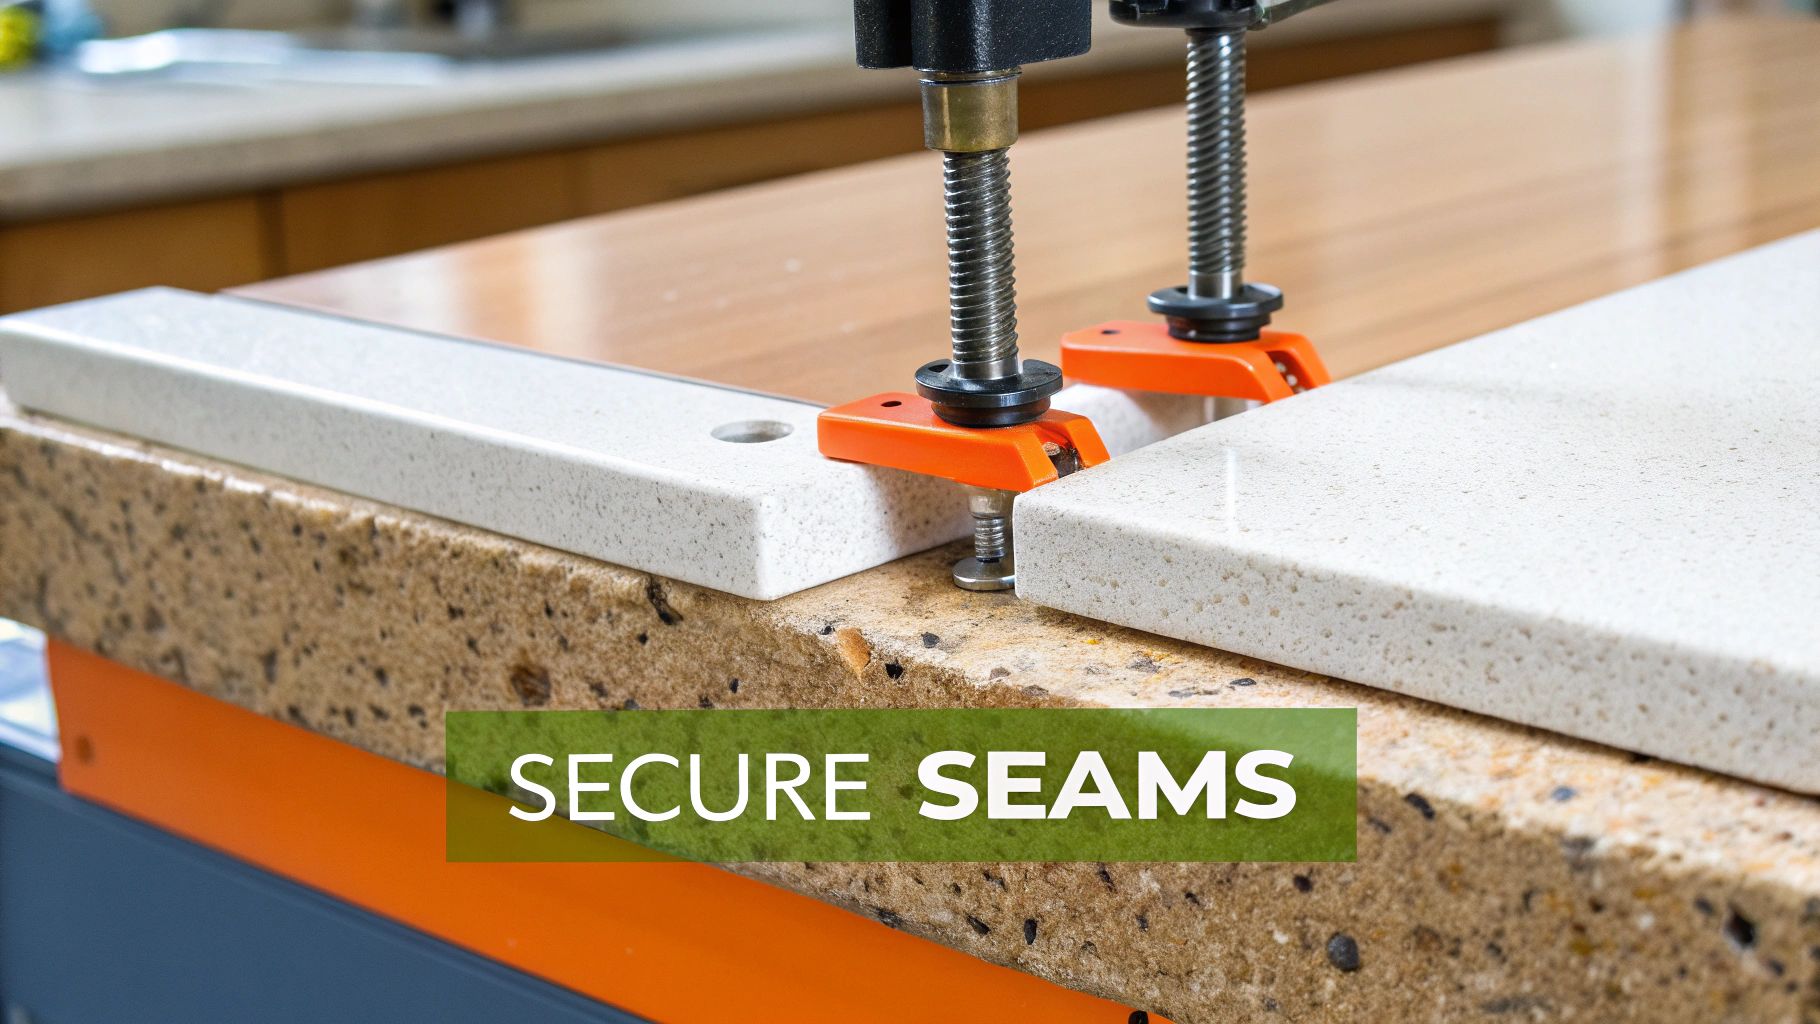
With the colored epoxy mixed, we apply it carefully to the edges of both slabs. Next, we use a heavy-duty tool called a vacuum seam setter. This device uses powerful suction cups to grip both pieces of quartz, pulling them together with immense and perfectly even pressure.
As the seam setter pulls the slabs tight, it also levels them perfectly, squeezing out any excess epoxy and creating the tightest possible joint. We leave the tool clamped in place until the epoxy has fully cured, locking the flawless seam into its final, permanent position. This meticulous approach is how we guarantee a smooth, durable, and nearly invisible result every time.
Securing and Finishing Your New Countertops
Once your quartz slabs are perfectly seamed and in place, the final steps lock in the quality and bring your new kitchen to life. This is where we secure the countertops to your cabinets—a crucial step that relies on finesse, not brute force.
We avoid mechanical fasteners like screws, which can create stress points and risk cracking the stone. Instead, the professional method is to use a high-grade, 100% silicone adhesive. A careful bead is applied along the top edges of the cabinet supports, creating a bond that is more than strong enough to hold the heavy slab securely.
Crucially, the silicone remains flexible after it cures. Every home in Orange County expands and contracts with daily and seasonal temperature shifts. This flexibility allows for that subtle movement, preventing dangerous stress from building up in the quartz.
Creating Clean Lines and a Polished Finish
Next, we install the backsplash if your design includes one. This is followed by one of the most satisfying parts of the job: caulking. We apply a clean, precise bead of caulk where the countertop meets the wall and where the backsplash rests on the counter.
This isn’t just for aesthetics. The caulk line creates a waterproof seal that prevents moisture from seeping behind your cabinets, providing essential protection against water damage and mold growth.
A pristine caulk line is a small detail that makes a huge impact. It’s the finishing touch that signals a professional, high-quality installation and ensures a clean, easy-to-maintain surface for years to come.
One of the greatest benefits of quartz is its non-porous nature, which means it never requires sealing. This has simplified installation practices. The focus is on adhesive anchoring to properly support the material’s rigidity and significant weight of 20-25 pounds per square foot. You can explore these standards and market trends for quartz kitchen countertops.
Final Inspection and Cleanup
Our work isn’t finished until your home is spotless and we’ve conducted a meticulous final inspection. We clean up all dust and installation debris, polishing the surface to reveal its true luster.
Our lead installer then performs a detailed walkthrough with you, checking every seam, edge, and cutout to ensure it meets our exacting standards of excellence. This is the moment the controlled chaos of remodeling transforms into the calm, stunning kitchen you envisioned.
This final polish is crucial for bringing out the stone’s beauty. For tips on maintaining its pristine appearance, our guide on professional tile and stone cleaning offers expert advice.
Common Quartz Installation Questions Answered
Even with a detailed plan, questions are a natural part of any remodeling project. At Sparkle Restoration Services, we believe an educated client is an empowered client. To help you feel confident in your investment, here are answers to the most common questions we receive from Orange County homeowners.
Can I Install Quartz Countertops Myself to Save Money?
The DIY spirit is commendable, but quartz installation is a task best left to licensed and insured professionals. Quartz is incredibly heavy, with a single slab easily exceeding 500 pounds, and it requires specialized diamond cutting tools that are unforgiving. One miscalculation or a cracked slab during transport can cost thousands to replace, instantly erasing any potential savings. A professional installation is warrantied, ensures safety, and delivers the flawless finish your investment deserves.
What Is the Hardest Part of Installing Quartz?
From a technical standpoint, two aspects are most challenging: safely maneuvering the heavy slabs into place and making the seams disappear. Moving a 500-pound slab without causing injury or catastrophic damage requires a coordinated team and specialized equipment.
Creating tight, level, and perfectly color-matched seams, however, is where true craftsmanship is revealed. This meticulous process demands exceptional skill, patience, and tools like vacuum seam setters. The goal is to create a single, monolithic look, and that requires an expert touch.
Expert Takeaway: The quality of the seams is the ultimate signature of a professional installation. It’s the detail that separates a standard job from a luxury-grade finish that truly elevates your space.
How Long Until I Can Use My New Countertops?
Patience is key after installation. We recommend waiting a full 24 hours before any light use. This allows the silicone and the powerful seam adhesives to cure properly.
You should wait at least 72 hours before placing heavy items, like a stand mixer or microwave, on the countertops, particularly near any seams. Allowing these materials to fully set is crucial for the long-term strength and durability of your new surfaces. Our installation team will always provide you with specific guidance for your project before they leave.
Do Quartz Countertops Need to Be Sealed?
No, and this is one of the biggest advantages of choosing quartz. Unlike natural stones like granite or marble that require regular sealing, quartz is non-porous. During manufacturing, crushed natural quartz is bound with resins to create an incredibly dense, durable surface that naturally resists stains and bacteria without ever needing a chemical sealant. This makes it a fantastic, low-maintenance choice for busy kitchens and bathrooms.
If you have more questions about remodeling, please visit our frequently asked questions page.
Ready to transform your kitchen with a flawless quartz countertop installation? The experts at Sparkle Restoration Services combine IICRC Master Certification with award-winning craftsmanship to deliver a stress-free experience and stunning results. Schedule your free consultation today at https://www.sparklerestoration.com and let us turn your vision into reality.
Ready to create a space that’s as beautiful as it is functional? Schedule your complimentary design consultation today by visiting Ready to Work with Sparkle?