
That sinking feeling when you spot a water stain is all too familiar to homeowners in Orange County. But with the right strategy, you can often tackle it yourself. The secret isn’t just about cleaning; it’s about acting quickly and using the correct method for the specific surface. Getting this right can stop a minor issue from becoming a major, costly headache. This guide on how to remove water stains will walk you through the professional approach to restoring your home.
Your First Moves Against Water Stains
So, you’ve found a water stain. Before you grab the nearest cleaner, pause. Your first and most critical job is to play detective and find the source of the water. Is it a slow leak from a dishwasher line? Condensation from a window? A forgotten spill? If you don’t stop the source, that stain will keep returning, no matter how well you clean it.
Once you’ve addressed the source, it’s time to assess the damage like a professional. The type of material—drywall, hardwood, fabric—will determine your entire approach. A fresh, light-colored mark on a sealed floor is a completely different challenge than a dark, old ring that has soaked deep into a porous surface like unfinished wood.
Being prepared for these moments makes all the difference. That’s why we always advise our clients to have a few key supplies on hand. If you’re not sure where to start, check out our guide on how to build a water emergency first aid kit. It can turn a moment of panic into a manageable task.
This simple decision tree can help you determine your next steps based on the surface and the severity of the stain.
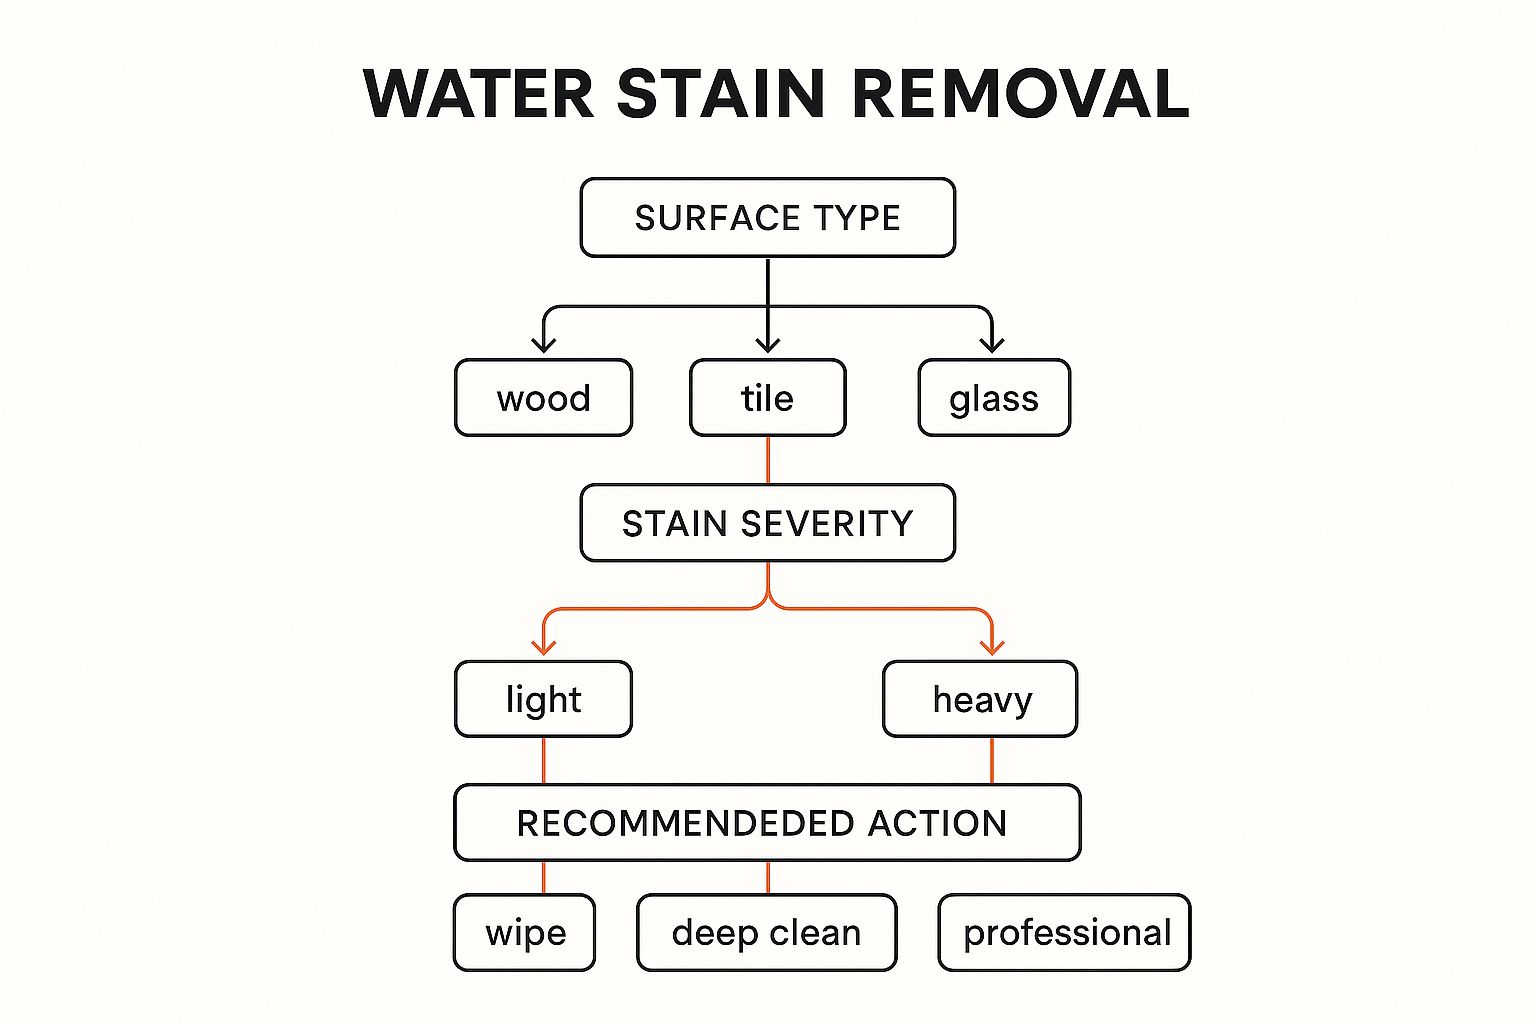
As you can see, the path forward is highly dependent on the material. It’s a perfect illustration of why a one-size-fits-all solution rarely works and why sometimes, calling in a certified expert is the smartest move.
For a quick reference, here’s a simple table to help you decide what to do in those first critical moments.
Quick Guide for Initial Water Stain Triage
| Surface Type | What to Do First | When to Be Cautious |
|---|---|---|
| Wood Floors | Blot up any surface moisture immediately. Assess if the stain is light or dark. | If the wood is buckling, warping, or the stain is black (potential mold). |
| Drywall | Gently blot the area. Check if the wall feels soft, spongy, or is crumbling. | If the stained area is large, the wall feels soft, or you see signs of mold. |
| Carpet/Fabric | Blot with a clean, dry towel—don’t rub. Lift as much moisture as possible. | If the stain comes from a contaminated source or has soaked through to the padding. |
| Ceiling | Place a bucket underneath. Try to identify the source from the floor above. | If the ceiling is sagging or bulging. This indicates a significant water buildup. |
This initial triage helps you make a clear-headed decision when time is of the essence.
Understanding the Stain Itself
It’s no surprise that people want effective ways to deal with stains. The global stain remover market was valued at a staggering USD 22.3 billion in 2023 and is only expected to grow. This tells us one thing: homeowners are serious about protecting their property and are looking for reliable solutions for common problems like water damage.
That initial assessment you make is the most important part of the whole process. It’s what helps you tell the difference between a quick DIY cleanup and a situation that needs an IICRC Master Certified expert to prevent hidden problems like structural rot or mold. Acting with confidence from the start is how you turn chaos into calm.
Reviving Wood Surfaces From Water Marks
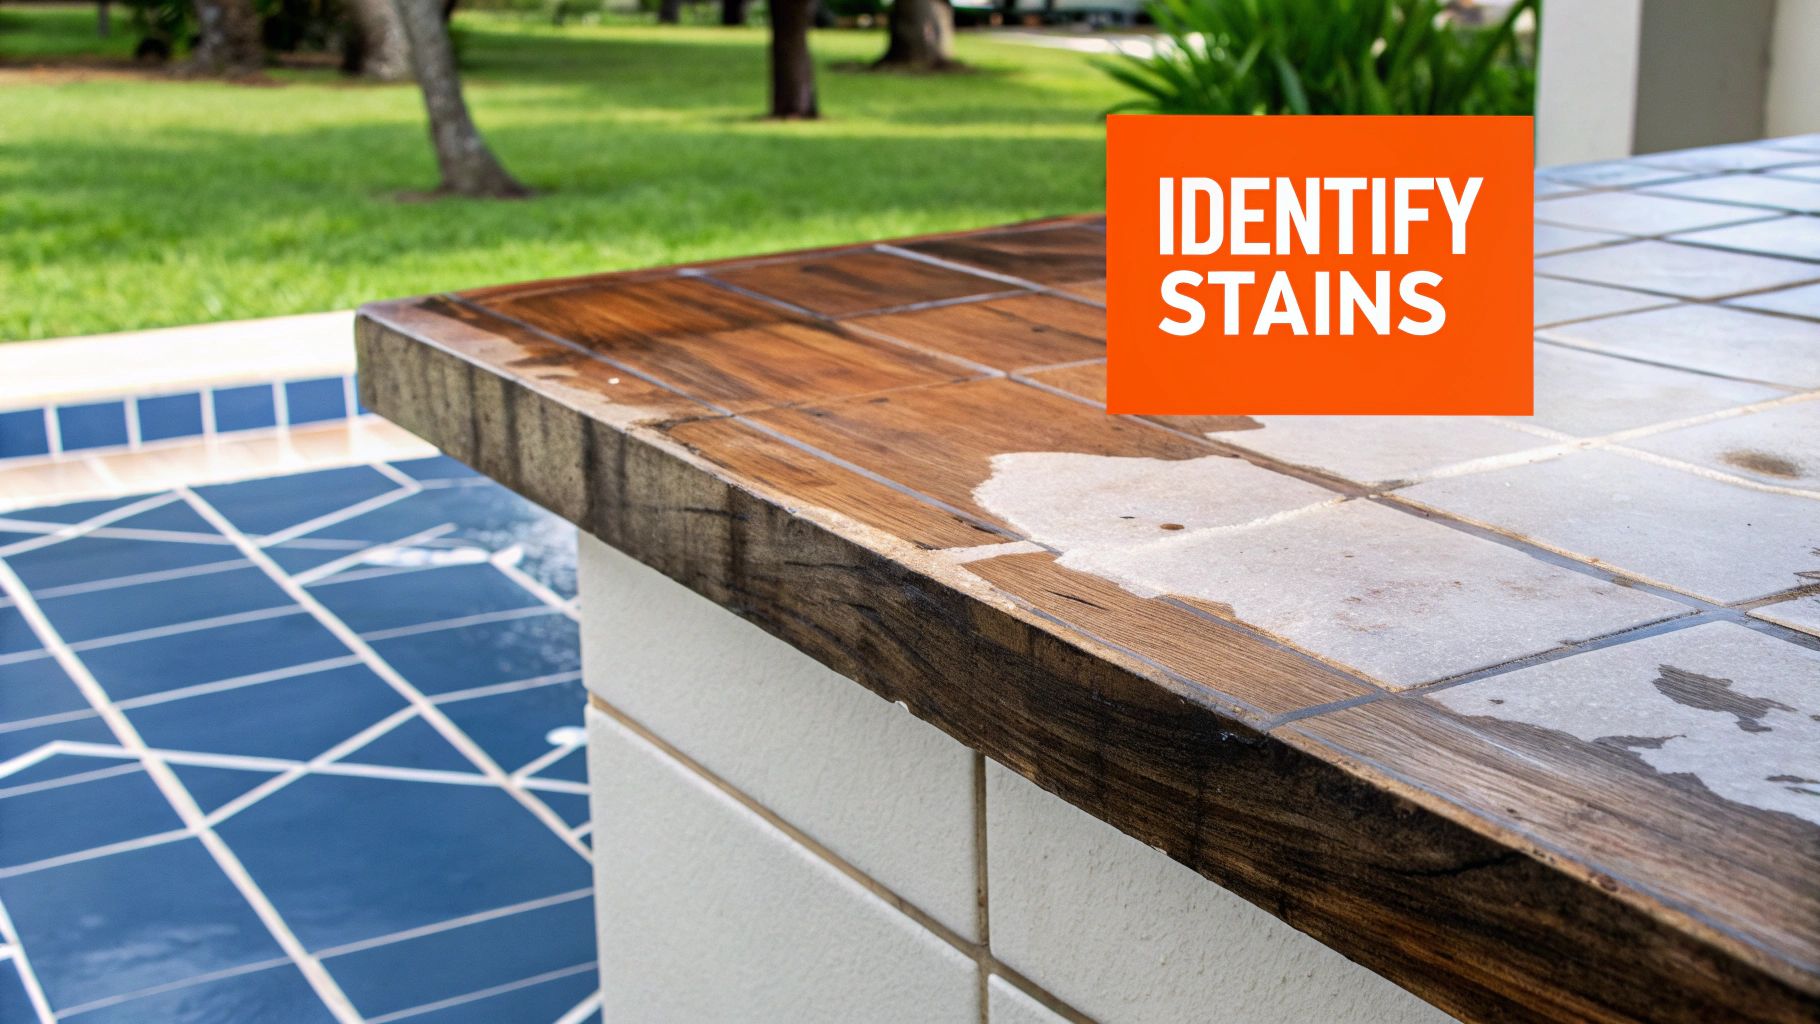
A water ring on an elegant piece of wood furniture or a dark spot on a gleaming hardwood floor can feel like a permanent scar. The good news is, many of these blemishes are surprisingly treatable. The key is identifying the type of stain you’re up against, and its color tells you everything you need to know.
Think of a white, hazy, or cloudy ring as a sigh of relief. This kind of mark means moisture is only trapped in the top finish layer—like the lacquer or varnish—and hasn’t soaked into the wood itself. A dark brown or black stain, on the other hand, signals a deeper problem where water has seeped into the wood fibers and reacted with the natural tannins.
Tackling Light-Colored Stains
For those superficial white marks, you likely have a solution in your pantry or bathroom cabinet right now. These gentle methods are all about lifting that trapped moisture without stripping the wood’s protective finish.
But before you start, a crucial word of caution: always test your chosen method on a small, hidden area first. The underside of a table or a closet corner of your flooring is perfect for this. This simple step ensures the technique won’t cause any unexpected discoloration or damage.
Once you’ve done your spot test, give one of these tried-and-true techniques a go:
- Mild Abrasive Paste: Mix up a paste using equal parts of non-gel white toothpaste and baking soda. Using a soft cloth, gently rub the paste onto the stain, always moving with the direction of the wood grain. Wipe it clean with a damp cloth and then dry the area completely.
- The Iron Method: Lay a clean, dry cotton cloth over the stain—an old t-shirt with no prints or designs works great. With your iron on a low, dry setting (no steam!), press it on the cloth for just a few seconds at a time. Lift the iron and check your progress often. The gentle heat is usually enough to help the trapped moisture evaporate.
Addressing Dark, Deep-Set Stains
Dark stains present a bigger challenge because the water has physically altered the wood. These marks often demand a more intensive approach that goes beyond a simple surface-level cleaning.
For these stubborn spots, a solution containing oxalic acid, often sold as “wood bleach,” can work wonders. This chemical gets into the wood fibers and works to remove the iron and water stains, lightening the darkened areas from within. It is a powerful substance, however, and requires careful handling with proper ventilation and protective gear.
As IICRC Master Certified professionals, we’ve seen that when a dark stain is widespread or the wood’s finish is compromised, the best course of action is often light sanding and refinishing. This process removes the damaged layer and allows for a fresh, seamless finish.
If your wood floors have suffered extensive damage, a full restoration might be what’s needed. Exploring professional flooring sales and installation services can ensure your valuable hardwoods are brought back to their original beauty with expert precision. For severe damage, this approach guarantees a flawless result that DIY methods simply can’t match.
Tackling Stained Drywall and Ceilings
Seeing that dreaded brown spot appear on your ceiling or wall is a homeowner’s nightmare. It’s more than just an unsightly blemish; it’s a clear warning sign of a hidden water problem. The key to a real, lasting fix is to go beyond just covering it up and tackle it like a professional.

Before you even think of reaching for a paintbrush, your absolute first priority is confirming the leak is totally, completely fixed. Whether it came from a leaky pipe, a compromised roof, or condensation, painting over an active leak guarantees that stain will reappear—and likely look even worse the second time around.
Preparing the Surface for a Flawless Finish
Once you’re 100% certain the leak is history and the drywall is bone dry, you can get to work. The mission here isn’t just to hide the stain—it’s to neutralize it so it can never bleed through again.
Start by giving the area a gentle cleaning. A simple mix of one part bleach to three parts water works wonders. Just apply it with a sponge. This step does two critical things: it cuts through any surface grime and, more importantly, it kills off any mildew or mold spores that may have started to grow. Always wear gloves and keep the room well-ventilated for this part.
The One Step You Can’t Afford to Skip: Primer
After the wall is clean and has had plenty of time to dry out again, it’s time for the most important part of the job: a high-quality, stain-blocking primer. Seriously, do not skip this.
Your standard latex paint primer just won’t do the trick here. Since it’s water-based, it will actually reactivate the minerals in the water stain and pull that discoloration right through your fresh coat of paint. You need a primer specifically designed to lock down stubborn stains.
Here’s what to look for:
- Shellac-Based Primers: These are the heavy hitters. They have incredible stain-blocking power and are fantastic for sealing in odors from severe water damage.
- Oil-Based (Alkyd) Primers: Also an excellent choice. They create a powerful barrier that completely seals the stain away from your topcoat.
Applying a thin, even coat of one of these primers is the professional secret to making sure that blemish is gone for good. It creates an impermeable wall between the old damage and your new paint.
A proper repair restores both the look and the integrity of your wall. Skipping the stain-blocking primer is the most common mistake we see, and it always leads to frustration when the stain reappears weeks later.
Understanding what causes water damage is crucial for making effective repairs. For a closer look at how water impacts your home’s structure, you can learn more by reading our guide explaining the fundamentals of water damage. This is the kind of knowledge that helps homeowners in Orange County make smart decisions.
Painting and Blending for a Seamless Look
Let the primer cure completely—check the can for the specific drying time. Now, you’re finally ready to paint.
For the best results, you’ll want to use the exact same color and finish as the rest of the wall. When you apply the new paint, feather the edges into the surrounding area. This simple trick helps blend the repair seamlessly, making it practically invisible. If needed, apply a second coat to get that perfect, uniform finish.
Following this methodical approach ensures you’re not just putting a temporary fix on the problem. You’re truly restoring your home’s appearance and turning the chaos of a water leak back into calm.
Lifting Water Stains From Upholstery and Carpet
Treating a water stain on fabric is a completely different challenge compared to working on hard surfaces. Caution is key here, because the wrong move or cleaning product can spread the stain, set it permanently, or even ruin the fibers of your furniture or carpet.
Whether you’re looking at a fresh spill on a sofa cushion, a ceiling leak that dripped onto your curtains, or a stubborn mark on a high-end rug, the basic principles are the same. You need to be gentle and use the right tools for the job.
Before you even think about spraying a cleaner, your very first step should always be to find the manufacturer’s care tag. On a couch, it’s usually tucked under a cushion; on a rug, it’s on the backing. This little tag is your roadmap, with cleaning codes like “W,” “S,” “W/S,” or “X” that tell you exactly what you can and can’t use. Ignoring this advice is a fast track to permanent damage, especially with delicate materials like silk or velvet.
Tailoring Your Cleaning Method to the Fabric
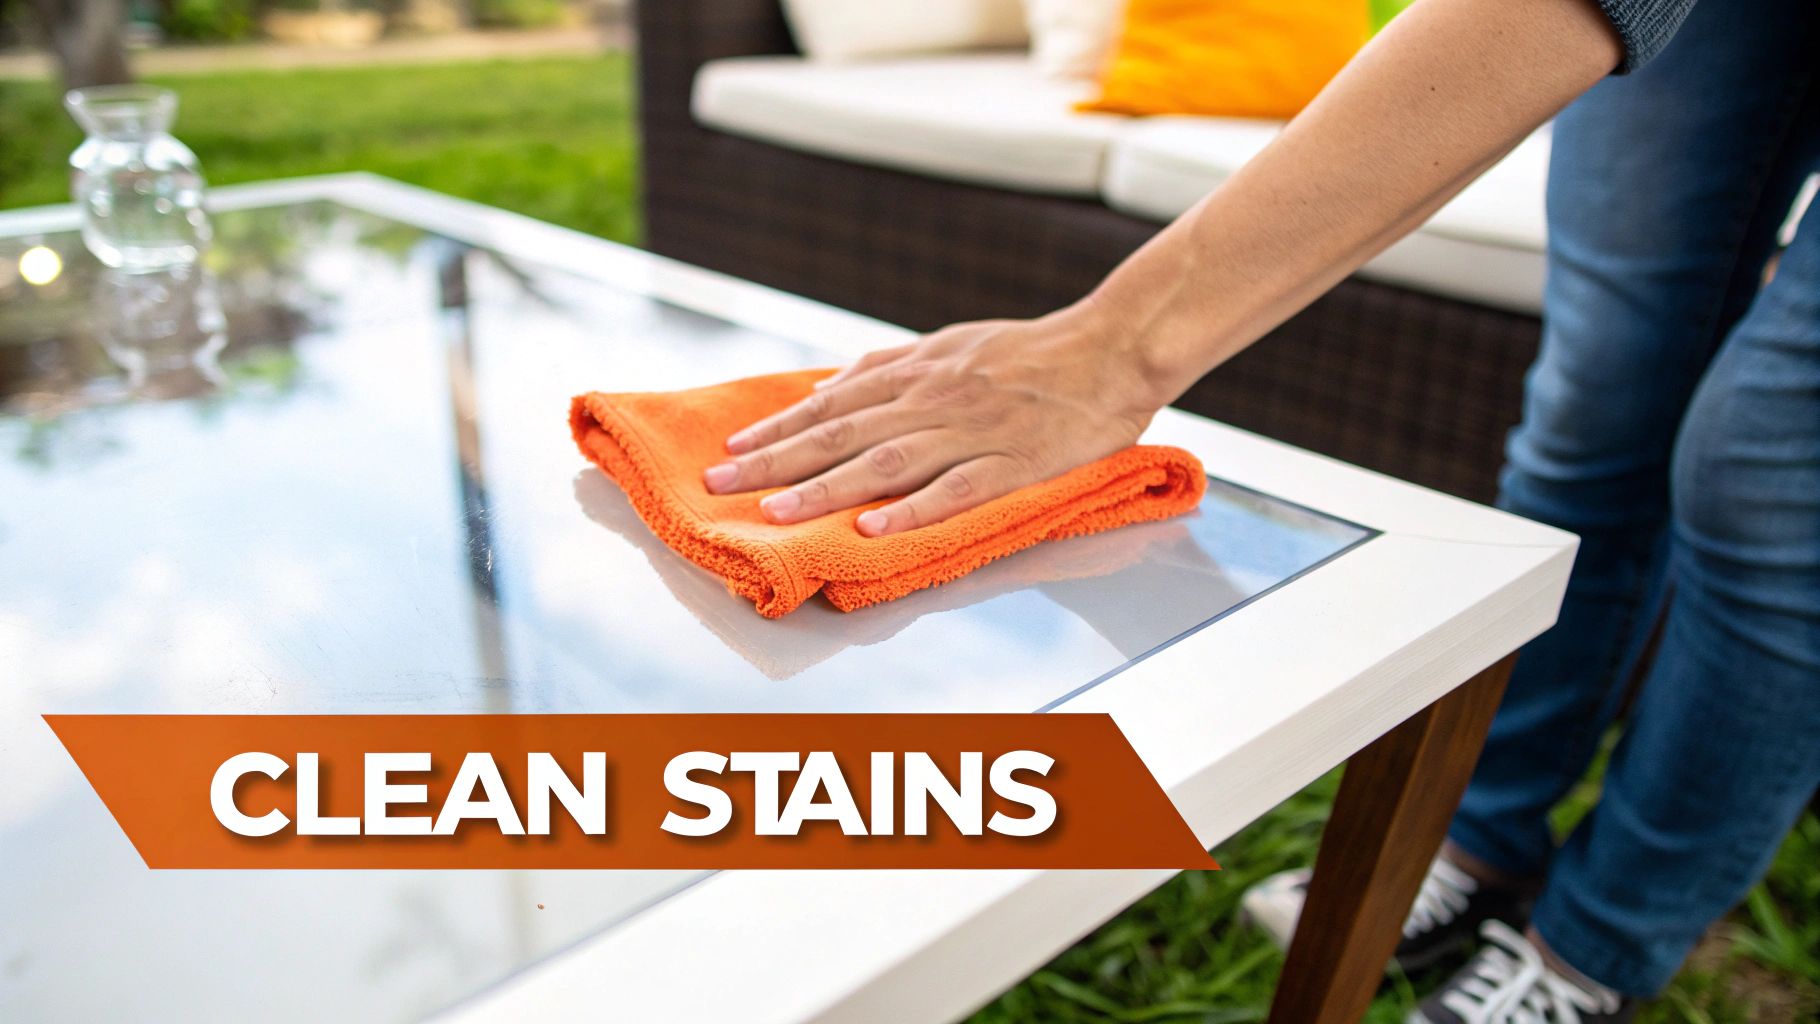
For those tough, synthetic carpets—usually coded “W” for water-based cleaners—a simple homemade solution often does the trick. We recommend mixing equal parts white vinegar and cool water in a spray bottle and lightly misting the stained area.
The most important technique here is to blot, not rub. Grab a clean, white microfiber cloth and gently press down on the stain. Always work from the outside edge of the stain inward to keep it from spreading. If you start rubbing aggressively, you’ll just fray the carpet fibers and push the stain deeper.
For more delicate upholstery, it’s much safer to reach for a specialized cleaning product. There are many excellent recommended carpet and upholstery cleaners out there specifically formulated to lift the mineral deposits from water without bleaching or discoloring the fabric.
Pro Tip: Have you ever cleaned a spot only to find a bigger water ring left behind once it dries? You can prevent this with a hairdryer on its coolest setting. Keep it moving a few inches from the fabric to gently and evenly dry the area, blending the moisture outward.
This is a simple technique our IICRC-certified technicians rely on. It prevents the minerals in the water from settling into that tell-tale ring as the moisture evaporates, leaving a seamless finish.
Sometimes, though, a DIY approach just won’t cut it, especially for deep-set stains or damage across a large or valuable piece of furniture. Our professional carpet and furniture cleaning services use commercial-grade equipment to safely extract stains and moisture without over-saturating the material, protecting your investment. This ensures your treasured pieces get the expert care they need to look their best again.
Knowing When to Call a Restoration Expert
While tackling minor, surface-level water stains yourself can be incredibly satisfying, some situations are clear signals of a much bigger problem hiding out of sight. We’ve seen it time and time again in Orange County homes: what looks like a small discoloration is actually the tip of the iceberg.
Learning to spot these warning signs is crucial for protecting your home’s structural integrity and your family’s health. Ignoring them can quickly turn a manageable issue into a costly and stressful ordeal.
Bringing in a professional isn’t admitting defeat. It’s a strategic decision to prevent serious, long-term damage. If you’ve cleaned a stain only to watch it creep back, that’s a huge red flag. It means the moisture source is still active, or the material is saturated far deeper than any surface treatment can reach.
Red Flags That Demand Professional Attention
Certain symptoms indicate the water damage is more than just cosmetic. These are non-negotiable signs that it’s time to bring in an IICRC Master Certified team.
Keep a close eye out for any of these issues:
- A Musty or Earthy Odor: This distinct smell is the classic calling card of mold or mildew, which can start growing within just 24 to 48 hours of water exposure.
- Soft or Spongy Surfaces: If you press on your drywall, flooring, or ceiling and it feels soft or gives way, its structural integrity is already compromised. This needs immediate professional attention.
- Large or Spreading Stains: A stain that covers more than a few square feet or seems to be growing is a clear sign of a significant, ongoing leak that requires professional mitigation right away.
These aren’t just ugly spots; they are indicators of a compromised and potentially unhealthy home environment. Our experience with projects like water damage mitigation in Irvine, CA, has shown us just how quickly hidden moisture can lead to extensive and expensive repairs if not handled correctly from the start.
The Sparkle Advantage: Technology and Expertise
When you call a firm like Sparkle Restoration Services, you’re not just getting a team with cleaning supplies. You’re accessing advanced diagnostic technology that makes all the difference. We use tools like thermal imaging cameras to map out moisture you can’t see behind walls and deploy industrial-strength dehumidifiers to properly dry structural materials from the inside out.
A common misconception is that if a surface feels dry to the touch, the problem is solved. The reality is that moisture can stay trapped for weeks, creating a perfect breeding ground for mold and causing materials to slowly rot and degrade over time.
This advanced approach is especially vital here in Southern California, where hard water is a constant issue. The global market for hard water stain removers was valued at around USD 1.82 billion in 2024, showing just how widespread problems with mineral deposits are. A professional can tell the difference between a simple mineral stain and the signs of deeper water intrusion, ensuring you’re actually solving the right problem.
Ultimately, calling a licensed and certified expert is often the most cost-effective choice when you’re facing significant water damage. It gives you peace of mind, protects your investment, and ensures your home is returned to a safe, healthy state—turning chaos into calm, fast.
Common Questions About Water Stain Removal
Even with the basics down, real-world questions always pop up when you’re staring at a fresh water stain. As Orange County’s trusted restoration experts, we’ve heard them all. Here are the answers to the questions we get most often from homeowners, designed to help you handle the repair with confidence and sidestep any expensive mistakes.
Can I Just Paint Over a Water Stain on My Ceiling?
This is easily the most frequent question we get, and the answer is always a firm no. Simply painting over a water stain is like putting a small bandage on a major wound—it’s a temporary fix that’s guaranteed to cause a bigger headache later.
The minerals and discoloration from the water damage will absolutely bleed through the new paint. It’s not a matter of if, but when—often within just a few weeks. Then you’re right back where you started, but now you’ve wasted time and money on paint.
More importantly, a coat of paint doesn’t solve the underlying issue. You haven’t fixed the leak, and you haven’t dealt with the moisture trapped inside your drywall. This creates the perfect breeding ground for mold to grow unseen, which can compromise your home’s air quality and even its structural integrity.
The professional process is non-negotiable: First, you must stop the leak. Then, you clean the area to kill any potential mold. Next, you apply a high-quality, stain-blocking primer. Only after all that is done should you even think about applying your topcoat of paint.
What Is the Difference Between a Light and a Dark Water Stain on Wood?
The color of a water stain on your wood floors or furniture reveals how deep the damage goes. Identifying this is the key to choosing the right repair method without making things worse.
- Light or White Stains: If you see a cloudy, white, or hazy mark, breathe a sigh of relief. This is actually good news. It means the moisture is only trapped in the top finish layer, like the varnish or lacquer. This kind of stain can often be resolved with gentle, surface-level DIY methods.
- Dark or Black Stains: A dark brown or black stain is a red flag for a more serious problem. This means water has soaked through the finish and penetrated the wood fibers, reacting with the wood’s natural tannins. These stains are much tougher to remove and usually require professional intervention, such as sanding and refinishing the entire piece.
How Can I Prevent Water Stains From Happening Again?
Being proactive is always less expensive and less stressful than reacting to damage. A little consistent, mindful maintenance can protect your home and save you from major headaches down the road.
Make it a habit to regularly inspect for slow leaks in common trouble spots—think under sinks, behind toilets, and around the connections for your dishwasher and washing machine. Check that your roof is in good shape and that your gutters are clear to prevent overflows.
Inside your home, simple habits make a big difference. Always use coasters on wood furniture, wipe up spills the second they happen, and run ventilation fans in bathrooms and kitchens to keep humidity in check. For a deeper dive into techniques for various materials, consider exploring a comprehensive guide on how to remove water stains from any surface. Knowing how to handle different materials empowers you to protect your investment proactively.
At Sparkle Restoration Services, we believe in empowering homeowners with the knowledge to protect their property. But when a simple water stain hints at a bigger issue, you need a team with the expertise to fix it right the first time. As a BBB Torch Award winner for ethics, we are committed to providing honest, expert service. Our IICRC Master Certified technicians are on call 24/7 to turn chaos into calm—fast. Contact us today for a professional assessment and get the peace of mind that comes from working with Orange County’s premier restoration experts. https://www.sparklerestoration.com
Ready to create a space that’s as beautiful as it is functional? Schedule your complimentary design consultation today by visiting Ready to Work with Sparkle?