

Before a single cabinet is moved, a successful kitchen island installation begins with meticulous planning. For discerning homeowners in Orange County, it’s about strategically designing the layout, confirming structural requirements, and integrating utilities from day one. A professional installation delivers a functional, value-adding centerpiece, not an awkward obstacle. This process requires precise measurement and the expertise of a licensed general contractor to manage the complexities of electrical and plumbing work.
As an IICRC Master Certified and BBB Torch Award-winning firm, we at Sparkle Restoration Services believe in empowering our clients with the knowledge to make confident decisions. This guide will walk you through the professional process to install a kitchen island correctly, ensuring it enhances both the beauty and functionality of your Southern California home.
Laying the Groundwork for a Flawless Installation

A kitchen island can completely transform your home’s function and style, but an exceptional result starts long before any tools are involved. For homeowners here in Orange County, intelligent planning is what separates a beautiful, high-value centerpiece from a project that disrupts your kitchen’s natural harmony.
This foundational stage is where your vision is translated into a viable, strategic plan. By asking the right questions now, you can avoid costly missteps and ensure the finished island feels seamlessly integrated into your home’s design.
Assess Your Kitchen Layout and Flow
Before settling on a specific island design, take a critical look at your kitchen’s existing footprint. The primary goal is to enhance your workflow, not to create new navigational challenges.
- Traffic Paths: Ensure clear, generous walkways around the island. While building codes often mandate a minimum of 36 inches, our experience with luxury remodels shows that 42 to 48 inches is far more practical for a busy kitchen. This provides ample room to open appliance doors without impeding foot traffic.
- The Work Triangle: Consider how the island will affect the classic path between your sink, stove, and refrigerator. A well-placed island can streamline this triangle, making cooking more efficient. A poorly placed one, however, can turn your kitchen into a frustrating maze.
Expert Insight: Use painter’s tape to mark the proposed island’s footprint directly on your kitchen floor. Live with this “ghost” island for a few days. Observe how it impacts your daily routine of walking, opening cabinets, and using appliances. This is the most effective way to identify potential flow issues before making a commitment.
Create a Realistic Budget
To ensure your project remains on track, a clear, comprehensive budget is essential from the outset. An island installation involves more than just the cost of cabinets and a countertop; you must account for all materials, skilled labor, and any necessary plumbing or electrical work. At Sparkle Restoration Services, our design-build process provides clients with a transparent financial roadmap before any work begins, turning chaos into calm.
To understand how your new island fits into the larger context of a remodel, reviewing a complete kitchen renovation guide can be invaluable. This helps clarify how the island will function within the overall kitchen ecosystem.
Designing Your Perfect Kitchen Island
With the initial planning complete, we move to the creative phase: translating your vision into a detailed blueprint. Designing a kitchen island is about achieving the perfect synthesis of aesthetics and functionality. It must complement the style of your Orange County home while significantly improving your day-to-day life.
This is the stage to define your island’s primary role. Will it be a simple prep station, a bustling hub for family gatherings, or a chef’s command center with an integrated cooktop and sink? The decisions made now will shape your kitchen’s utility and appeal for years to come.
Matching Size and Shape to Your Space
The first principle of island design is proportion. An oversized island will overwhelm a compact kitchen, while a diminutive one will appear lost in a large, open-concept space. Begin by clarifying its main purpose. For a dedicated prep area, a sleek, rectangular island may suffice.
For those who enjoy entertaining, however, a more ambitious design may be in order. A large island with a waterfall edge or a two-tiered design creates a dramatic and impressive focal point. In more expansive kitchens, T-shaped and L-shaped islands can effectively delineate zones for cooking and socializing. Your objective is to select a shape that enhances your kitchen’s workflow, not one that obstructs it.
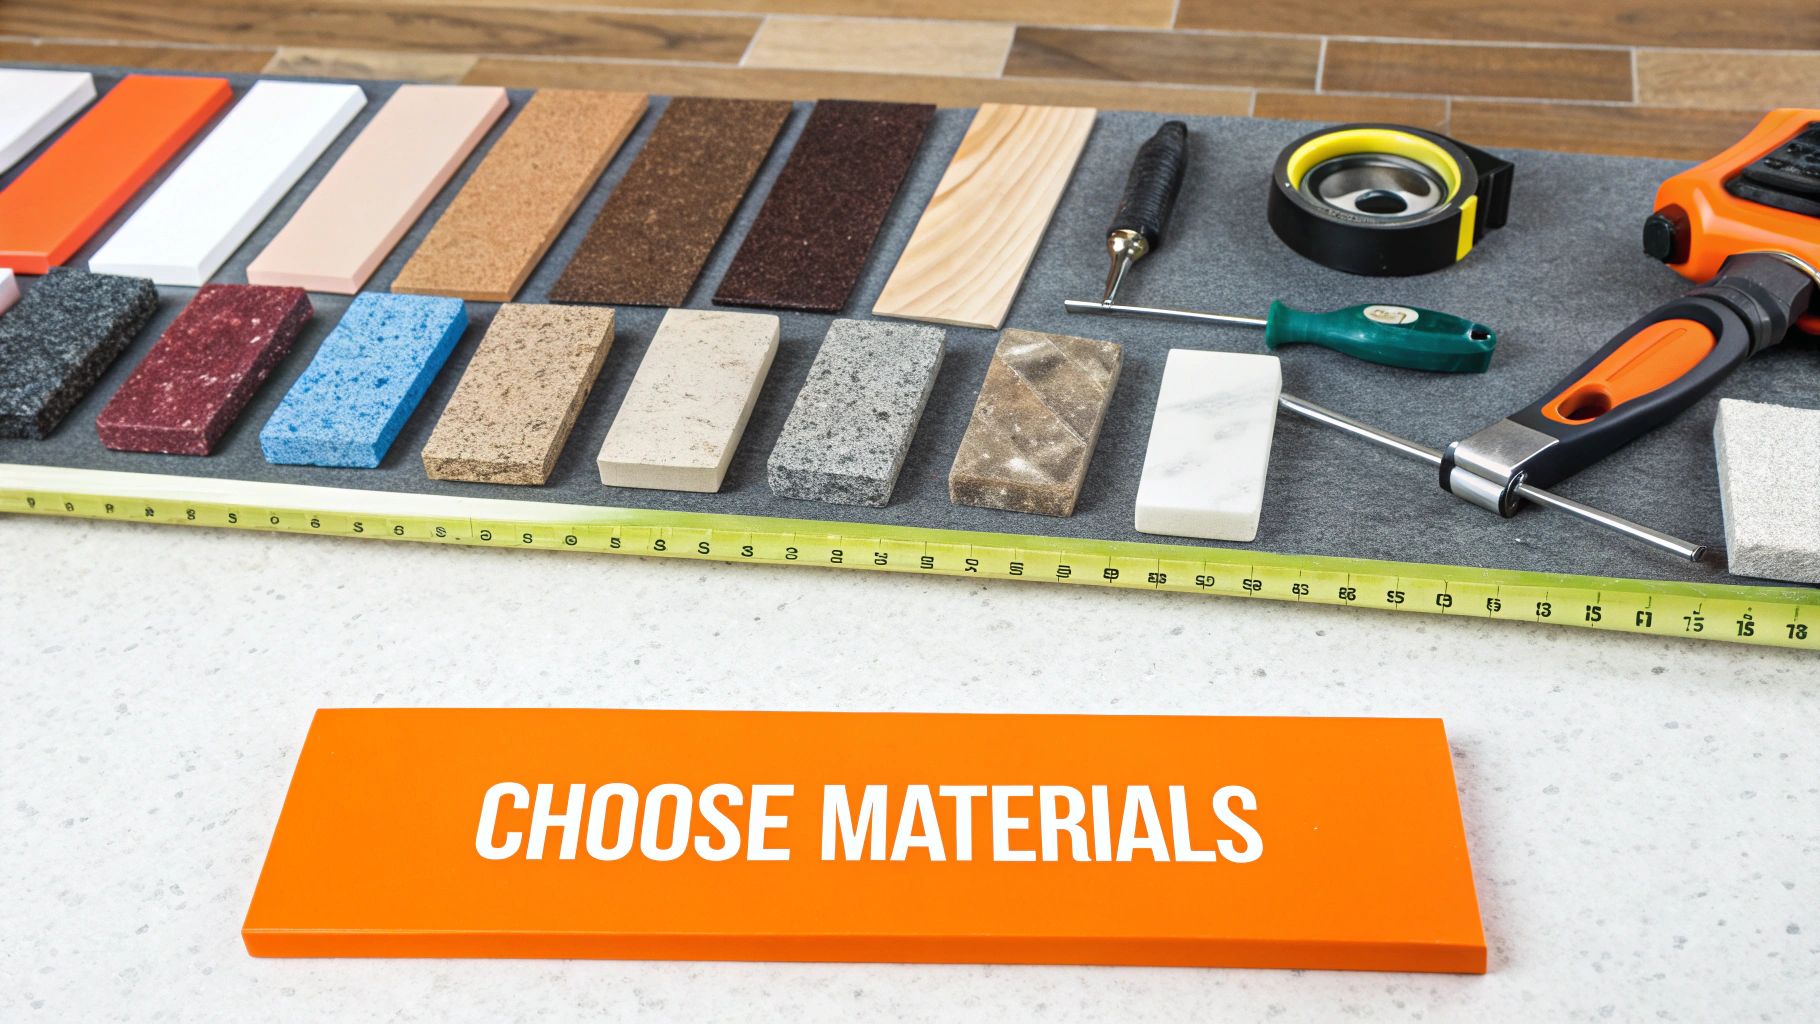
Choosing Materials With Purpose
The materials you select, particularly for the countertop, are critical. They define the island’s aesthetic, its durability, and the level of maintenance required. Here in Southern California, homeowners gravitate toward materials that fuse sophisticated style with resilience.
- Quartz: A true workhorse, engineered quartz is non-porous and highly resistant to stains from common spills like red wine or coffee. It offers a clean, consistent appearance and is available in a vast array of colors and patterns.
- Butcher Block: For a warmer, more traditional aesthetic, the natural texture of wood is unparalleled. It provides an excellent surface for a prep-focused island but requires diligent, regular sealing to protect against moisture.
- Granite: Each slab of granite is unique, offering incredible natural beauty and excellent heat resistance. It remains a classic, timeless choice, though it does require periodic sealing to maintain its integrity.
As a licensed General Contractor, I have seen how the right countertop can elevate an entire kitchen. For a busy Orange County family, the low-maintenance appeal of quartz is often the decisive factor. For a true chef’s kitchen, however, the functional beauty of a dedicated butcher block section is hard to surpass.
Kitchen Island Countertop Material Comparison
Selecting the right countertop is one of the most critical decisions for your island. This choice impacts not only the visual appeal but also the practicality of the space, aligning with your lifestyle, budget, and maintenance preferences. Here is a brief comparison of the most popular options we install in Orange County homes.
| Material | Pros | Cons | Average Cost (per sq ft) |
|---|---|---|---|
| Quartz | Extremely durable, non-porous (stain-resistant), low maintenance, wide variety of colors. | Not as heat-resistant as granite; can be damaged by direct high heat. | $60 – $120 |
| Granite | Highly heat-resistant, each slab is unique, very durable. | Porous and requires periodic sealing to prevent stains, visible seams. | $50 – $100 |
| Butcher Block | Warm, natural look; great surface for food prep; can be sanded and refinished. | Requires regular sealing/oiling, susceptible to scratches and water damage. | $40 – $90 |
| Marble | Unmatched elegance and classic beauty, stays cool for baking. | Very porous (stains easily), soft (scratches/chips easily), high maintenance. | $70 – $250 |
Ultimately, the ideal material is one that you will appreciate both visually and functionally every day. Whether you prioritize the indestructible nature of quartz or the timeless character of granite, your selection sets the tone for the entire kitchen.
Integrating Function and Smart Storage
A superior kitchen island is far more than a simple countertop; it’s a hub of functionality packed with intelligent features. This is the time to plan for utility integration and storage solutions. Have you considered adding a prep sink to streamline meal preparation? Or perhaps a built-in microwave drawer to free up valuable counter space?
The demand for multi-functional islands is clear. Search data reveals that interest in islands with seating peaks during renovation planning stages. Insights from resources like Accio.com confirm a significant trend: islands are evolving into central hubs for cooking, dining, and socializing.
Clever storage is equally vital. Consider replacing deep cabinets with deep drawers, which provide far easier access to pots and pans. Integrated pull-out bins for trash and recycling are another game-changing feature, keeping them convenient yet concealed. We recently completed a project that masterfully combined these elements; you can see how we balanced form and function in this kitchen remodel in Huntington Beach, CA.
Getting Your Kitchen Ready for Installation Day

With a robust design in hand, it’s time to transition from blueprint to action. A smooth installation is the result of 90% preparation. The meticulous work performed before the island arrives is what separates a professional, stress-free result from a frustrating ordeal.
This phase is defined by precision. You are setting the stage for a perfect fit, and for discerning homeowners in Orange County, this preparatory work is non-negotiable. It is how you safeguard your home from the dust and disruption inherent in any remodeling project.
Create a Safe and Clean Work Zone
First, clear the area completely. Before any tools are used, remove all non-fixed items from the kitchen, including furniture, rugs, and décor. An open space is crucial for safely maneuvering large cabinets and heavy countertop slabs.
Next, protect all remaining surfaces. Construction dust is pervasive and will infiltrate everything. Drape plastic sheeting over existing countertops, cabinets, and appliances, securing the edges with painter’s tape. For flooring, invest in robust protection; heavy-duty rosin paper or a product like Ram Board offers superior defense against scratches and impacts that a simple drop cloth cannot provide.
Mark the Island’s Footprint on the Floor
This step demands absolute precision. Using your design plans and a tape measure, carefully outline the island’s exact footprint on the floor with painter’s tape. This provides a critical visual guide, allowing you to double-check clearances and traffic flow one final time before the installation becomes permanent.
A Contractor’s Tip: For perfectly straight layout lines, use a chalk line to snap them directly onto the subfloor. This gives your installation team a crystal-clear guide for placing the base cabinets, ensuring the entire island is perfectly square with the rest of your kitchen.
With the outline marked, you must verify that the floor is level. Place a long level across the floor within your taped lines to identify any high or low spots. Uneven floors are common but must be addressed before installing the island to prevent wobbling and potential stress fractures in your countertop. If you find your floor requires leveling, you can explore solutions in our expert guide to flooring sales and installation.
Plan Your Plumbing and Electrical Rough-Ins
This is a critical juncture. If your new island will feature a sink, dishwasher, or electrical outlets, the plumbing and wiring must be “roughed-in” before the cabinets are set. This means running all pipes and wires to their final locations through the subfloor.
To be clear: this is not a DIY task. For the safety of your family and to ensure compliance with Orange County building codes, this work must be performed by licensed professionals.
- Electrical: A licensed electrician will run conduit beneath the floor to supply power for GFCI-protected outlets. They will also install any dedicated circuits required for appliances or wiring for overhead pendant lighting.
- Plumbing: A licensed plumber will run hot and cold water supply lines and the main drainpipe up through the floor, ensuring they are positioned precisely within the footprint of your sink base cabinet.
Attempting this yourself can lead to code violations, failed inspections, and costly, invasive repairs. As a full-service General Contractor, Sparkle coordinates with our trusted, certified electricians and plumbers to ensure every connection is safe, compliant, and ready for final hookup.
Securing and Assembling Your Kitchen Island
With all preparatory work complete, the island begins to take physical form. This stage is about transforming a chalk line on the floor into a solid, permanent fixture. Proper execution here is about ensuring the island is perfectly level and immovable—a critical safety measure that guarantees it will withstand years of daily use.
The first and most crucial step is to anchor the base cabinets. A freestanding island is a significant safety hazard, especially in a home with children. To create a rock-solid foundation, we install 2x4s as blocking, screwing them directly to the subfloor along the inside perimeter of the cabinet layout. The cabinets are then placed on top and fastened securely into this blocking, eliminating any possibility of movement.
Leveling and Securing the Cabinet Box
Once the first cabinet is anchored, the process becomes one of meticulous alignment. As each subsequent cabinet is placed, it must be constantly checked for level, both side-to-side and front-to-back.
Shims are indispensable at this stage. Since floors are rarely perfectly flat, these small, tapered wedges are placed under cabinet corners to compensate for any dips or high spots, achieving a perfectly level base.
After a cabinet is level, it is secured to its neighbor. We clamp the vertical front frames (stiles) together tightly and then drive cabinet screws through them to create a seamless, flush joint. This process—level, shim, clamp, screw—is repeated until the entire island base forms a single, incredibly sturdy unit.
This visual guide illustrates the essential steps for creating a stable island structure.
You can see how each stage, from anchoring the base to setting the countertop, builds on the last to create a flawless result.
Installing the Countertop and Finishing Touches
With the base cabinets securely unified, it’s time to install the countertop. This step requires extreme care, especially with heavy materials like quartz or granite. First, a continuous bead of high-quality silicone adhesive is applied along the top edges of the cabinets. Then, with the help of at least one other person, the countertop is gently lowered into place, ensuring the overhang is perfectly even on all sides.
Professional Tip: Once a heavy countertop is placed, resist the urge to slide it into position. Sliding can smear the silicone adhesive and compromise the bond. Instead, make minute adjustments by lifting slightly until it is perfectly aligned.
The final touches are what give your island a custom, built-in appearance. This includes carefully cutting and attaching decorative end panels, adding corbels for additional countertop support, and installing baseboard trim. Each piece is meticulously nailed and glued, and all nail holes are filled and sanded for a seamless finish.
This level of detailed trim work distinguishes a standard installation from the high-end results our Orange County clients expect from our expert remodeling and construction services. This demand for beautifully integrated islands is no surprise when you see the numbers; the global kitchen island market was valued at over $11.4 billion in 2024 and is only expected to keep growing.
Bringing It All Together: Utilities and Final Touches
Your kitchen island is now a solid, secure fixture. The final stage is where the magic happens, as we connect all utilities and add the fine details that transform it from a cabinet box into the fully functional heart of your kitchen.
This part of the process demands precision and strict adherence to safety standards and local building codes. Getting this right ensures your beautiful new island will be a safe, operational, and cherished part of your home for decades to come.
Why You Need Pros for Utility Hookups
If your island includes a sink, dishwasher, or electrical outlets, this is a critical moment to engage licensed professionals. In our years as a premier Orange County contractor, we have seen how cutting corners here can lead to disastrous and expensive consequences.
- Plumbing: A licensed plumber will complete the final connections for the sink’s faucet, drain lines, garbage disposal, and dishwasher. Their expertise ensures every connection is watertight and properly vented, preventing slow leaks that can silently cause water damage to your new cabinetry.
- Electrical: For wiring outlets, switches, or built-in appliances like a wine fridge, a certified electrician is non-negotiable. They guarantee all work meets local Orange County codes, which is essential for preventing fire hazards and ensuring your project passes final inspection without issue.
Adding new appliances or outlets often requires more than simple connections. You may need professional electrical wiring and rewiring services to safely install a new, dedicated circuit from your home’s main electrical panel. As a company with a CSLB license, we manage and coordinate these skilled tradespeople on your behalf, ensuring every component of the job is executed flawlessly.
The Finishing Details That Make a Difference
With the utilities connected and thoroughly tested, the focus shifts to the small details that create a polished, custom-built look. These final steps are what elevate a standard installation to a truly high-end kitchen feature.
First, we apply a clean, smooth bead of caulk along all seams—where the countertop meets a backsplash or where the island’s base trim meets the flooring. This not only enhances the aesthetic but also seals tiny gaps, preventing crumbs and spills from accumulating in hard-to-clean areas.
Next, we meticulously sand any filled nail holes until they are perfectly smooth. Only then is the island ready for its final coat of paint or stain, chosen to perfectly complement your kitchen’s design scheme.
Expert Takeaway: Think of hardware as the jewelry for your cabinets. Installing the knobs or pulls is often the very last step. We always take the extra time to create a drilling template. It’s the only way to guarantee every single handle is perfectly level and aligned. Nothing sours an otherwise flawless job faster than crooked hardware.
This blend of high function and beautiful design is exactly why islands are no longer just a trend but a staple. In fact, projections show that by 2026, around 80% of new American kitchens will include an island. It’s a clear sign of how much kitchens have become the true social hub of the modern home.
Common Questions About Kitchen Island Installation
Even the most thorough plans can generate questions. When embarking on a project as central as a kitchen island, it’s natural to seek clarity. Over our years serving homeowners in Orange County, we’ve addressed nearly every conceivable concern. Here are answers to some of the most common inquiries.
How Much Clearance Do I Need Around a Kitchen Island?
This is a critical question related to workflow and safety. Building codes and design best practices mandate a minimum of 36 inches of clearance on all sides of the island.
However, for a functional, high-traffic kitchen, we strongly recommend 42 to 48 inches. This additional space allows someone to open the dishwasher while another person walks by, or for two people to work back-to-back without creating a bottleneck.
Pro Tip: Before committing, use painter’s tape to outline the island’s proposed footprint on your floor. Live with this outline for a day or two. Does movement feel natural and unobstructed? This simple test can prevent significant frustration later.
Can I Install a Kitchen Island Over My Existing Floor?
This depends entirely on your flooring type. Ideally, a permanent island should be secured directly to the subfloor for maximum stability, with the finished flooring installed around it. It is generally acceptable to install an island over a solid, fixed surface like ceramic tile or glued-down hardwood.
However, you absolutely cannot install a heavy, fixed island on top of a floating floor. This category includes popular materials like Luxury Vinyl Plank (LVP) and laminate. These floors are designed to expand and contract with temperature changes; pinning a section down with a heavy island will cause the planks to buckle and warp over time. For these flooring types, the section where the island will sit must be cut out.
What Is the Biggest Mistake People Make?
Without a doubt, the most common mistake is improper scaling. Homeowners often become enamored with a large island from a design magazine that is completely out of proportion with their own kitchen. An improperly scaled island not only looks awkward but actively disrupts the kitchen’s workflow, turning a functional space into a daily obstacle course.
The second-biggest error is failing to plan for utilities from the project’s inception. Deciding to add a sink or outlets after the cabinets are built is a recipe for disaster, involving deconstruction, running new lines, and a significant increase in labor costs. Always finalize your island’s features before any work begins.
Our Promise at Sparkle: We embody the “measure twice, cut once” philosophy for the entire project. Our design-build process meticulously maps every detail, from clearances to plumbing, before a single tool is used. This is how we guarantee a smooth, on-budget project and deliver peace of mind.
Do I Need a Permit to Install an Island in Orange County?
This depends on the island’s features. If you are adding a simple, freestanding island without any integrated utilities—essentially a piece of furniture—a permit is typically not required.
However, the moment you integrate utilities, you enter permit territory. You will absolutely need a permit from your local Orange County building department if your project involves:
- New electrical wiring for outlets, lighting, or appliances.
- New plumbing lines for a prep sink, main sink, or dishwasher.
- New gas lines for a cooktop.
Working with a licensed general contractor like Sparkle Restoration Services simplifies this process entirely. We manage all necessary permits and inspections, ensuring your project is completed safely, legally, and in a way that protects your home’s long-term value.
A proper kitchen island installation requires far more than just placing a cabinet in a room. It demands professional expertise to ensure it is beautiful, functional, and fully compliant with local codes.
If you are in Orange County and desire a flawless result without the stress, the award-winning team at Sparkle Restoration Services is here to guide you. Our design-build experts are ready to turn your vision into a stunning reality. Schedule your complimentary consultation today by visiting us at sparklerestoration.com.
Ready to create a space that’s as beautiful as it is functional? Schedule your complimentary design consultation today by visiting Ready to Work with Sparkle?