
Luxury vinyl plank (LVP) is a superb flooring choice for discerning homeowners—it's remarkably durable, completely waterproof, and masterfully mimics the look of real hardwood. However, the secret to a flawless, professional-grade finish isn't just in how you click the planks together. It all comes down to meticulous preparation.
A successful luxury vinyl plank installation is built on a perfectly prepared foundation.
Setting the Stage for a Perfect LVP Floor
The time invested in preparing the subfloor is, without question, the most critical phase of any luxury vinyl plank installation. This foundational work dictates your floor's final appearance, its long-term durability, and its daily performance. Cutting corners here guarantees future issues, including unsightly gaps, buckling planks, and an uneven finish that will detract from your home's value.
Consider the subfloor as the canvas for your remodeling masterpiece. Whether it’s a concrete slab, common in Orange County homes, or a plywood subfloor, it must be impeccably clean, flat, and dry before a single box of planks is opened.
Assessing Your Subfloor Like a Certified Professional
First, you must conduct a thorough evaluation of your subfloor. A detailed inspection reveals exactly what you're working with and what corrective actions are needed to ensure a perfect outcome.
Here’s what our IICRC-certified technicians look for:
- Uneven Surfaces: Are there high or low spots? Use a long straightedge or a level to identify any dips or humps. For concrete slabs, this often requires grinding down high spots or applying a self-leveling compound to fill in depressions.
- Moisture Issues: Moisture is the primary adversary of any new floor. For concrete, a professional moisture test is non-negotiable. Even in Southern California's arid climate, concrete slabs can emit moisture vapor that becomes trapped under LVP, leading to mold, mildew, and adhesive failure.
- Damage and Debris: Get on your hands and knees to inspect for cracks in the concrete or soft, compromised spots in the plywood. All old nails, staples, or residual adhesive from previous flooring must be removed. The surface must be perfectly smooth.
At Sparkle Restoration Services, we believe preparation is non-negotiable. A flawless finish is the direct result of a perfectly prepared subfloor. This commitment to detail is a cornerstone of our comprehensive design-build services, ensuring excellence from the ground up.
This principle of meticulous planning is universal to successful home projects. For instance, a detailed bathroom exhaust fan installation guide also emphasizes the importance of prep work long before the actual installation begins.
Once all issues are resolved, the final step is a thorough cleaning. Sweep and then vacuum the entire area to remove every last speck of dust and debris. A pristine subfloor is crucial for a secure installation and prevents stray grit from creating irritating bumps under your new LVP. This careful preparation is how Sparkle turns potential project chaos into calm, ensuring a smooth process from start to finish.
Equipping Yourself for a Professional Result
Any flawless luxury vinyl plank installation requires more than just skilled technique—it begins with having the correct tools and materials ready. While many online guides offer a simple checklist, understanding why each tool is critical is what elevates a DIY project into a professional-grade renovation you can be proud of. This preparation separates an amateur finish from one that truly enhances your home.
Think of it this way: the right equipment prevents common frustrations like damaged planks, uneven seams, and sloppy cuts that compromise the entire look. By preparing properly, you are setting yourself up for success, ensuring every action is precise and effective.
Essential Tools of the Trade
Beyond a high-quality tape measure and a sharp utility knife, several specialized tools are non-negotiable for a premium LVP installation. These instruments are designed for modern click-lock flooring systems, making the process smoother and the final result more refined.
Here are a few must-haves for a professional finish:
- Tapping Block and Pull Bar: These are essential for protecting the delicate locking mechanisms on the planks. The tapping block allows you to gently seat planks together without damaging the edges, while the pull bar is invaluable for tightening the final plank in a row against a wall.
- Jamb Saw: For a truly integrated, high-end look around doorways, a jamb saw is indispensable. It allows you to undercut the door casings so the plank can slide underneath, creating a seamless, built-in appearance instead of an awkward gap requiring extra trim.
- Contour Gauge: This ingenious tool is essential when working around irregular shapes like pipes, curved walls, or custom millwork. It precisely replicates the contour, allowing you to trace it onto a plank for a snug, custom-fit cut every time.
The Critical Role of Underlayment
For homeowners here in Southern California, selecting the right underlayment is as important as the flooring itself. This thin layer performs several vital functions, from dampening sound in a multi-story home to serving as a moisture barrier over a concrete slab—a very common foundation type across Orange County.
A high-quality underlayment not only provides a more solid feel underfoot but also protects your investment. It can correct minor subfloor imperfections and reduce the hollow sound associated with some floating floors, contributing to the luxurious quality of the final product.
The demand for LVP is surging. The market was valued at approximately $5.4 billion in 2025 and is projected for continued growth. This trend is driven by LVP's exceptional blend of durability, aesthetic appeal, and installation efficiency, making it a top choice for discerning homeowners. You can learn more about the expanding LVP flooring market and its current trends.
To help you decide on the best foundation for your new floors, here is a quick comparison of the most common underlayment options. Each serves a different purpose, so matching the right one to your subfloor is key.
Choosing the Right Underlayment for Your LVP Project
| Underlayment Type | Best For | Key Benefit | Considerations |
|---|---|---|---|
| Foam Underlayment | Wood subfloors; budget-conscious projects | Basic cushioning and sound reduction | Not ideal for moisture-prone areas (concrete) |
| Felt Underlayment | Soundproofing between floors | Excellent noise absorption; dense feel | Higher cost; can be thicker |
| Cork Underlayment | Eco-conscious homes; sound and thermal insulation | Natural antimicrobial; great insulation | Can be brittle; more expensive |
| Combination Film | Concrete slabs; basements; moisture areas | Built-in vapor barrier; cushioning | Ensure seams are properly taped and sealed |
Ultimately, the goal is to create a stable, quiet, and protected base for your beautiful new LVP flooring. Taking the time to select the appropriate underlayment will deliver returns for years to come.
Our team at Sparkle Restoration has years of experience guiding clients in Orange County to select the perfect combination of flooring and underlayment. To ensure a beautiful and long-lasting result, explore our professional flooring sales and installation services and let our expertise work for you.
Laying Your LVP Floor Like a Seasoned Pro
With the meticulous prep work complete, your subfloor perfected, and your tools organized, it's time for the rewarding part: the actual luxury vinyl plank installation. This is where your design vision becomes a reality, plank by plank. The key to success is a methodical and precise approach from the first piece to the last.
One of the most common mistakes our team corrects in Orange County homes is starting a row without a perfectly straight guideline. This seemingly minor oversight compounds with each subsequent row, resulting in crooked planks and unsightly, widening gaps across the room. We recommend taking the time to measure the room's width and plan your layout to avoid finishing with a narrow, awkward sliver for your final row.
This quick visual breaks down the main steps of the process.
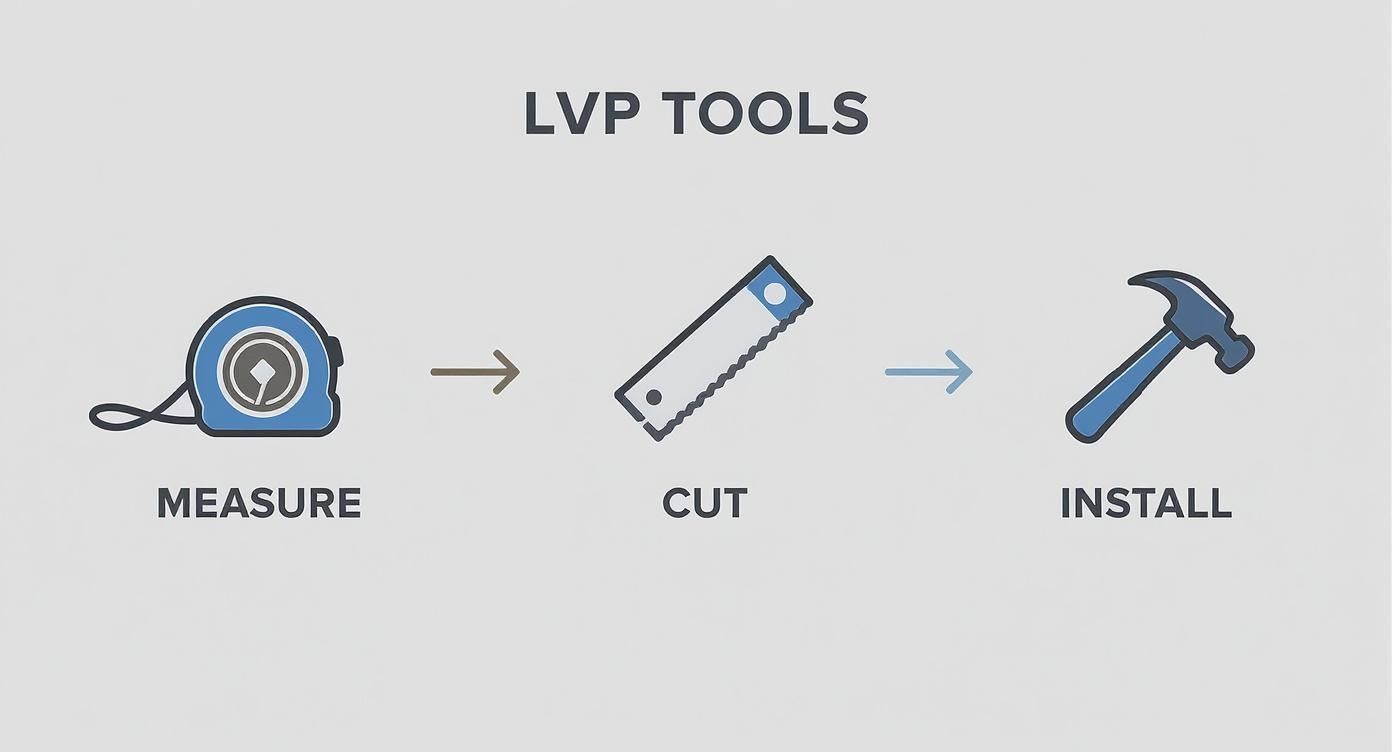
As you can see, a professional job comes down to a simple rhythm: measure, cut, and click. Mastering that rhythm is essential.
Starting Your First Row
Begin your first row along the longest, most visually prominent wall in the room—typically the one you see upon entering. Place ¼-inch spacers between the planks and the wall to create a critical expansion gap. Southern California's temperature fluctuations cause the floor to expand and contract, and this space allows it to breathe without buckling.
After the first plank is in place, the rest of the row should install smoothly. The click-lock system is designed to be user-friendly, but proper technique is vital. Hold the new plank at a slight angle, engage its tongue into the groove of the preceding plank, and then gently lower it until you hear and feel it lock into place. A light tap with a rubber mallet and tapping block will create a perfectly tight joint.
A tight seam isn't just cosmetic; it's essential for the floor's long-term integrity. Even minuscule gaps can allow moisture to penetrate, potentially compromising the entire installation over time.
Mastering the Stagger for a Natural Look
To achieve the authentic appearance of real hardwood, you must stagger the seams. Never align the short ends of planks in adjacent rows. This creates an "H-pattern," which is a clear indicator of an amateur installation.
Here’s a professional tip we implement on all our remodeling and construction projects, from Newport Beach to Irvine:
- The 8-Inch Rule: Ensure the end joint of any plank is at least 8 to 10 inches from the end joint in the adjacent row. This creates a visually appealing, random pattern that is also structurally superior.
- Utilize Off-Cuts: The piece you cut from the end of a row can often be used to start the next one, provided it meets the length requirement. This technique naturally creates a random stagger and significantly reduces material waste.
Making Precise Cuts Around Obstacles
Every room has unique features—door casings, pipes, heat vents. This is where patience and precision are paramount. For obstacles like a vent, measure its location carefully and transfer those dimensions directly onto the plank. A jigsaw or multi-tool is the ideal instrument for making clean, accurate cuts.
Remember, the goal is for the cut to appear intentional and integrated, not like a poorly executed afterthought. Investing time in these details is what distinguishes a standard installation from the high-end, custom finish that defines professional craftsmanship. This is how we turn chaos into calm, fast.
Handling Tricky Cuts and Transitions
Sooner or later, every luxury vinyl plank installation presents a challenge. This is often where a DIY project becomes frustrating, but it’s also where true craftsmanship and intelligent planning distinguish a professional. Obstacles like doorways, kitchen islands, and irregular walls aren't roadblocks; they are opportunities to create a truly custom, high-end look.
The key is to approach these areas with a strategic plan. For instance, instead of making a dozen small, awkward cuts around a complex doorframe, an expert will use a jamb saw to undercut the casing. This allows the plank to slide cleanly underneath, creating a seamless, built-in finish that is otherwise unattainable.
Mastering Irregular Surfaces with Scribing
One of the most valuable professional techniques for custom cuts is scribing. This method is ideal for fitting a plank snugly against an uneven or curved surface, such as a stone fireplace hearth or a rounded wall.
Here’s how it works: Lay the plank to be cut alongside the irregular surface, overlapping the last fully installed plank. Then, using a compass or a scribing tool, trace the exact contour of the wall onto your plank. This provides a perfect cutting line that mirrors the wall's shape, resulting in a flawless, gap-free fit that appears custom-made for the space.
Creating Clean Flooring Transitions
A professional installation is defined by its details, especially the smooth, safe transitions between different flooring types. Abruptly ending your LVP where it meets tile or carpet looks unfinished and creates a tripping hazard. Using the correct transition strips is non-negotiable for a polished, safe result.
Here are two common scenarios we address in Orange County homes:
- LVP to Carpet: A t-molding is effective when the LVP and carpet are at a similar height. For thicker, plush carpets, a specialized carpet reducer strip creates a gentle, safe slope between the two surfaces.
- LVP to Tile: When LVP meets a tile floor in a kitchen or bathroom, a dedicated tile-to-laminate transition strip provides a clean line and protects the edges of both flooring materials from chipping.
LVP has seen explosive growth in popularity, becoming a preferred material for homeowners and designers alike. The global luxury vinyl flooring market was valued at over $25 billion in 2024, with its ability to mimic natural materials driving demand. This design flexibility makes perfecting transitions crucial. You can explore further insights about luxury vinyl flooring's market growth at scharm.com.
"The details make the design. A perfectly scribed cut or a seamless transition is what separates a standard job from a truly exceptional one. It’s this attention to detail that ensures the final result is both beautiful and durable."
Executing these intricate details is a core part of our expertise at Sparkle Restoration Services. A recent kitchen, bathroom, and flooring upgrade in Irvine, CA, is a perfect example of how meticulous planning around existing cabinets and fixtures is critical for a flawless finish. By proactively addressing these common challenges, we eliminate project stress and deliver the exceptional results our clients expect, turning potential chaos into calm.
Adding the Final Polishing Touches
A truly professional-looking LVP installation is defined by its finish. The final details are what elevate your new floor from a simple surface to a seamless element of your home's design. This is where true craftsmanship makes the difference, transforming a good project into a great one.
Finishing the job involves more than laying the last plank. It's about integrating the new flooring perfectly with the rest of the room, which means addressing the perimeter with the right trim and ensuring every detail is polished.
Installing Baseboards and Molding
Once all the flooring is installed, the perimeter expansion gap must be concealed. This is where baseboards or quarter-round molding provide a clean, finished frame for your floor.
- Baseboards: If you removed the old baseboards, now is the time to install new ones. For a clean, modern aesthetic popular in many Orange County homes, consider taller, simpler baseboard profiles to create a sophisticated, elegant line.
- Quarter-Round: If you left the original baseboards in place, quarter-round molding is the ideal solution. It neatly covers the expansion gap and fits snugly against the existing baseboard for a complete, professional look.
Whichever option you choose, the key is to cut each piece precisely and nail it securely to the wall—never to the floating floor. This is critical, as it allows the LVP to expand and contract freely with temperature changes as designed.
A seamless finish is non-negotiable for a high-end look. Taking the time to caulk nail holes and paint touch-ups ensures a flawless transition from wall to floor, reflecting the award-winning standards we uphold at Sparkle Restoration Services.
Final Cleaning and Surface Protection
With the trim installed, it's time for the final cleanup. Begin by thoroughly vacuuming the entire floor with a soft brush attachment to avoid scratching the new surface.
Next, a light mopping with a manufacturer-recommended, pH-neutral cleaner will remove any remaining dust or smudges from the installation process. Avoid harsh chemicals or steam mops, as they can damage the protective wear layer and diminish the floor's luster.
The popularity of LVP is a testament to its incredible blend of style and durability. In 2024, the global vinyl flooring market reached an estimated USD 25.37 billion, with residential projects driving significant growth. This boom is fueled by homeowners seeking high-performance, beautiful flooring that withstands the demands of modern life. You can read more about the growth of vinyl flooring at Fortune Business Insights.
Protecting this investment from day one is essential. Place felt pads under all furniture legs and use protective mats under rolling office chairs. These simple measures will keep your gorgeous new floor looking stunning for years to come.
A Few Common LVP Installation Questions
Even with a detailed plan, questions are likely to arise during an LVP installation. Based on our extensive experience helping homeowners across Orange County, we've compiled answers to the most common inquiries we receive. Consider this your expert guide to navigating the final details.
Do I Really Need to Acclimate Luxury Vinyl Planks?
Yes, absolutely. This step is non-negotiable. Acclimation allows the vinyl planks to stabilize and adjust to the ambient temperature and humidity of the installation area.
Our professional standard is to lay the unopened boxes flat in the room for a minimum of 48 hours before beginning work. Rushing this process can cause the planks to expand or shrink post-installation, leading to unsightly gaps or buckling. A little patience now prevents significant problems later.
Can I Install LVP Directly Over My Old Floor?
This is a significant benefit of LVP—in many cases, the answer is yes. It can often be installed as a floating floor directly over existing hard surfaces like ceramic tile, old hardwood, or sheet vinyl, provided the original floor is level, smooth, and structurally sound.
However, when installing over tile, you will likely need to apply a thin layer of embossing leveler to fill the grout lines and create a perfectly flat surface. You should never install LVP over other "floating" floors like laminate or soft surfaces like carpet. A professional assessment can determine the best course of action for your specific situation.
What Is the Best Way to Clean My New LVP Floor?
LVP is prized for its low-maintenance qualities. For daily cleaning, a quick sweep with a soft-bristle broom or vacuuming on the hard floor setting (with the beater bar disengaged) is all that's needed.
For deeper cleaning, use a microfiber mop with a pH-neutral floor cleaner. Avoid steam mops, abrasive scrubbers, waxes, or polishes. These products can strip the protective wear layer, leaving your beautiful new floor looking dull and damaged.
For more answers to common home improvement questions, check out our comprehensive FAQ page for homeowners.
At Sparkle Restoration Services, our mission is to empower you with the knowledge to achieve incredible results. But if you prefer a flawless, stress-free installation handled by our IICRC Master Certified and Licensed General Contractor team, we are here to help.
Ready to transform your home with beautiful, durable LVP flooring? Schedule your free consultation with our Orange County flooring specialists today and let us turn your vision into reality.
Ready to create a space that’s as beautiful as it is functional? Schedule your complimentary design consultation today by visiting Ready to Work with Sparkle?