
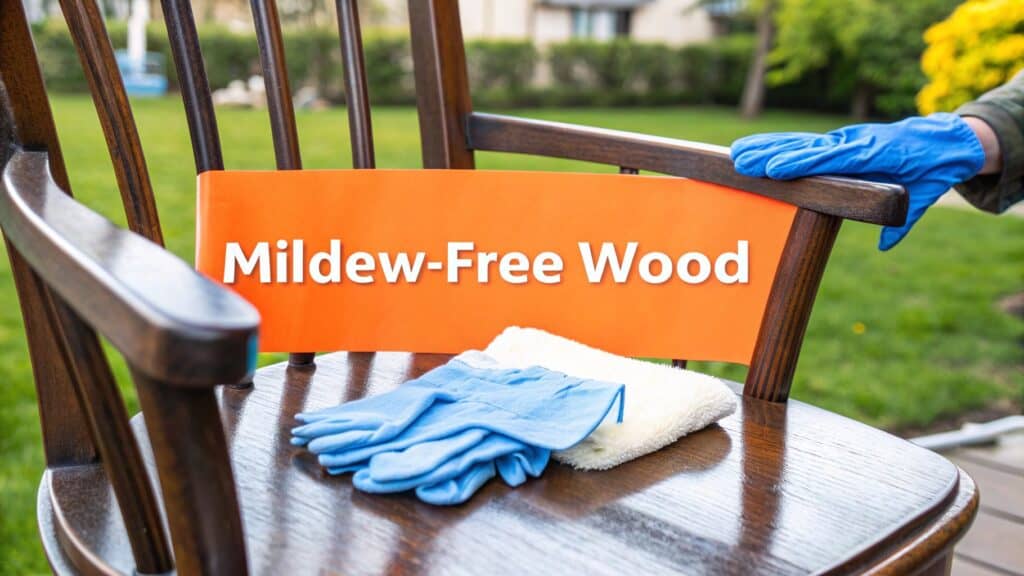
Discovering mildew on your prized wood furniture is a disheartening moment for any homeowner, especially in Orange County, where coastal humidity can create an ideal breeding ground for fungus. Whether it’s an heirloom armoire or a contemporary oak dining table, that powdery, gray-white patch signifies a problem that needs immediate and careful attention.
Before reaching for the nearest cleaning spray, it's critical to pause and prepare. To effectively remove mildew wood furniture requires a thoughtful approach to ensure you solve the problem without inadvertently damaging your valuable pieces.
Mildew vs. Mold: Why Knowing the Difference Matters
Your first step is to accurately identify the growth. Are you dealing with surface-level mildew or its more invasive and hazardous relative, mold? Mildew is a type of mold that remains on the surface, appearing powdery and typically gray or white. True mold, however, is far more destructive. It often appears fuzzy or slimy in shades of black, green, or blue and can penetrate deep into the wood grain, compromising its structural integrity.
Distinguishing between the two is crucial, as a widespread mold infestation requires a comprehensive professional remediation strategy. We delve deeper into this topic in our guide to the facts and myths about mold remediation.
To help you quickly assess the situation, here's a simple comparison.
Mildew vs. Mold: Key Differences for Homeowners
This quick reference guide will help you distinguish between common mildew and more severe mold growth on your wood furniture.
| Characteristic | Mildew | Mold |
|---|---|---|
| Appearance | Powdery, flat | Fuzzy, slimy, or spotty |
| Color | White, gray, or yellowish | Black, green, blue, or red |
| Growth Pattern | Spreads across the surface | Penetrates deep into the material |
| Smell | Musty, damp socks odor | Stronger, earthy, or foul odor |
| Health Risk | Mild allergic reactions, respiratory irritation | Can cause serious health issues, including toxic reactions |
Knowing these differences empowers you to decide whether you're facing a straightforward cleaning task or a more significant environmental issue.
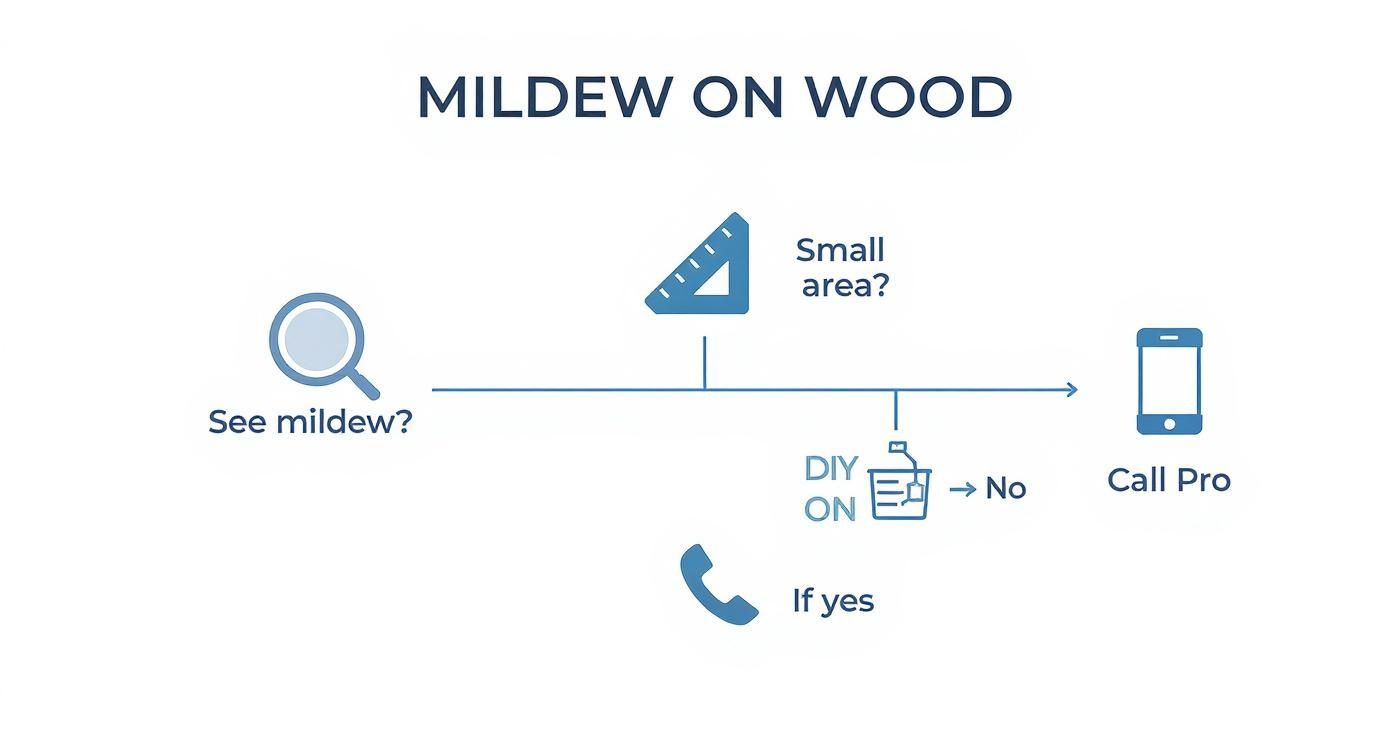
Assess the Damage and Prepare for Removal
Once you've confirmed it's surface mildew, evaluate the extent of the growth. A small, isolated spot on a chair leg is an ideal DIY project. However, if the mildew covers a large patch or reappears after cleaning, it's a significant red flag. This indicates an underlying moisture problem that demands a professional assessment.
As an IICRC Master Certified firm serving clients from Newport Beach to Irvine, we often find that recurring mildew is a symptom of a larger environmental issue. You must address the source of the humidity, or the cycle of cleaning will be endless.
This flowchart can help simplify your next steps, guiding you toward safe DIY cleaning for minor issues or indicating when professional intervention is necessary.
Establish a Safe Workspace
Before beginning, move the affected furniture outdoors or into a well-ventilated garage. This prevents the dispersal of mildew spores throughout your home, protecting your indoor air quality. Personal protective equipment (PPE) is non-negotiable.
Your essential safety kit should include:
- An N-95 Respirator Mask: Inhaling fungal spores can cause respiratory irritation and allergic reactions.
- Waterproof Gloves: Protect your skin from both mildew and cleaning solutions.
- Soft Cloths or Sponges: Microfiber is ideal, as it traps mildew particles effectively without scratching the furniture's finish.
- A Gentle Cleaning Solution: We will detail appropriate solutions next, but always begin with the mildest option.
Ultimately, moisture control is paramount. Mildew thrives when the moisture content in wood is too high—globally, 20% to 30% of furniture in humid regions is affected. For indoor wood furniture, the ideal moisture level is between 6% and 8%.
With your workspace prepared and safety gear on, you are ready to begin the removal process.
Gentle Cleaning Methods for Different Wood Finishes
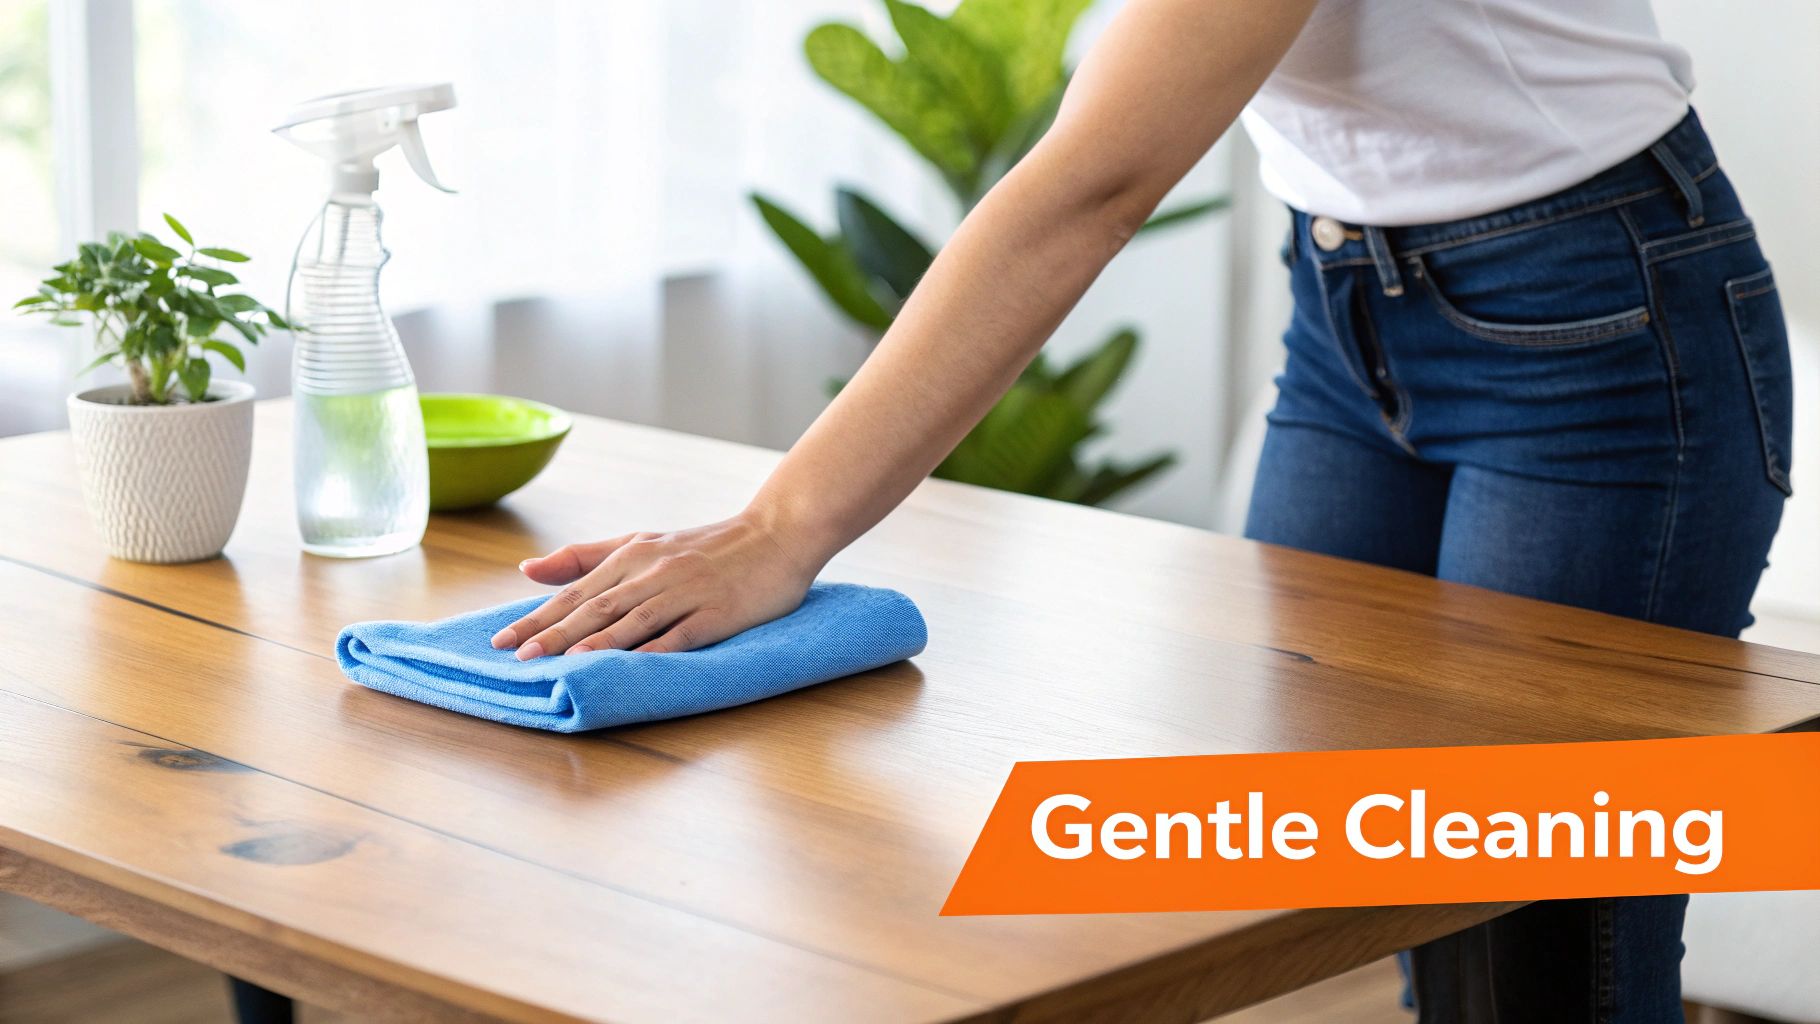
When you need to remove mildew wood furniture, selecting the correct cleaning method is paramount. An heirloom piece or custom cabinetry deserves a gentle, considered approach. Using the wrong solution can strip the finish, cause discoloration, or permanently damage the wood itself.
The key is to tailor your technique to the specific wood finish. Different surfaces react differently to moisture and cleaning agents, so a method suitable for a modern lacquered table might ruin an antique oiled chair.
For Finished and Antique Furniture
Finished wood—sealed with lacquer, varnish, or polyurethane—has a protective barrier that mildew typically grows on, not in. This is advantageous, as it generally makes the cleaning process simpler and safer for the furniture.
For these more delicate surfaces, always begin with the mildest solution possible.
- Mild Soap Solution: Your first line of attack should be a few drops of pH-neutral dish soap mixed in a bowl of warm water. This solution is surprisingly effective at lifting surface mildew without being abrasive.
- Distilled White Vinegar Mix: If soap and water are insufficient, escalate to a mixture of equal parts distilled white vinegar and water in a spray bottle. Vinegar is an excellent natural disinfectant that is generally safe for sealed wood finishes.
Pro Tip from Sparkle Restoration: Never saturate the wood. The proper technique is to apply the cleaning solution to a soft microfiber cloth, wring it out until it is merely damp, and then gently wipe the furniture. Wiping with a completely dry cloth immediately afterward is equally important to prevent moisture damage.
Regardless of your chosen solution, testing it first is a non-negotiable step. Find an inconspicuous area—such as the back of a leg or the underside of a shelf—and apply a small amount. Wait a few minutes to ensure there is no adverse reaction before proceeding with the entire piece. For specific techniques on outdoor pieces, you can reference a complete guide to cleaning teak wood, which offers valuable insights.
For Unfinished or Oiled Wood
Unfinished or raw wood presents a different challenge. It is more porous and vulnerable, allowing mildew to penetrate deeper into the grain. While this type of wood can often tolerate slightly stronger solutions, caution is still necessary to avoid staining or raising the grain.
A slightly more concentrated vinegar solution can be effective here, but you might also consider a simple paste of baking soda and water. Gently apply the paste to the affected area, let it sit for a few minutes, and then carefully wipe it away with a damp cloth. Baking soda acts as a mild abrasive that can help lift stubborn mildew without resorting to harsh chemicals.
Proper cleaning is the crucial first step in any restoration project. It not only removes the visible problem but also prepares the surface for any subsequent treatments. At Sparkle Restoration Services, our commitment to "Turning Chaos Into Calm, Fast" begins with using the right, scientifically-proven methods for every unique situation.
Tackling Stubborn Mildew Stains and Odors
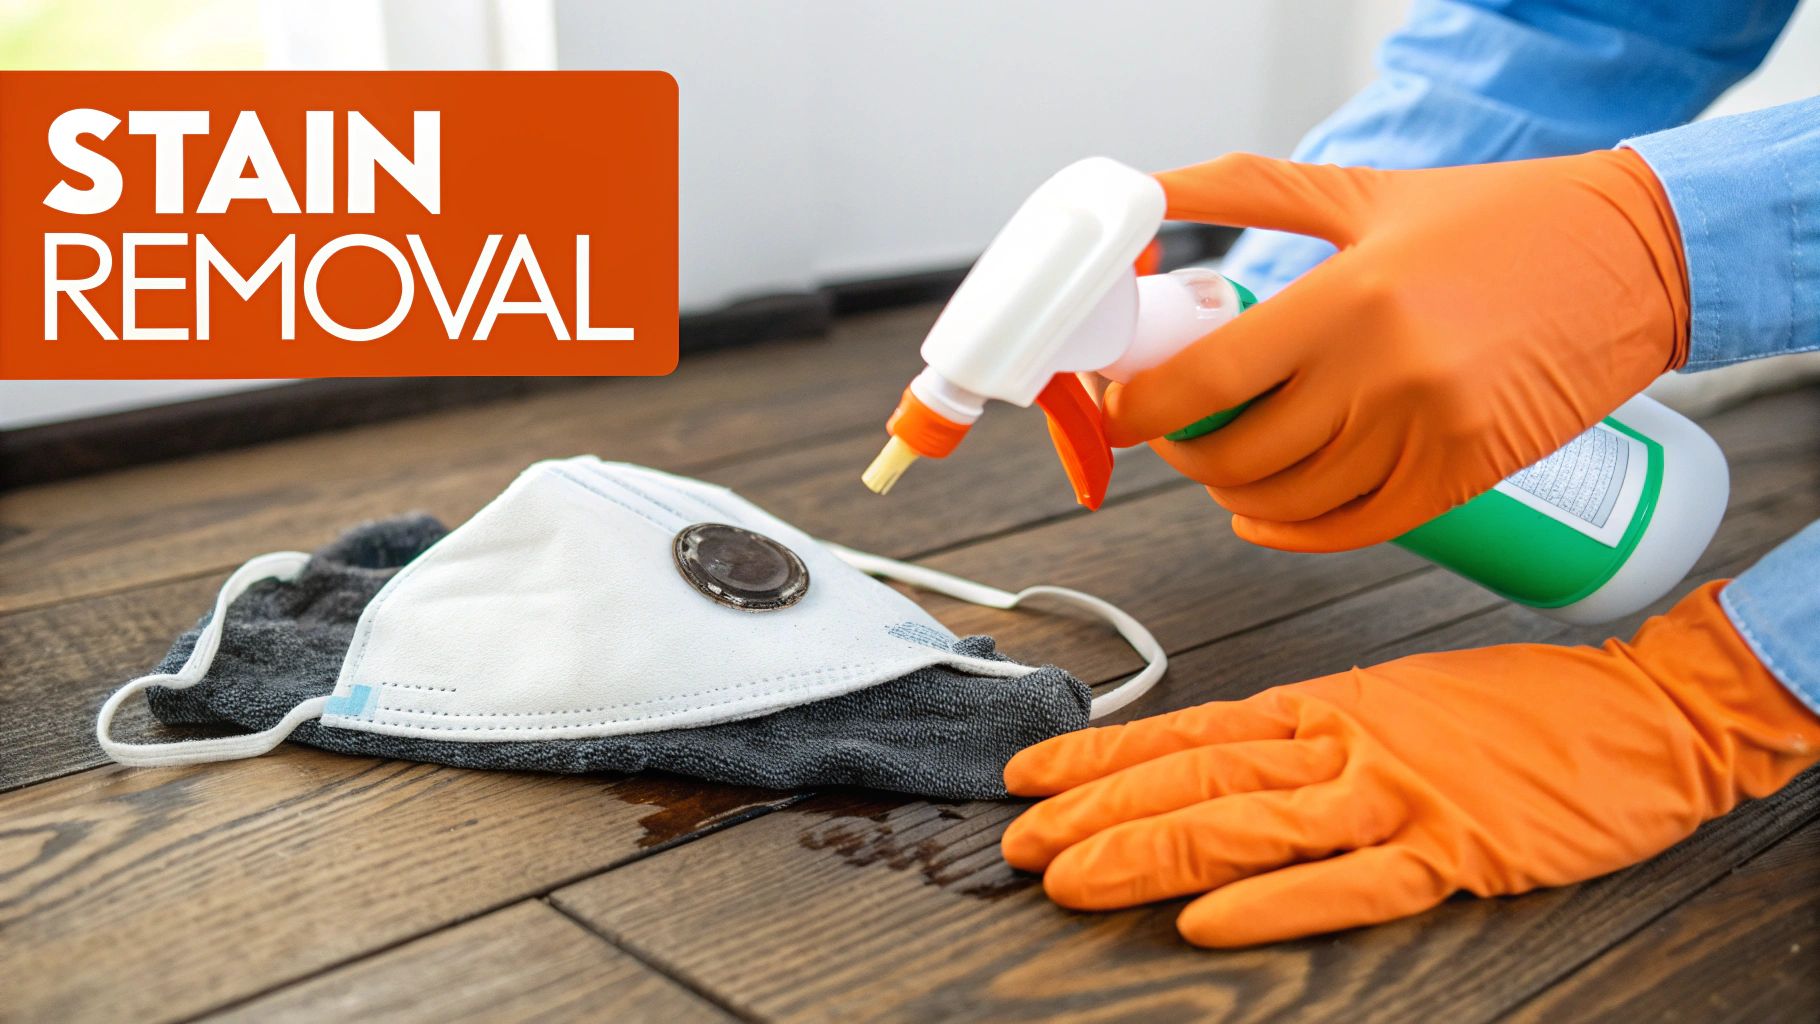
Sometimes, even after you’ve removed the surface mildew, it leaves behind two unpleasant reminders: stubborn dark stains and a lingering musty odor. When gentle cleaning methods prove insufficient, it’s time to escalate to a slightly more robust approach.
At this stage, you transition from surface cleaning to treating the discoloration and odor that have permeated the wood. This is a common challenge in Orange County homes, where persistent dampness can lead to tenacious staining. The objective is to eliminate the stain without compromising the integrity of the furniture.
Using Hydrogen Peroxide for Stains
For lighter-colored woods, hydrogen peroxide can act as an effective mild bleaching agent on dark mildew spots. Precision is key, as it can lighten the wood’s natural color if misapplied.
Use standard 3% hydrogen peroxide from any first-aid aisle. Apply a small amount directly onto the stain with a cotton swab, carefully avoiding the surrounding, unstained wood. Allow it to work for a few minutes, then wipe the area clean with a damp cloth and dry it thoroughly.
We cannot stress this enough: always test this method on an inconspicuous area first. The underside of a shelf or the back of a leg is ideal. You must observe how your specific piece of furniture reacts before treating a visible surface.
For deeply embedded discoloration, a guide on wood stain removal techniques can provide additional strategies. Remember that patience is a virtue. You may need to repeat the process several times for deep-set stains, allowing the wood to dry completely between applications.
Choosing Commercial Mildew Removers
If DIY solutions fall short, you may consider commercial mildew stain removers. However, these products are not all created equal, especially for use on fine wood furniture.
Your goal is to find a product specifically formulated for wood that is compatible with your furniture's finish. Avoid products containing harsh abrasives or chlorine bleach, as these can strip the varnish and permanently discolor the wood. Instead, look for cleaners that use fungicides or oxygen-based bleaching agents.
- Read the Label: Confirm the product is suitable for your wood type (e.g., hardwood, veneer) and its finish (e.g., lacquer, oil).
- Ensure Proper Ventilation: Use these products in a well-ventilated area. Outdoors is best, but a garage with the door open is an acceptable alternative.
- Follow Directions Precisely: Adhere strictly to the manufacturer’s instructions. The application method, dwell time, and removal process are designed to protect your furniture.
These stronger solutions are typically the final step before professional intervention is warranted. They can be effective, but they also carry greater risk. If a musty smell persists after the stains are gone, you are likely dealing with a more profound issue. For such stubborn odors, Sparkle Restoration’s professional odor removal services can restore a fresh, healthy environment to your home.
How to Properly Dry and Restore Your Furniture
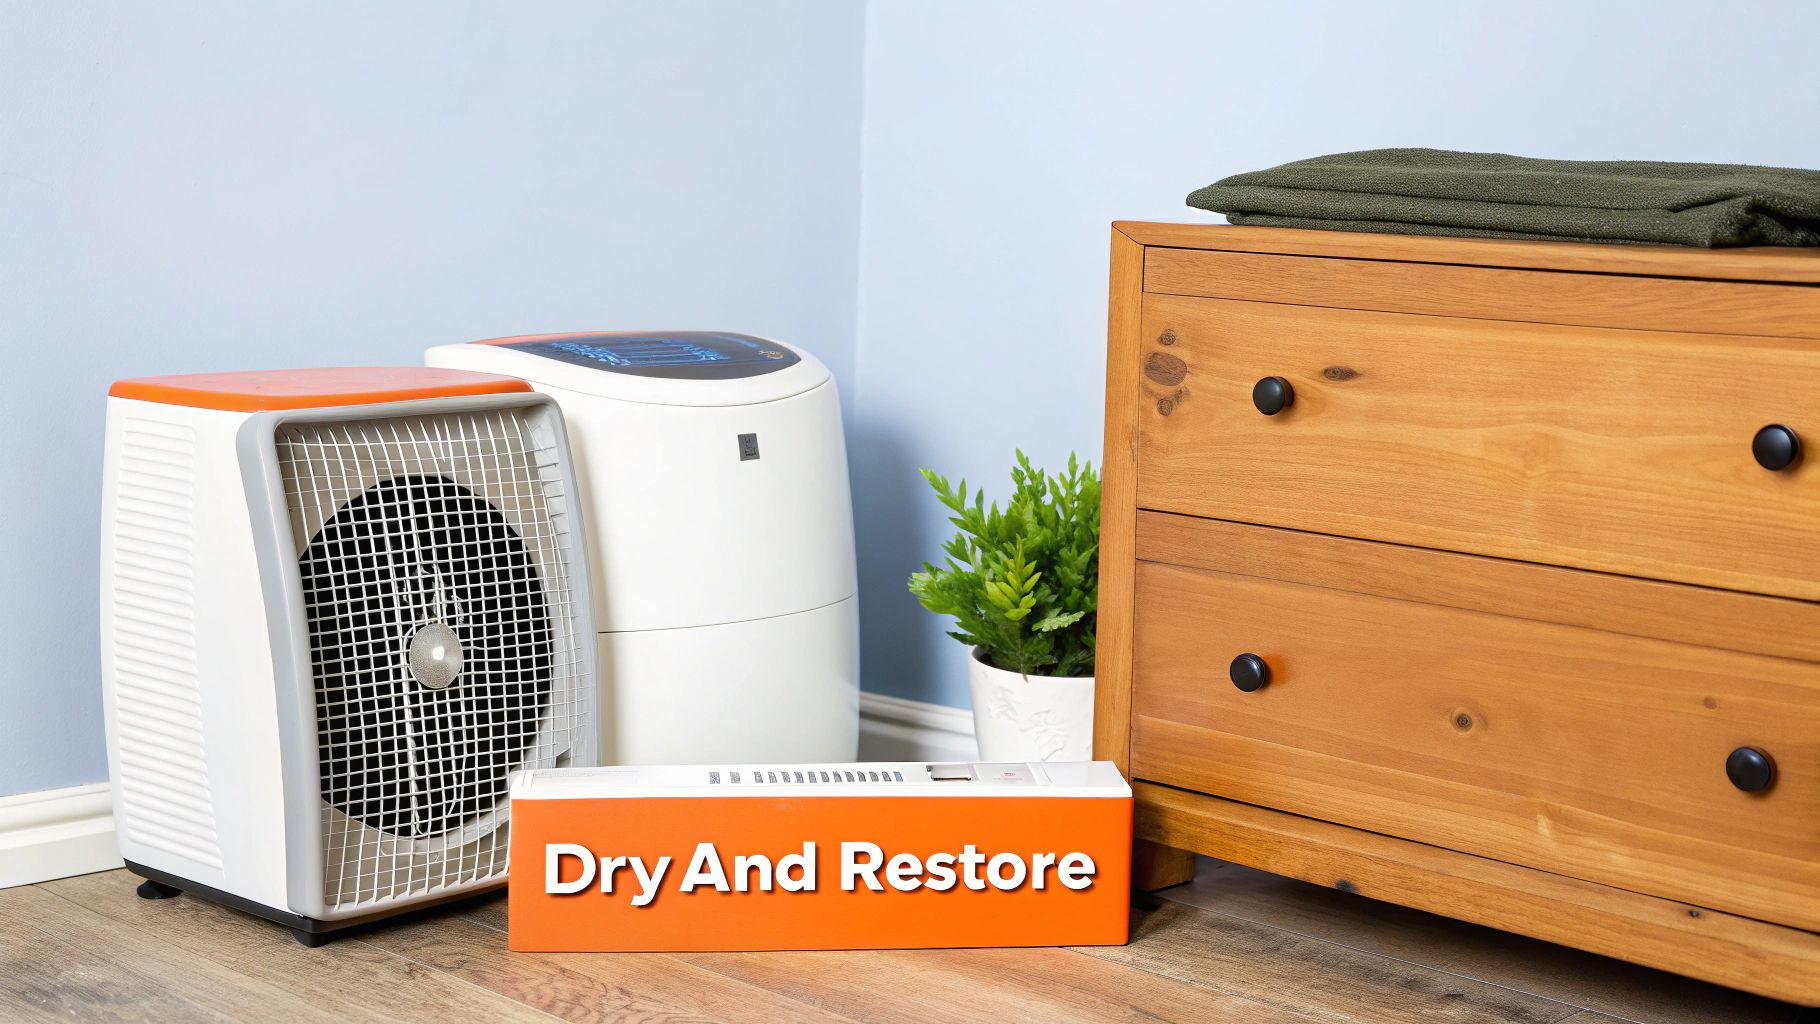
Successfully cleaning mildew from your furniture is only half the battle. If the wood is not dried completely, you are essentially inviting the mildew to return. This critical stage requires patience and protects your investment from long-term damage like warping, cracking, or splitting.
Proper drying is more than a surface wipe-down; it involves extracting deep-seated moisture from the wood’s pores. For homeowners in Southern California, where ambient humidity can be a persistent challenge, creating a dry micro-environment around the furniture is absolutely essential.
Your first step is to place the piece in a well-ventilated area with ample airflow.
Creating the Ideal Drying Environment
To accelerate the process and ensure a thorough dry, use fans to circulate air around and even underneath the furniture. A dehumidifier is your most valuable tool in this process—it will actively pull moisture from the air, creating the optimal conditions for the wood to release its own dampness. The goal is to maintain an indoor humidity level between 30% and 50%.
Our experience on large-scale projects, such as a complex water damage mitigation in Irvine, CA, has repeatedly shown that controlling the environment with professional-grade equipment is the key to success. While you may not need an industrial air mover for a single piece of furniture, the principle remains the same: circulate the air and reduce the humidity.
The most common mistake we see is rushing the drying process. Wood must acclimate and release moisture gradually. Applying high heat from a hairdryer, for example, can cause the wood to shrink too quickly, leading to cracks in the finish or the wood itself.
Eliminating Lingering Musty Odors
Even after the wood is completely dry, a faint musty smell may persist. This is where natural deodorizers can be effective. They don't just mask the scent; they absorb the microscopic, odor-causing particles that have settled deep within the wood grain.
Here are several simple yet powerful options:
- Baking Soda: A classic for a reason. Place an open box or a shallow bowl of baking soda inside drawers or on shelves to absorb odors.
- Activated Charcoal: This is a more potent version of baking soda. Activated charcoal briquettes (without lighter fluid) are excellent for neutralizing stubborn odors.
- Coffee Grounds: Dry, unused coffee grounds in a bowl can also effectively absorb musty smells, leaving behind a more pleasant aroma.
Restoring Your Furniture’s Luster
The final touch is restoring the wood’s natural beauty. The cleaning process, particularly with agents like vinegar, can sometimes dull the finish. Bringing back its warm glow is a simple but highly rewarding final step.
Select a high-quality wood polish or a natural oil, such as lemon or tung oil, appropriate for your furniture’s original finish. Apply a small amount to a clean, soft microfiber cloth and gently work it into the wood, always following the direction of the grain. This not only restores shine but also adds a thin, protective layer against future moisture.
Conclude with a final, gentle buff using another clean, dry cloth to reveal a revitalized piece that looks and smells fresh and clean.
Long-Term Mildew Prevention Strategies
Once you’ve successfully removed the mildew, the primary objective becomes ensuring it never returns. This requires a proactive, long-term strategy. In a coastal climate like Orange County's, humidity is a constant factor, making prevention an essential practice. The goal is to create a home environment where mildew cannot gain a foothold.
This is less about reactive cleaning and more about strategic climate control. Mildew requires three elements to thrive: spores (omnipresent in the air), a food source (like your wood furniture), and moisture. Of these, moisture is the only one you can effectively control.
Master Your Home's Humidity
Humidity is the silent adversary of wood furniture. The ideal indoor relative humidity level is between 30% and 50%. Once levels exceed 60%, you have created a prime environment for mildew growth.
Monitoring your home's humidity is simple. An inexpensive digital hygrometer will provide precise readings. If your home is consistently damp, a quality dehumidifier is one of the smartest investments you can make for your property. Run it in basements, closets, or any room that feels persistently clammy. This single action is a game-changer for protecting furniture and eliminating musty odors.
The global wood furniture market is valued at USD 288.0 billion, highlighting the significant investment we make in these pieces. In humid climates worldwide, mildew is the leading threat, which underscores the critical importance of environmental control. You can explore market insights on this topic at IMARC Group.
Promote Smart Air Circulation
Stagnant, damp air is mildew’s best friend. One of the easiest and most cost-effective countermeasures is to improve air circulation. A few simple adjustments can make a significant difference.
- Provide Breathing Room: Avoid placing furniture directly against walls, especially exterior walls that can be cooler and damper. Leaving a few inches of space allows air to circulate, preventing moisture from becoming trapped.
- Utilize Fans: On humid days, activate ceiling fans or portable fans. Air movement helps moisture evaporate before it can settle on surfaces.
- Ventilate Wisely: On dry, breezy days, open windows to air out your home. However, be cautious during foggy "marine layer" mornings, as you may inadvertently introduce more moisture.
At Sparkle Restoration, we can almost always trace a serious mildew problem to poor ventilation. A stuffy room with a blocked air vent or a cabinet crammed into a damp corner is a classic scenario. Improving airflow is often the most effective preventative measure.
Apply Protective Finishes and Sealants
Your final line of defense is the wood itself. For unfinished or raw wood furniture, applying a protective sealant is non-negotiable. Choose a quality wood sealer, varnish, or wax that contains a mildewcide to create an impenetrable moisture barrier.
For finished furniture, regular polishing provides more than just aesthetic benefits. A high-quality furniture wax adds a thin, protective layer that causes water to bead on the surface, giving you time to wipe away spills before they can cause damage. Think of it as weather-proofing your most cherished pieces.
Controlling your home's humidity is the single most effective action you can take to prevent mildew. Use this checklist to stay proactive.
Home Humidity Control Checklist
| Action Item | Frequency | Pro Tip |
|---|---|---|
| Check Hygrometer Readings | Daily | Place hygrometers in multiple areas (basement, main floor, upstairs) to get a full picture of your home's environment. |
| Run Dehumidifier | As needed (especially during humid seasons or rainy weather) | Set your dehumidifier to maintain humidity below 50%. Empty the collection tank promptly or set up a continuous drain hose. |
| Use Exhaust Fans | During/after every shower or cooking session | Run the fan for at least 20-30 minutes after you’re done to vent moist air directly outside. |
| Inspect for Leaks | Monthly | Check under sinks, around windows, and in the basement for any signs of water intrusion. A small leak can create a big problem. |
| Ensure Proper Ventilation | Seasonally | Make sure furniture isn’t blocking air vents and that closets and storage areas have some airflow. |
By incorporating these simple habits into your routine, you create a home environment that actively resists mildew, protecting your wood furniture for years to come.
When You Need a Professional Mold Remediation Expert
DIY methods are excellent for addressing small, isolated spots of surface mildew. However, recognizing when a problem has escalated beyond a weekend project is crucial for protecting your furniture, your home, and your family’s health. Certain situations demand the advanced training, specialized equipment, and scientific approach that only a certified professional can provide.
The most critical skill for an Orange County homeowner is distinguishing between a minor cleanup and a major contamination issue. Identifying these warning signs early allows you to act decisively, preventing a small problem from becoming a costly and hazardous ordeal.
Red Flags That Signal a Deeper Problem
The visible mildew might only be the tip of the iceberg, indicating a larger, hidden mold problem. If you encounter any of the following situations, it is time to cease DIY efforts and schedule a professional assessment.
- Widespread Growth: If mildew covers an area larger than 10 square feet, it is a clear indicator of a significant underlying moisture source that must be professionally identified and remediated.
- Recurring Growth: If you have cleaned the furniture multiple times only for the mildew to return, it signals that spores have penetrated deep into the wood or that ambient humidity levels are too high for DIY solutions to manage.
- A Strong, Persistent Musty Odor: A faint musty smell is one thing. A powerful, pervasive odor that remains after cleaning and airing out the piece almost certainly indicates mold growth in an unseen area.
These red flags are your cue to seek professional help. Attempting to manage a large-scale problem yourself can spread mold spores throughout your property, worsening the contamination and severely degrading your indoor air quality.
At Sparkle Restoration, we often find that a musty odor is the first sign clients notice. This odor is caused by Microbial Volatile Organic Compounds (MVOCs)—gases produced during mold’s metabolic process. It is a definitive sign of active growth, even if the source is not visible.
The Expertise of an IICRC-Certified Team
Engaging a professional is about more than hiring labor; it’s about leveraging deep industry knowledge and proven scientific protocols. An IICRC-certified team, like ours at Sparkle Restoration Services, has undergone rigorous training in the science of mycology and the industry's best practices for remediation.
This level of expertise directly impacts the massive $3.5 billion wooden furniture manufacturing industry, where preventing mildew is a major economic concern. Manufacturers invest heavily in humidity control and specialized finishes that can reduce wood decay by up to 70%. Certified remediators apply these same scientific principles within your home. To understand the scale of this issue, you can learn more about how mildew prevention impacts the furniture industry.
A true professional will identify the moisture source, establish containment to prevent cross-contamination, and use specialized equipment to safely eliminate mold and restore your home’s air quality. This is the only way to ensure the problem is resolved permanently. For a closer look at our certified methodology, learn about our approach to professional mold remediation.
When DIY solutions are no longer sufficient, don't gamble with your health or your property. If you're facing a stubborn mold or mildew issue in Orange County, trust the IICRC Master Certified experts at Sparkle Restoration Services. As a BBB Torch Award winner for ethics, we are committed to turning chaos into calm, fast.
Schedule Your Free Consultation Today
Ready to create a space that’s as beautiful as it is functional? Schedule your complimentary design consultation today by visiting Ready to Work with Sparkle?