
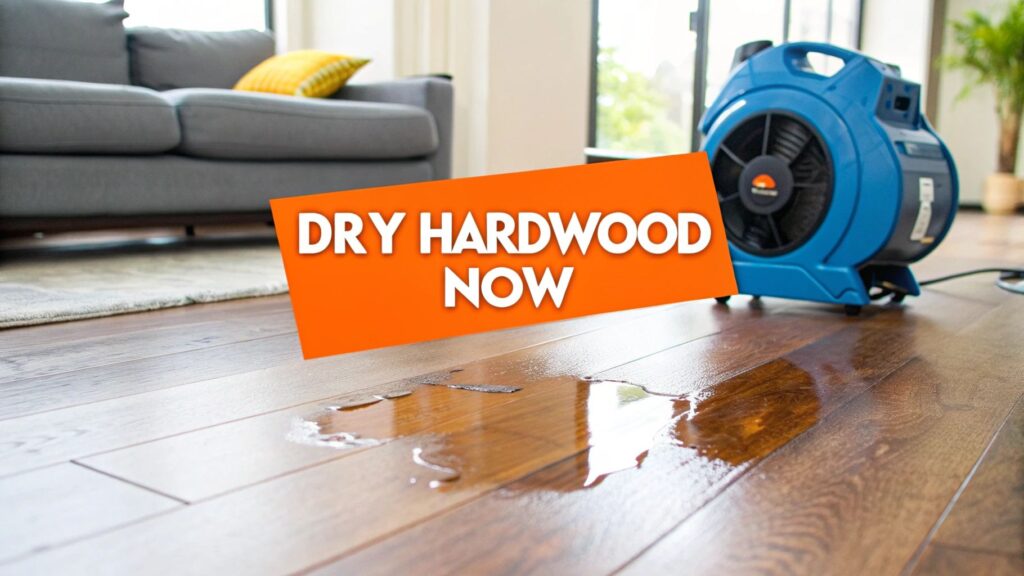
Discovering standing water on your beautiful hardwood floors is a heart-stopping moment for any homeowner. Whether it's a slow leak from a dishwasher in your Irvine home or a sudden pipe burst, panic is a natural first reaction.
However, the actions you take within that first hour are absolutely critical. They can mean the difference between a professional drying service and a costly, full-scale floor replacement. This isn't just a hypothetical scenario. Water damage affects approximately 14,000 Americans daily, with the average insurance claim reaching a staggering $11,605. The stakes are high, but a calm, methodical approach can save your floors, your investment, and your peace of mind.
As Sparkle Restoration Services, an IICRC Master Certified firm and a BBB Torch Award Winner for Ethics, we've managed every type of water damage crisis across Orange County. Based on decades of experience, we've created this guide to empower you with the three non-negotiable actions you must take immediately.
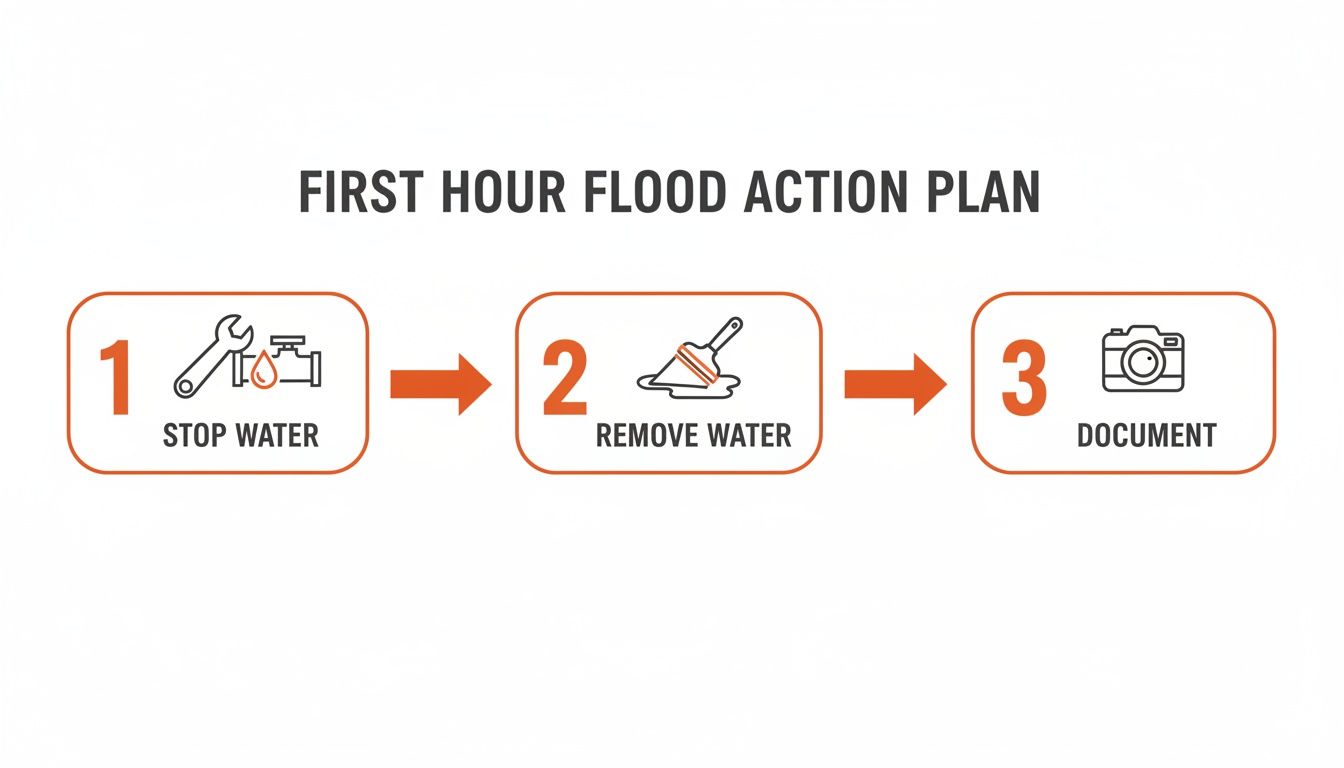
Think of this as your strategic plan: secure the scene, mitigate the immediate threat, and prepare for professional intervention.
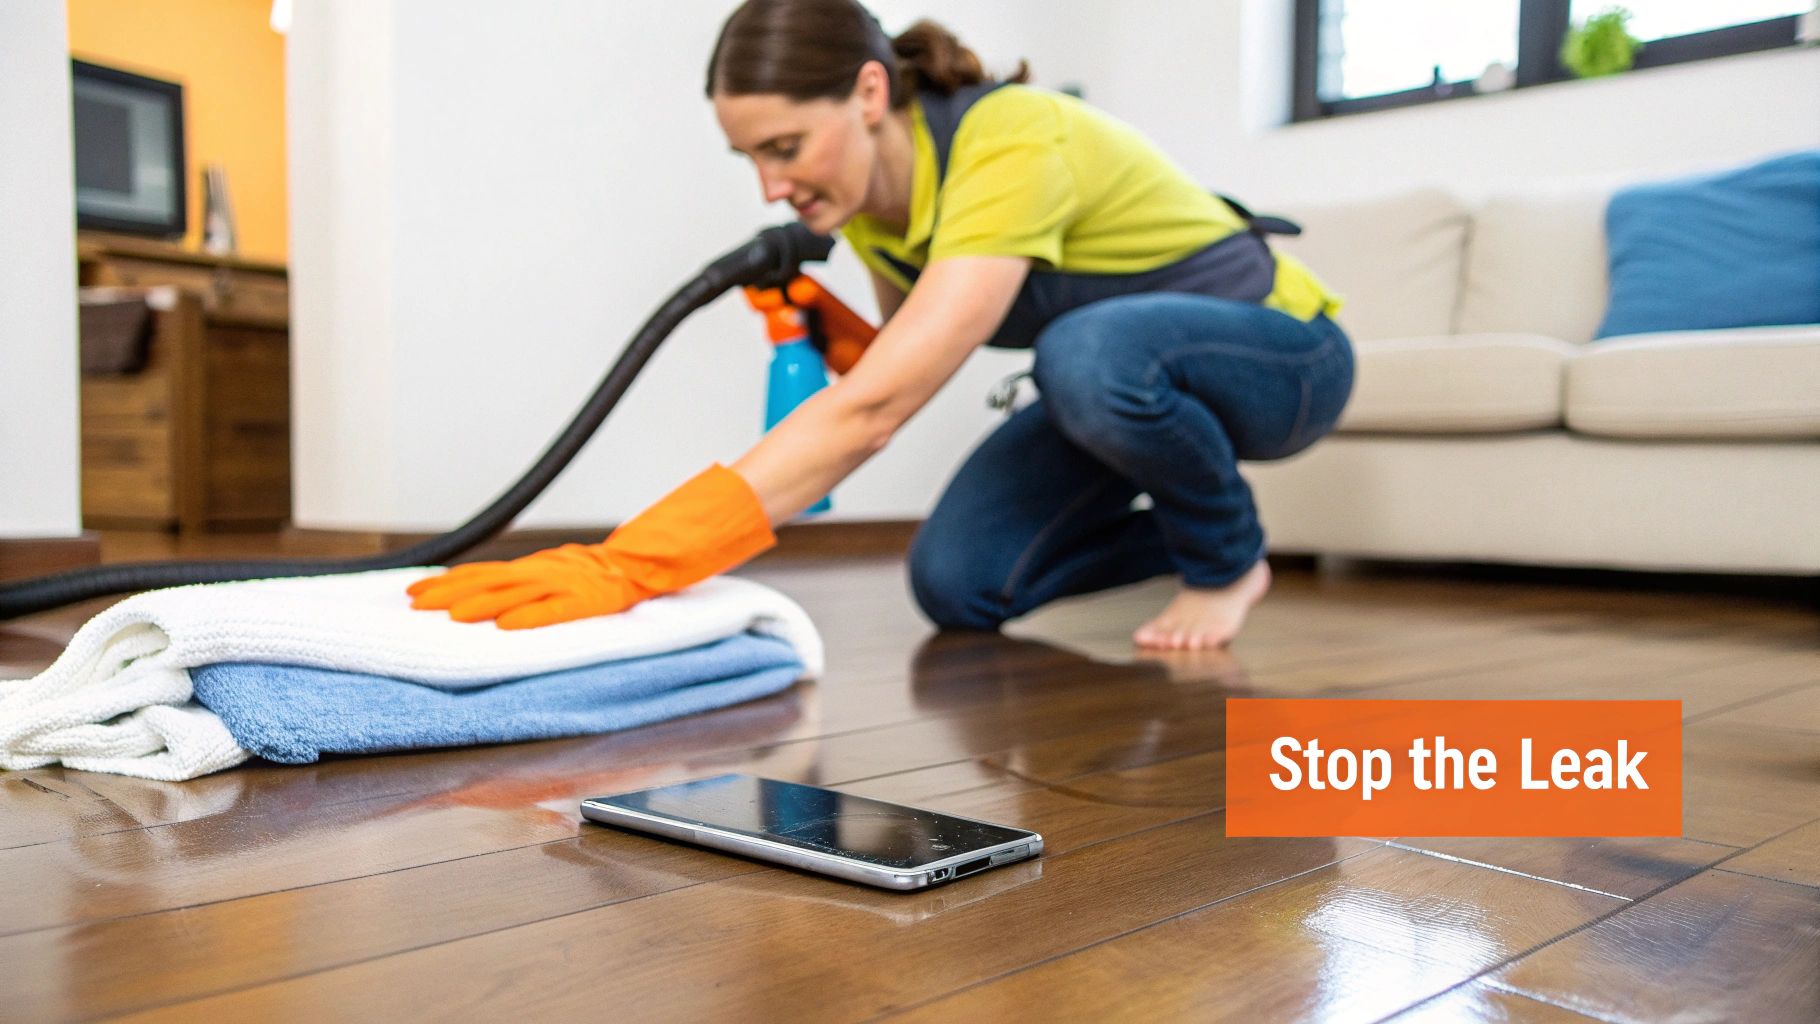
First, Safely Shut Off the Water
Before grabbing a single towel, prioritize safety. If standing water is near electrical outlets or appliances, go directly to your breaker box and cut the power to that area. Do not take any chances with electrical shock.
Once the area is electrically safe, your next move is to stop the flow of water. Locate your home's main water shut-off valve and turn it clockwise until it is completely closed. If you can identify the source—such as a toilet or washing machine—you can often find a local shut-off valve behind or beside the appliance for a faster stop.
Get the Standing Water Off the Floor—Fast
Now, it's a race against time. The longer water sits, the deeper it penetrates your hardwood, seeping into the subfloor and wicking up into wall framing.
- Grab the right tools. Begin by corralling the bulk of the water into a manageable area with a floor squeegee. Then, use old towels, mops, or a wet/dry shop vacuum to absorb the remaining liquid.
- Work smart, not rough. Your floor's finish is vulnerable when wet. Be gentle and avoid dragging heavy items across the surface, which can cause deep scratches. It’s best to work from the outer edges of the spill inward.
- Don't forget the details. Water travels in unexpected ways. Meticulously wipe down all baseboards, the bottoms of cabinets, and any furniture legs that came into contact with water.
A Quick Word from the Pros: As an IICRC Master Certified firm, we know that removing surface water is only half the battle. The real threat is the hidden moisture that gets trapped between planks and saturates the subfloor. While you tackle the surface, a professional team should already be en route to address this unseen danger.
Start Airflow and Document Everything
With the visible water gone, introduce airflow to aid in initial surface drying. If the humidity outside is lower than inside, open windows. Activate ceiling fans and position box fans to blow air across the floor. This won't be enough to dry saturated wood, but it’s a crucial first step in the mitigation process.
While the fans are running, use your smartphone to document the scene for your insurance claim.
- Take extensive photos and videos. Capture wide shots of the entire room, then zoom in on the damaged floor, the source of the leak, and any affected personal belongings. More is always better.
- Create a timeline. Note the exact time you discovered the water and list the steps you took to mitigate the damage. This detailed record will be invaluable when you communicate with your insurance provider.
Creating this initial record provides a clear baseline of the damage, which helps ensure a smoother claims process. To be even more prepared for the unexpected, check out our guide on putting together a water emergency first aid kit.
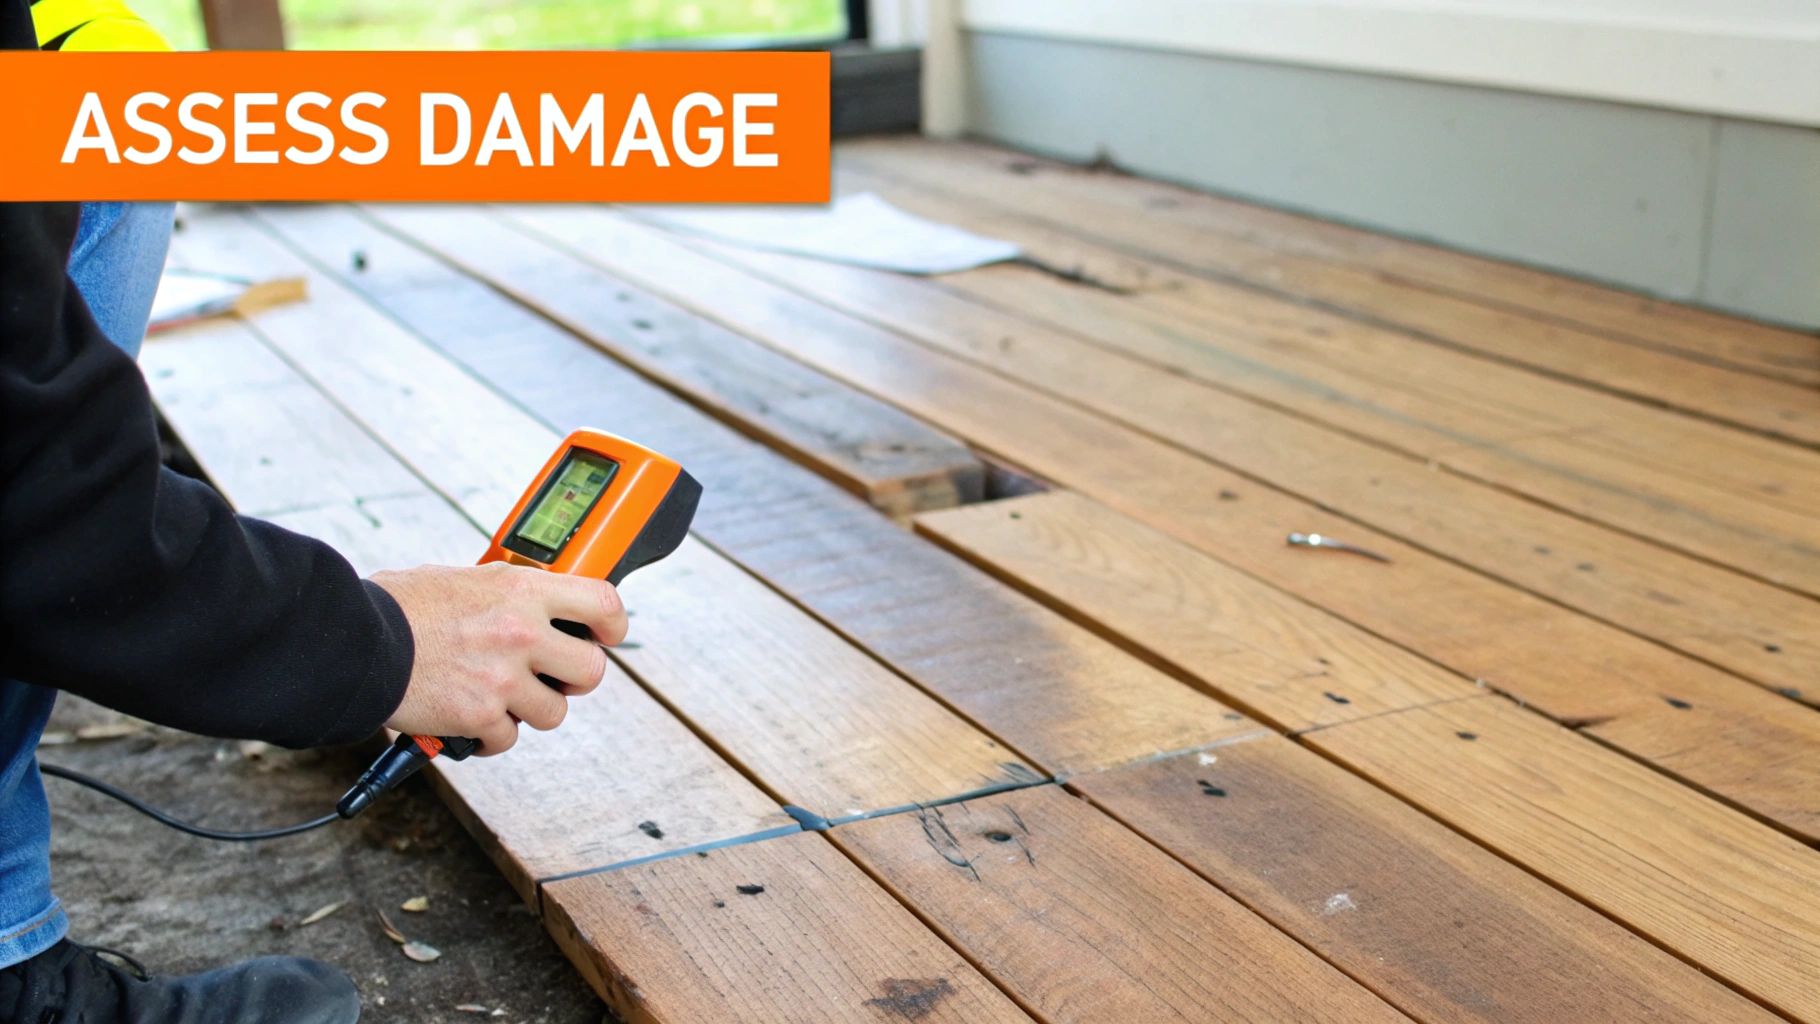
How to Assess the Extent of the Water Damage
Once you've mopped up the standing water on hardwood floor, the real investigation begins. The visible surface damage is almost never the full story. Water is a relentless traveler—it seeps under baseboards, between planks, and soaks into the subfloor. These hidden areas are where serious, long-term problems like mold and rot take root.
A professional assessment isn't just about looking for puddles. It's about understanding how wood reacts to moisture and determining if you're facing a simple surface-dry job or a complex structural issue that demands expert intervention.
Reading the Signs Your Hardwood Is Sending
Your floor will communicate the extent of the damage, but you need to know its language. Watch for these tell-tale signs:
- Cupping: This occurs when the edges of a plank rise higher than its center, creating a concave, U-shape. As the most common reaction we see in Orange County homes, it happens because the bottom of the wood absorbs more moisture than the top, causing it to swell and push the edges upward.
- Crowning: The opposite of cupping, where the center of the board is higher than its edges. This typically results from prolonged surface saturation or an improper drying attempt following a cupping incident.
- Buckling: This is the most dramatic and severe form of damage. Buckling happens when planks expand so much that they separate from and lift completely off the subfloor, sometimes by several inches. It's an unmistakable sign of a major water event.
These are not just cosmetic flaws; they are clear indicators of a moisture imbalance deep within the wood. Understanding these signs is the first step, and you can learn more by reading our overview on the fundamentals of water damage.
Looking Deeper Than the Surface
A visual check is only step one. The most dangerous moisture is what you can't see. At Sparkle Restoration Services, we use specialized equipment to map precisely how far the water has traveled. This ensures no hidden pockets of dampness are left behind to cause mold or structural rot.
Our primary tool is a non-invasive moisture meter. It provides exact moisture readings from the hardwood, subfloor, and adjacent drywall without leaving a single mark. By scanning all affected surfaces, we create a detailed "moisture map" that shows precisely where the water is and how saturated the materials are.
We also employ an infrared (thermal imaging) camera. This advanced technology reveals temperature differences, highlighting cool, damp spots behind walls or under floors that are invisible to the naked eye. It’s essential for finding hidden leaks and ensuring we dry the entire structure, not just the visible parts.
Expert Insight from Sparkle Restoration: "We often find that water from a kitchen leak in an Irvine home has traveled under the floorboards all the way to an adjacent dining room. Without moisture mapping, homeowners might only dry the kitchen, leaving a hidden moisture problem that leads to mold and severe floor cupping months later. Precision is everything."
Classifying the Severity of the Damage
In the restoration industry, we operate on data, not guesswork. We classify water damage into categories that define the scope of the problem and dictate the proper remediation strategy. This is a critical process. After all, a staggering 99% of U.S. counties experienced a flooding event between 1996 and 2019. For high-end homes, a leak can easily become a Class 3 disaster where average repair costs hit $5,954.
To help homeowners in Orange County and beyond, we've broken down what these classes mean for your floors.
Understanding Water Damage Classes and What They Mean for Your Floors
| Damage Class | Description | Materials Affected | Typical Scenario |
|---|---|---|---|
| Class 1 | Minor Damage: A small amount of water affecting a limited area. | Low-porosity materials like plywood or particleboard. Very little moisture absorbed. | A small spill that was caught quickly or a minor appliance leak. |
| Class 2 | Significant Damage: Water has affected an entire room and wicked up walls. | More absorbent materials like drywall and carpet. Water has wicked up walls less than 24 inches. | A toilet overflow or a broken supply line that affects a whole room. |
| Class 3 | Severe Damage: Water has come from overhead, saturating the entire area. | Insulation, wall cavities, subfloors, and structural wood are all soaked. | A burst pipe in the ceiling or a severe roof leak. |
| Class 4 | Specialty Drying: Deeply bound water in low-porosity materials. | Materials like hardwood, concrete, stone, or plaster that are deeply saturated. | A major flood that has left concrete or hardwood soaked for an extended period. |
Correctly identifying the class of damage is absolutely critical for creating a drying plan that actually works. An incorrect assessment almost guarantees secondary problems like mold or structural rot. This is why a professional evaluation is always your safest and most effective course of action.
Professional Drying Techniques That Save Hardwood Floors
After mopping up the standing water, the temptation to use box fans and hope for the best is strong. We see this frequently, and unfortunately, it’s one of the most common and costly mistakes a homeowner can make.
When water on a hardwood floor seeps between planks and into the subfloor, a simple fan only addresses the surface. This creates a dangerous imbalance, drying the top layer too quickly while leaving the bottom saturated—a perfect recipe for severe warping, cupping, and long-term structural issues.
Professional structural drying is a precise science. The objective is to create a controlled environment that gently and evenly extracts moisture from every layer of your flooring system, from the finish down to the subfloor. This requires specialized equipment and an IICRC-certified understanding of psychrometry—the science of managing air and its moisture content.
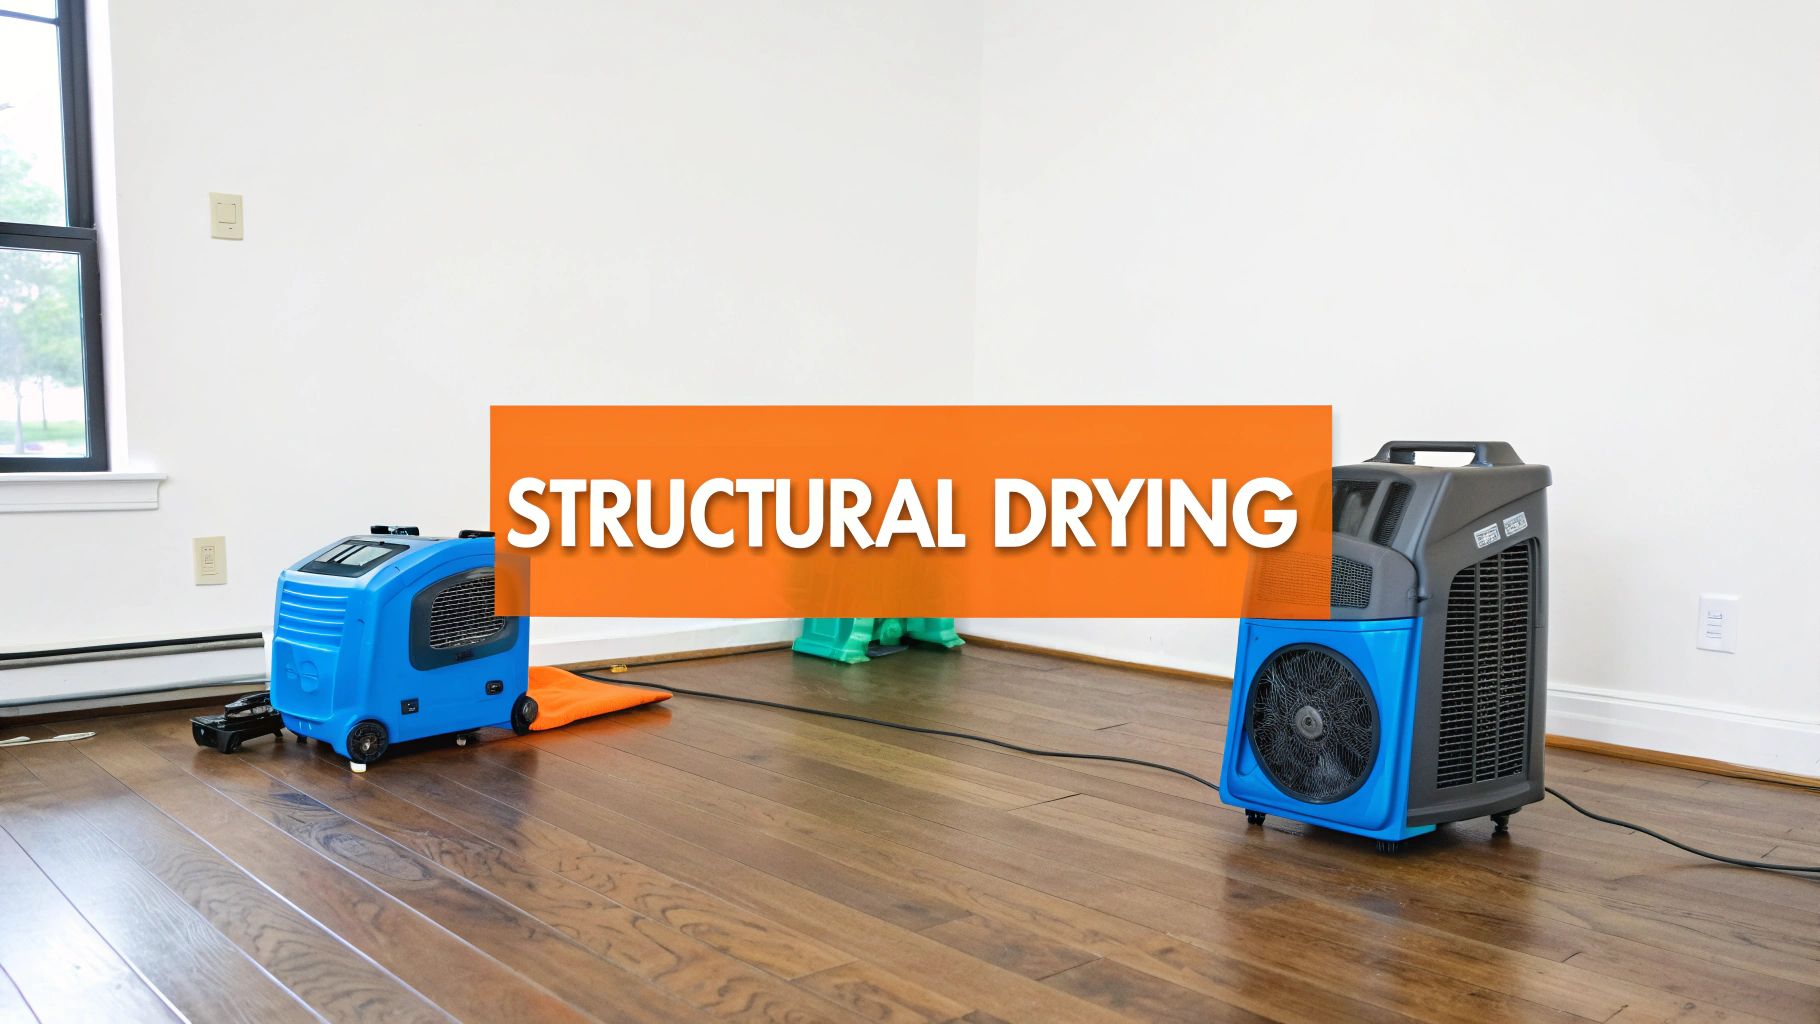
The Core Tools of Professional Structural Drying
At Sparkle Restoration Services, our approach to every water-damaged floor involves a trio of powerful, specialized tools working in concert. Think of them as a coordinated team, each with a critical mission.
- High-Velocity Air Movers: These are not your average hardware store fans. We strategically place these powerful units to create a vortex of airflow across the floor's surface, accelerating evaporation. This constant motion disrupts the boundary layer of saturated air just above the wood, allowing deeper moisture to rise and be carried away.
- Low-Grain Refrigerant (LGR) Dehumidifiers: As air movers make moisture airborne, these industrial-strength workhorses pull it directly out of the environment. A single LGR dehumidifier can remove vastly more water vapor than a standard home unit. They aggressively lower the room's humidity, creating a "thirsty" atmosphere that literally pulls moisture from wood and surrounding materials.
- Specialized Floor-Drying Mat Systems: For deeply saturated areas, these systems are game-changers. We lay a series of mats directly onto the hardwood, creating a sealed vacuum chamber. A high-pressure pump then pulls water vapor directly through the floorboards, targeting both the planks and the subfloor with incredible efficiency.
This three-pronged attack creates a "balanced drying system"—a delicate equilibrium where the rate of evaporation is perfectly matched by the rate of dehumidification. This prevents the wood from drying too quickly on the surface, which is precisely what causes permanent damage like splitting and checking.
We recently managed a project in Newport Beach where a supply line leak soaked an entire section of Brazilian cherry flooring. A DIY attempt with fans had already started to cause crowning. By implementing a balanced drying system, we were able to reverse the damage and save the entire floor, which the homeowner was sure would need to be replaced.
Targeting Hidden and Trapped Moisture
The moisture you can't see is often the most destructive. It's the water trapped under flooring, inside wall cavities, or beneath cabinet toe kicks. Leaving this moisture behind is a direct invitation for mold growth and insidious wood rot.
To combat this hidden enemy, we use advanced methods like injecti-dry systems. This technique involves drilling small, discreet holes in areas like baseboards or cabinet bottoms and forcing warm, dry air directly into those trapped structural cavities. It's the only way to guarantee that areas inaccessible to standard air movers are dried completely, protecting your home's structural integrity from the inside out.
Why Controlling the Environment Is Critical
The entire process hinges on meticulously managing the room's temperature and humidity. Hardwood is a natural material; it expands and contracts. Blasting a wet floor with hot, dry air will cause the surface to shrink rapidly while the saturated core and subfloor remain swollen. This internal stress leads to permanent cupping and cracking.
By precisely controlling the conditions, we ensure the wood releases its moisture at a slow, steady, and safe rate. We constantly take readings with professional moisture meters and thermal imaging cameras, adjusting our equipment as the data dictates. This methodical, data-driven process is the hallmark of a certified restoration expert and is central to our comprehensive water damage restoration services. It’s how we turn chaos into calm—and save the beautiful floors our Orange County clients love.
Repair or Replace: Making the Right Call for Your Floors
Once the structural drying is complete and our moisture meters confirm your floor has returned to its dry standard, the moment of truth arrives. The pivotal question looms: can your beautiful hardwood be saved, or is it time to consider a full replacement?
This decision isn’t always black and white. It’s a careful calculation involving the type of wood, the duration of water exposure, and the condition of the subfloor. Rushing to a conclusion can be a costly mistake, as many floors that appear ruined are, in fact, perfectly salvageable with the right expertise.
Factors That Determine Salvageability
Every situation involving water on a hardwood floor is unique. As an IICRC Master Certified firm and a Licensed General Contractor, we assess several key factors to provide an informed, ethical recommendation for our clients in Orange County.
- Type of Wood: Solid hardwood is remarkably resilient. As a single, solid piece of wood, it can often be sanded and refinished multiple times, erasing signs of cupping and surface staining. Engineered wood, however, is more complex; its layered construction can delaminate (separate) when saturated, which is often an irreparable issue.
- Severity of Damage: Minor cupping or crowning can typically be corrected with professional drying and refinishing. However, severe buckling—where planks have lifted completely off the subfloor—often signifies compromised structural integrity in both the flooring and the subfloor.
- Duration of Exposure: Floors that were wet for only a few hours have a much higher chance of being saved than those submerged for a day or more. Prolonged exposure allows water to penetrate deeper, increasing the odds of permanent warping and significant subfloor damage.
The Art of Sanding and Refinishing
For salvageable solid hardwood, professional sanding and refinishing can be a transformative process. It's far more than a simple cosmetic touch-up; it’s a meticulous restoration that brings the wood back to its original glory.
The process involves using specialized sanding equipment to carefully remove the top layer of wood, including the old finish and any surface-level imperfections caused by water. This erases minor cupping and crowning, creating a perfectly flat, smooth surface. Once the raw wood is exposed, it’s sealed and then stained or finished to your preference.
We often see homeowners assume their cupped floors are a lost cause. The truth is, a professional assessment can reveal that the vast majority of the floor is perfectly sound. With proper drying and expert refinishing, we are often able to save 70-80% of a floor that might have otherwise been completely torn out.
This approach not only preserves your home's original character but is also significantly more cost-effective than a full replacement.
When Replacement Is the Only Sound Choice
Despite our best efforts, some floors simply cannot be saved. The trend toward open-concept luxury homes across Southern California has amplified this risk, as standing water can spread quickly, leading to Class 4 severity. In these cases, repair costs can soar, making replacement a more logical investment. You can read more about trends in the waterproof flooring market and how the industry is adapting.
Replacement becomes the necessary path forward when certain lines are crossed. As both restoration experts and licensed contractors, we would recommend a new floor in these scenarios:
- Widespread Buckling: If large sections of your floor have pulled away from the subfloor, the planks are likely permanently damaged.
- Delamination of Engineered Wood: Once the layers of engineered flooring separate, they cannot be fused back together.
- Contaminated Water (Category 2 or 3): If the water came from a source like a sewer backup or dishwasher overflow, the wood is contaminated with bacteria and must be removed for health and safety.
- Compromised Subfloor: If the subfloor is rotted, warped, or showing signs of mold growth, it must be replaced. Laying a new floor over a damaged subfloor is a recipe for future failure.
Decision Matrix: Repairing Versus Replacing Your Water-Damaged Hardwood
Figuring out the next step can be overwhelming. We created this table to help clarify whether sanding and refinishing is a viable option compared to a full replacement based on the type of damage you're seeing.
| Damage Type | Best Option: Repair | Best Option: Replace | Key Considerations |
|---|---|---|---|
| Minor Surface Stains | Yes | No | Usually cosmetic. Can be sanded and refinished if the stain hasn't penetrated too deeply. |
| Slight Cupping/Crowning | Yes | No | Often corrects itself after professional drying. Sanding flattens any remaining unevenness. |
| Severe Buckling | No | Yes | Planks have lifted from the subfloor, indicating severe, often irreversible damage. |
| Engineered Wood Delamination | No | Yes | The layers of wood have separated. This is structural failure and cannot be repaired. |
| Contaminated Water Exposure | No | Yes | Health risk. Porous wood traps bacteria from sewage or greywater, requiring full removal. |
| Subfloor Damage | No | Yes | A rotted or moldy subfloor must be addressed. A new floor requires a sound foundation. |
Ultimately, the goal is a beautiful, safe, and long-lasting floor. Whether that's achieved through meticulous restoration or a fresh installation depends entirely on the specific conditions of the damage.
Making the right call requires a deep understanding of construction, wood science, and restoration principles. When considering new flooring options, our team can guide you through our complete flooring sales and installation services to find the perfect fit for your home’s style and needs.
Filing Your Insurance Claim and Preventing a Repeat Disaster
After the initial shock of finding water on a hardwood floor subsides, the stress of the insurance claim process often sets in. For any Orange County homeowner, navigating this can feel like a daunting task. However, with a clear plan and the right professional partner, you can turn a chaotic process into a manageable one.
A successful insurance claim hinges on two key elements: thorough documentation and clear communication. The initial photos and videos you took are an excellent start, but professional documentation is your strongest asset. As an IICRC Master Certified firm, we provide the hard data that insurers require: detailed moisture maps, psychrometric readings, and a complete inventory of every affected item. This indisputable evidence streamlines the adjuster's job and accelerates your claim.
Let Your Restoration Pro Handle the Heavy Lifting with the Adjuster
A reputable restoration company acts as your advocate. We speak the same technical language as your insurance adjuster and understand the industry-standard data and pricing they use. Our role is to bridge the gap between the visible damage and the necessary scope of work they need to approve. We work directly with them to ensure all damage is covered, preventing hidden moisture or future problems.
Before you call your insurer, it's beneficial to understand the basics: Does insurance cover water damage? Coverage often depends on the source of the water. A sudden pipe burst is typically viewed differently than a slow, long-term leak. Knowing your policy is the first step. For a deeper dive, explore our complete guide on navigating property insurance claims for homeowners in our guide.
A Note on Insurance Claims: "The most common roadblock we see is a mismatch between the homeowner's understanding of the damage and the adjuster's initial assessment. By providing scientific data from moisture meters and thermal imaging, we bridge that gap. This isn't about arguing; it's about presenting clear, undeniable facts that justify the necessary restoration work."
Proactive Maintenance: Your Best Defense
The most effective way to handle water damage is to prevent it from happening in the first place. Proactive maintenance can save you thousands of dollars and immense stress, especially when protecting a high-value home in Newport Beach or Irvine.
Incorporating a few simple habits into your regular home maintenance schedule is the smartest investment you can make in your property.
Your Proactive Home Protection Checklist:
- Know Your Main Shut-Off Valve: Can you locate and turn off your home’s main water supply in under 60 seconds? If not, find it today. In an emergency, this is your most powerful tool.
- Inspect Appliance Hoses Regularly: The rubber hoses on your washing machine, dishwasher, and ice maker are common failure points. Every six months, check them for bulges, cracks, or wear. For superior protection, replace them with braided steel hoses.
- Check and Maintain Sump Pumps: If your home has a sump pump, test it periodically. Pour a bucket of water into the pit to ensure it activates properly. This is critical for homes with basements or lower levels.
- Manage Indoor Humidity: Southern California's climate varies. Use a hygrometer to monitor your indoor humidity, aiming for a stable range between 35% and 55%. Consistency helps prevent hardwood from shrinking or swelling seasonally.
- Clean Gutters and Downspouts: Clogged gutters can cause rainwater to pool against your foundation and seep inside. Ensure they are clear and direct water far away from your home.
Your Top Questions About Water-Damaged Hardwood, Answered
When you discover a puddle on your beautiful hardwood floors, your mind starts racing. It's a shocking moment, and a ton of questions pop up immediately. As Orange County’s go-to restoration experts since 2002, we’ve seen it all and heard every question imaginable from homeowners in Newport Beach, Irvine, and across the county. Here are some straight answers from our IICRC-certified team.
How Long Does It Take for Water to Damage Hardwood Floors?
Honestly? The damage starts the second the water hits the wood. Wood is a natural, porous material, which means it starts soaking up moisture on contact. Think of it like a sponge.
This absorption forces the wood fibers to swell, building up a massive amount of pressure from within. While you might not see the really obvious signs like cupping or crowning for 24 to 48 hours, the destructive process is already in full swing. The longer that water sits, the deeper it sinks into the planks and, even worse, into the subfloor below.
This is what leads to serious warping and creates the perfect dark, damp environment for mold, which can start growing in as little as 48 hours. This isn't a situation where you can "wait and see." Immediate action is absolutely critical.
Can Buckled Hardwood Floors Be Fixed?
This is probably the most dramatic and serious form of water damage—when the planks absorb so much water they actually lift right off the subfloor. Whether we can save the floor really depends on how bad the buckling is and what kind of wood you have.
- For Solid Hardwood: If the buckling is minor and we get to it fast, there’s a decent chance. A professional, controlled drying process is the first step. If we can get the boards to lay flat again, they can sometimes be re-secured. The whole floor would then need to be sanded and refinished to get it perfectly smooth again.
- For Severe Cases: I’ll be frank: when buckling is severe, the planks are often permanently warped beyond repair. This is especially true with engineered wood, where the water gets between the layers and causes them to delaminate (peel apart). In those situations, a full replacement is usually the only way to ensure the floor is structurally sound.
Will My Homeowners Insurance Cover This Damage?
This is a big one, and the answer almost always comes down to where the water came from. Generally, homeowners insurance policies cover damage from events that are sudden and accidental.
Think of a burst pipe, a washing machine hose that suddenly lets go, or a toilet that overflows out of nowhere. Those are the kinds of events typically covered. What isn't covered is damage from gradual, long-term issues like a slow drip under a cabinet that’s been happening for months, or general maintenance problems. Natural flooding is also excluded and requires a separate flood insurance policy.
This is where hiring a professional restoration company like Sparkle can make a huge difference in your claim. We provide the hard evidence your insurance adjuster needs—detailed moisture readings, thermal imaging, and photographic proof—to process your claim without unnecessary delays or disputes.
What Causes Dark Stains After Water Damage?
Seeing dark or black stains appear on your hardwood after a water incident is a major red flag. Don't ignore it. These stains usually mean one of two things:
- Tannin Bleeding: Wood has natural compounds in it called tannins. When the wood gets saturated, these tannins can be pulled to the surface, leaving a dark, inky stain behind as the water evaporates.
- Mold Growth: This is the more serious concern. Black spots are a classic sign of mold. Mold loves dark, damp, undisturbed places, making the area between your hardwood and the subfloor a five-star resort for it. Because mold can pose a real health risk, you should never just clean the surface and hope for the best.
Figuring out which one it is requires a professional eye. The process for mold remediation is completely different from treating a simple wood stain, and you want to be sure you're solving the root problem safely.
When you're dealing with the stress of water damage, you need a team that can restore not just your floors, but your peace of mind. The IICRC Master Certified professionals at Sparkle Restoration Services have been the trusted choice for Orange County’s homeowners for over two decades. Don’t let the damage get worse—contact us 24/7 for an immediate response.
Ready to create a space that’s as beautiful as it is functional? Schedule your complimentary design consultation today by visiting Ready to Work with Sparkle?